
 Sara McKenney
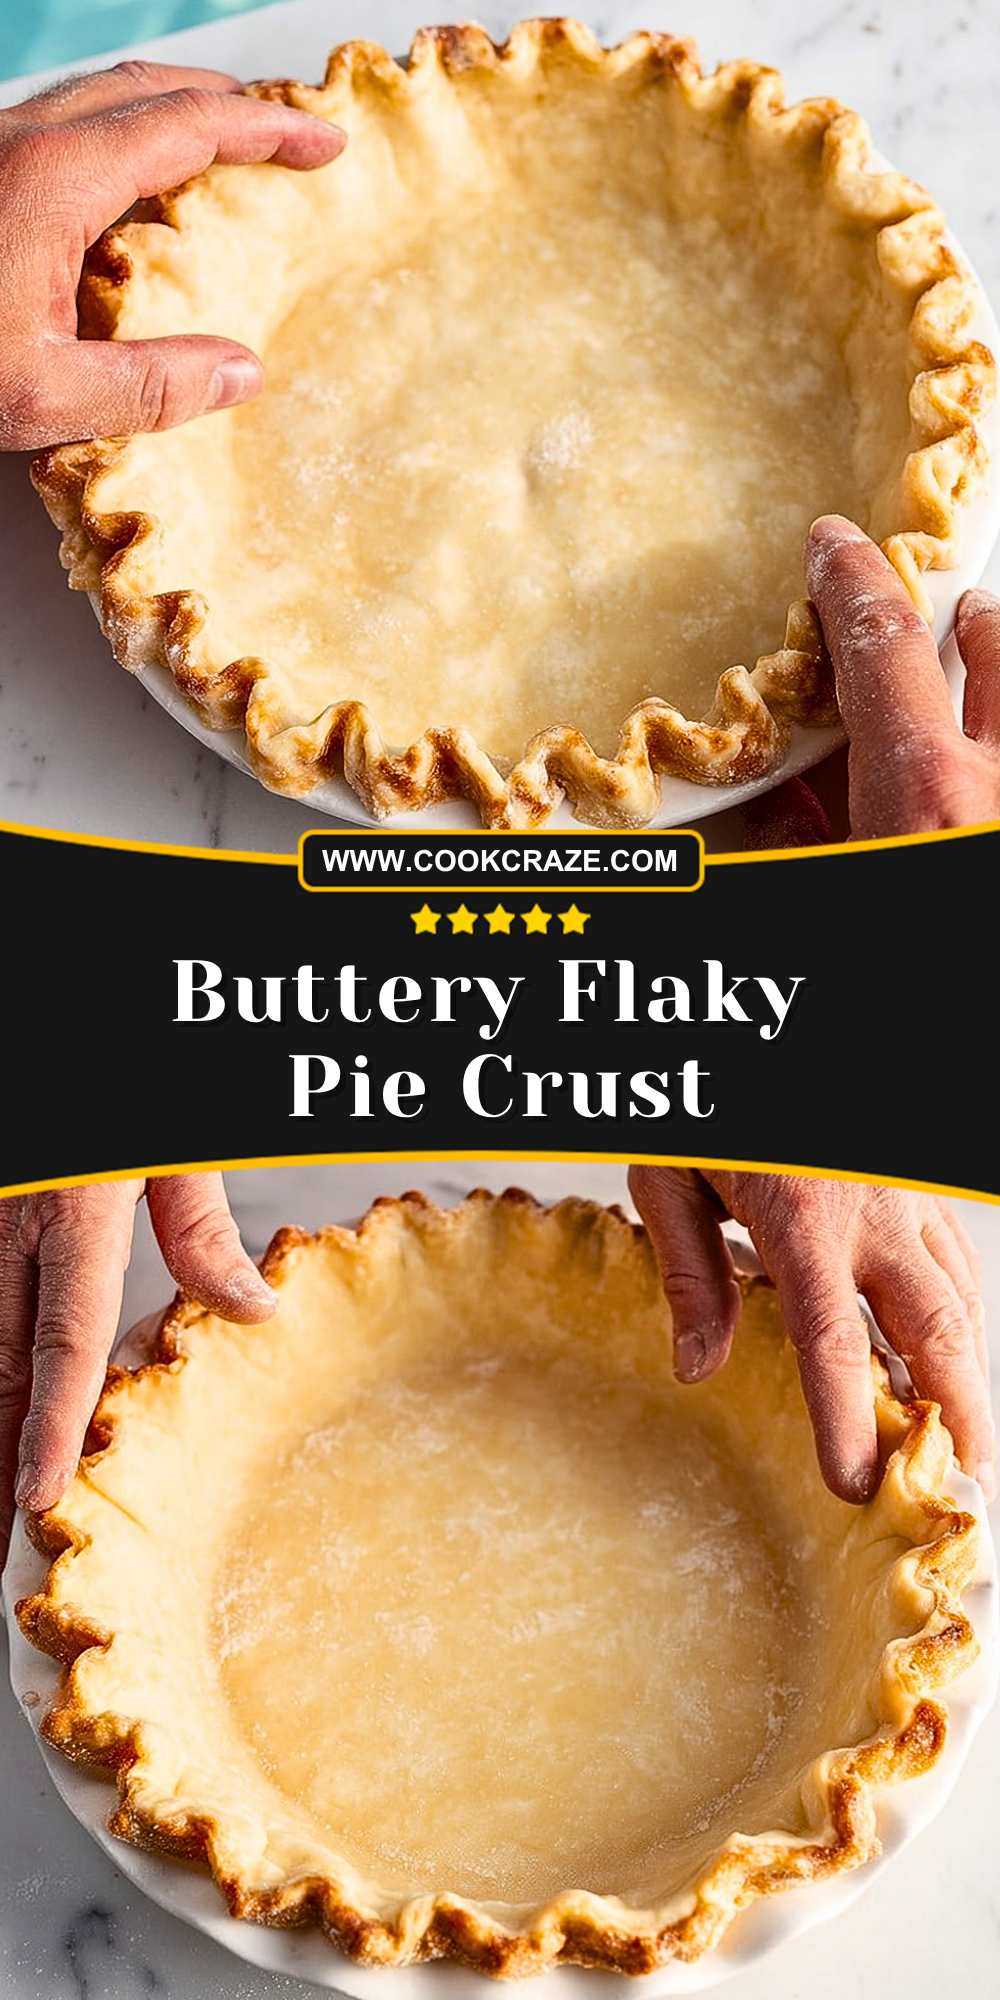
Few things compare to the satisfaction of slicing into a pie with a perfectly buttery, flaky crust. This classic Buttery Flaky Pie Crust delivers tender layers that practically melt in your mouth while still holding up beautifully to sweet and savory fillings alike. Whether you are baking a comforting apple pie for the holidays or preparing a savory quiche for brunch, this crust creates the perfect foundation every single time.
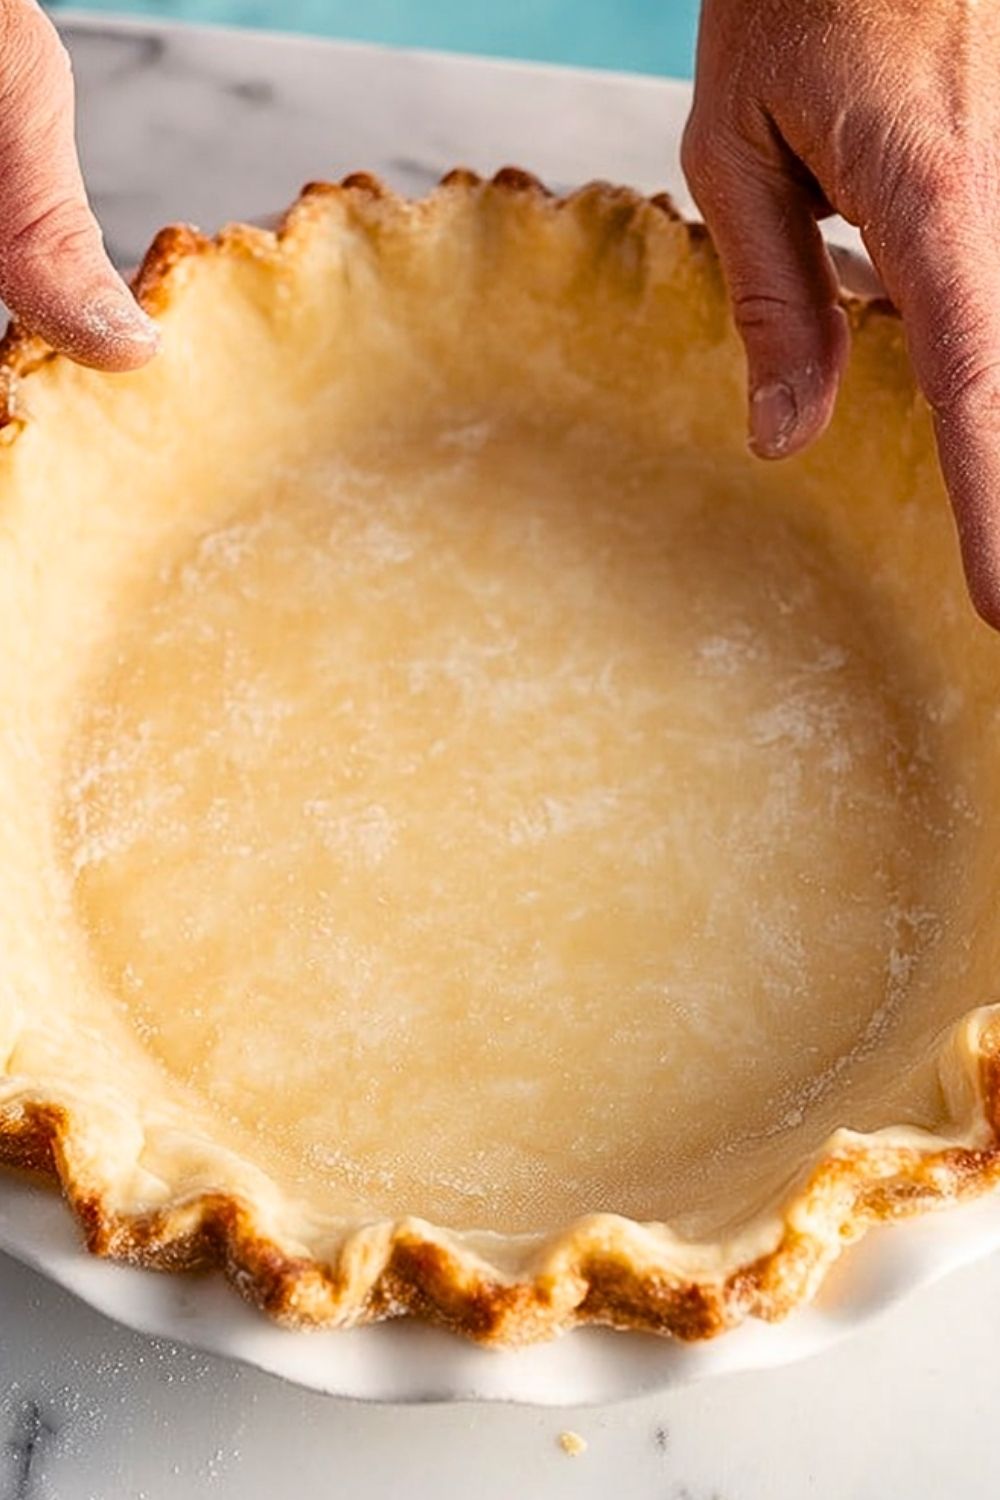
What makes this pie crust truly special is the balance between simplicity and texture. Made with basic pantry staples and a few smart techniques, the dough bakes into crisp golden layers with a rich buttery flavor. Even beginner bakers can achieve bakery-style results with a little patience and the right preparation.
Why You’ll Love This Buttery Flaky Pie Crust
This Buttery Flaky Pie Crust is reliable, versatile, and packed with rich homemade flavor. The cold butter creates delicate layers that turn crisp and airy in the oven, giving every bite an irresistible texture. It works beautifully for fruit pies, cream pies, pot pies, and even galettes, making it a must-have staple recipe for any baker.
Another reason this crust stands out is how easy it is to customize. You can prepare it ahead of time, freeze it for later use, or adapt it for decorative lattice tops and hand pies. The dough rolls out smoothly without cracking excessively, making the entire baking process more enjoyable and less stressful.
Preparation Phase & Tools to Use
Having the right tools makes a huge difference when preparing Buttery Flaky Pie Crust. A large mixing bowl gives you enough space to evenly combine the flour and butter without overworking the dough. A pastry cutter or food processor helps cut the butter into the flour efficiently, creating the pea-sized pieces needed for flaky layers. Measuring cups and spoons ensure accurate ingredient ratios, which is essential for achieving the proper dough consistency.
A rolling pin is important for evenly rolling out the dough without tearing it, while a pie dish provides structure and shape during baking. Using parchment paper or plastic wrap helps chill and store the dough properly, keeping the butter cold and preventing stickiness. Finally, a pastry brush is useful for applying egg wash or cream to achieve a beautiful golden crust.
Preparation Tips
Always start with very cold butter and ice water when making pie dough, as cold ingredients are the secret to creating flaky layers. Avoid overmixing the dough because excessive handling develops gluten, which can make the crust tough instead of tender. Once the dough comes together, chill it thoroughly before rolling to relax the gluten and firm up the butter. When rolling out the crust, lightly flour your work surface and rotate the dough frequently to prevent sticking and maintain an even shape. If the dough softens too much at any point, place it back in the refrigerator for a few minutes before continuing.
Ingredients for This Buttery Flaky Pie Crust
Dry Ingredients
- 2 ½ cups all-purpose flour
- 1 teaspoon salt
- 1 tablespoon granulated sugar (optional, but ideal for sweet pies)
Fat
- 1 cup unsalted butter, very cold and cut into small cubes
Liquid
- 6–8 tablespoons ice water
Optional Additions
- 1 teaspoon apple cider vinegar or lemon juice for extra tenderness
- 1 egg beaten with 1 tablespoon water for egg wash
- Coarse sugar for sprinkling on top of sweet pies
Ingredient Notes
Using high-quality butter makes a noticeable difference in flavor since butter is the star ingredient in this crust. European-style butter contains slightly more fat, which can create even richer layers. All-purpose flour provides the right balance of structure and tenderness, while a small amount of sugar enhances browning and flavor without making the crust overly sweet.
Ice water is essential because it keeps the butter cold as the dough forms. Small pockets of butter remain intact within the dough, creating steam in the oven that results in flaky layers. Adding vinegar or lemon juice is optional, but it can help prevent overdevelopment of gluten and make the dough easier to work with.
Step 1: Prepare the Dry Ingredients
In a large mixing bowl, whisk together the flour, salt, and sugar until evenly combined. Mixing the dry ingredients thoroughly ensures that the salt and sugar are distributed evenly throughout the dough. This step also aerates the flour slightly, contributing to a lighter texture.
If using a food processor, pulse the dry ingredients a few times before adding the butter. This creates a consistent base and speeds up the preparation process.
Step 2: Cut the Butter into the Flour
Add the cold cubed butter to the flour mixture. Using a pastry cutter, two forks, or your fingertips, work the butter into the flour until the mixture resembles coarse crumbs with some pea-sized butter pieces remaining. These visible pieces of butter are extremely important because they create the flaky layers during baking.
If using a food processor, pulse in short bursts to avoid overprocessing. Stop once the butter pieces are still visible. Overmixing at this stage can cause the butter to blend too fully into the flour, resulting in a denser crust.
Step 3: Add the Ice Water
Drizzle in the ice water one tablespoon at a time, gently mixing with a fork after each addition. Continue adding water just until the dough starts to clump together when pressed between your fingers. The dough should look slightly shaggy rather than smooth.
Be careful not to add too much water, as excess moisture can make the dough sticky and tough. Environmental factors such as humidity may slightly affect how much water you need.
Step 4: Form and Chill the Dough
Turn the dough onto a lightly floured surface and gently press it together into a ball. Divide the dough into two equal portions and shape each into a flat disk. Flattening the dough helps it chill faster and makes rolling easier later.
Wrap each disk tightly in plastic wrap or parchment paper and refrigerate for at least 1 hour. Chilling allows the butter to firm up and gives the gluten time to relax, making the dough easier to roll without shrinking.
For best results, chill the dough overnight if time allows. The flavor develops even more, and the texture becomes beautifully tender.
Step 5: Roll Out the Dough
Remove one dough disk from the refrigerator and let it sit for 5 to 10 minutes if it feels too firm. Lightly flour your work surface and rolling pin, then roll the dough outward from the center into a circle about 12 inches wide.
Rotate the dough frequently as you roll to prevent sticking and maintain an even shape. If cracks appear around the edges, gently press them back together. Avoid overflouring the surface because too much flour can dry out the crust.
Step 6: Transfer the Dough to the Pie Dish
Carefully fold the rolled dough in half or roll it loosely around the rolling pin to transfer it to the pie dish. Gently lower it into the pan without stretching the dough. Stretching causes shrinkage during baking.
Press the dough lightly into the bottom and sides of the dish. Leave about 1 inch of overhang around the edges to allow room for crimping and decorative finishing.
Step 7: Crimp and Shape the Edges
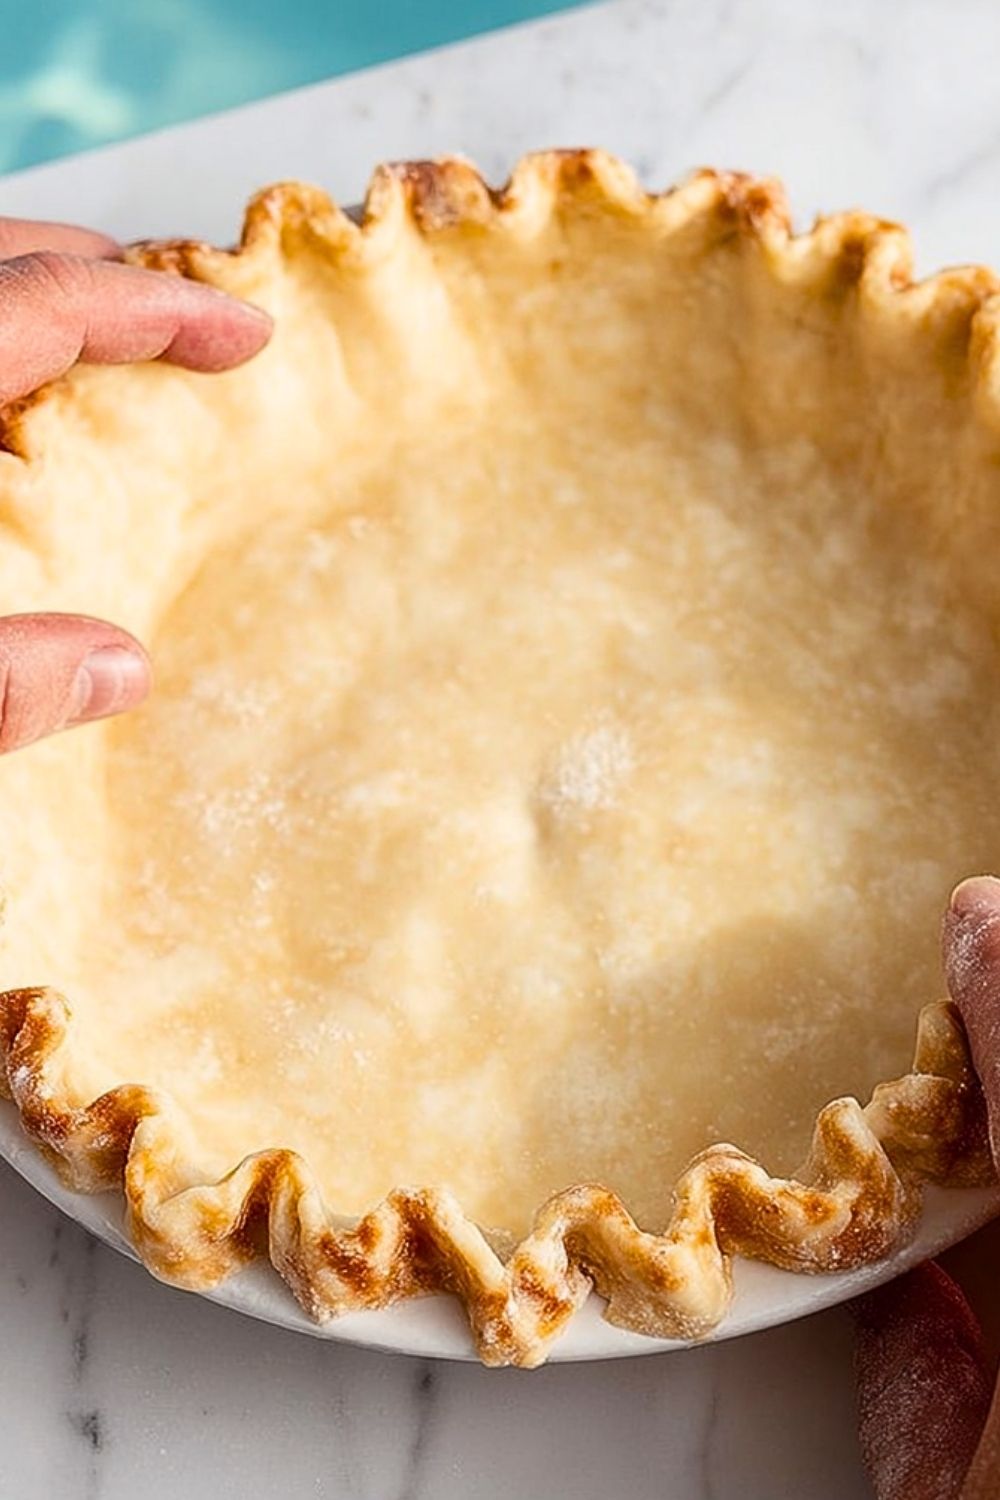
Trim any excess dough with kitchen scissors or a knife if needed. Fold the overhang underneath itself to create a thicker edge, then crimp using your fingers or the tines of a fork.
Decorative edges not only make the pie look beautiful but also help reinforce the crust structure. You can create classic fluting, braided edges, or use cookie cutters for decorative shapes.
Step 8: Chill Before Baking
Place the prepared crust back in the refrigerator for at least 20 to 30 minutes before baking. This additional chilling step is one of the most important secrets for preventing shrinking and maintaining sharp crimped edges.
If making a double-crust pie, chill the assembled pie before placing it into the oven. Cold butter entering a hot oven produces maximum flakiness.
Step 9: Blind Bake if Necessary
For custard pies, cream pies, or recipes with wet fillings, blind baking helps keep the crust crisp. Line the chilled crust with parchment paper and fill it with pie weights, dried beans, or uncooked rice.
Bake at 375°F (190°C) for about 15 minutes, then remove the weights and parchment. Continue baking for another 5 to 10 minutes until lightly golden if a fully baked crust is needed.
Step 10: Bake and Finish
Fill the crust according to your pie recipe and bake as directed. For double-crust pies, brush the top with egg wash and sprinkle with coarse sugar for a glossy golden finish.
Keep an eye on the crust edges while baking. If they begin browning too quickly, cover them loosely with foil or a pie shield. Once baked, allow the pie to cool appropriately before slicing to help the filling set properly.
Notes
Making a truly exceptional Buttery Flaky Pie Crust comes down to temperature, patience, and gentle handling. Keeping the butter cold throughout the process is one of the most important factors because those tiny cold butter pockets create steam in the oven, forming delicate flaky layers. If your kitchen is warm, refrigerate the dough and even your mixing bowl periodically while working.
This crust recipe is incredibly versatile and can be used for both sweet and savory dishes. For sweet pies, the optional sugar enhances flavor and encourages a golden finish. For savory recipes such as chicken pot pie or quiche, you can omit the sugar entirely without affecting the structure of the crust.
You can also make the dough ahead of time for easier baking days. The dough keeps well in the refrigerator for several days and freezes beautifully for long-term storage. Preparing pie dough in advance not only saves time but often improves the final texture because the dough has more time to hydrate and relax.
Another helpful tip is to avoid overworking the dough after adding water. The dough should look slightly rough and uneven before chilling. Smooth dough may seem appealing, but it often indicates overmixing, which can lead to a tougher crust.
Watch Out for These Mistakes While Cooking
Using Warm Butter
Warm butter blends too quickly into the flour instead of remaining in small pieces. This eliminates the flaky layers and can produce a greasy or dense crust.
Adding Too Much Water
Excess water creates sticky dough and encourages too much gluten development, making the crust chewy instead of tender.
Overmixing the Dough
Handling the dough too much activates the gluten in the flour, leading to a tough texture. Mix only until the dough just comes together.
Skipping the Chilling Time
Chilling is not optional for flaky pie crust. If the dough is too warm before baking, the butter melts prematurely and the crust loses its layered texture.
Stretching the Dough into the Pie Pan
Stretching the dough may seem harmless, but it causes the crust to shrink while baking. Always gently lower and fit the dough into the dish.
Not Protecting the Edges
Pie crust edges can brown much faster than the center. Use foil or a pie shield if the edges darken too quickly during baking.
Underbaking the Bottom Crust
A pale bottom crust can become soggy, especially with fruit fillings. Bake until the bottom is fully cooked and golden for the best texture.
Overflouring the Surface
Too much flour during rolling can dry out the dough and alter the balance of ingredients. Use only enough flour to prevent sticking.
Storage Instructions
Freshly prepared pie dough can be stored tightly wrapped in the refrigerator for up to 3 days before use. If you plan to store it longer, freezing is the best option. Wrap each dough disk securely in plastic wrap, followed by a layer of aluminum foil or a freezer-safe bag, and freeze for up to 3 months.
When ready to use frozen dough, transfer it to the refrigerator and allow it to thaw overnight. Avoid thawing at room temperature because the butter may soften unevenly, affecting the texture.
Baked pie crust can also be stored at room temperature for up to 2 days if kept loosely covered. For longer storage, refrigerate the baked crust and reheat briefly in the oven before serving to restore crispness.
If storing a fully baked pie with filling, follow the storage instructions appropriate for the filling type. Fruit pies generally keep well at room temperature for a short period, while cream and custard pies require refrigeration.
Estimated Nutrition
Per Serving (Based on 8 Servings)
- Calories: 260
- Total Fat: 18g
- Saturated Fat: 11g
- Cholesterol: 45mg
- Sodium: 190mg
- Carbohydrates: 22g
- Fiber: 1g
- Sugar: 1g
- Protein: 3g
Nutritional values are approximate and may vary depending on ingredient brands, portion sizes, and preparation methods.
Frequently Asked Questions
Can I make Buttery Flaky Pie Crust without a food processor?
Absolutely. A pastry cutter, forks, or even your fingertips can be used to cut the butter into the flour successfully.
Why is my pie crust tough instead of flaky?
Tough crust usually happens from overmixing the dough or adding too much water, both of which develop excess gluten.
How do I know if I added enough water?
The dough should hold together when squeezed in your hand but should not feel wet or sticky.
Can I freeze pie crust dough?
Yes, pie dough freezes very well for up to 3 months when wrapped properly.
What type of butter works best for pie crust?
Unsalted high-fat butter is ideal because it provides rich flavor and better control over salt levels.
Why does my pie crust shrink during baking?
Shrinkage is often caused by stretching the dough into the pie dish or skipping the chilling step before baking.
Do I always need to blind bake the crust?
No. Blind baking is mainly necessary for pies with wet fillings or fillings that do not bake long enough to fully cook the crust.
Can I use this crust recipe for savory pies?
Yes, this crust works beautifully for savory recipes such as pot pies, quiches, and meat pies. Simply omit the optional sugar.
Conclusion
This Buttery Flaky Pie Crust is a timeless kitchen essential that delivers rich buttery flavor and perfectly crisp layers with every bake. Whether you are creating a classic fruit pie, a comforting savory dish, or an elegant holiday dessert, mastering this crust gives you the confidence to tackle countless homemade creations.
With cold ingredients, proper chilling, and gentle handling, even beginner bakers can achieve professional-quality results. Once you experience the taste and texture of homemade pie crust, it quickly becomes a staple recipe you will return to again and again.
Buttery Flaky Pie Crust
- Total Time: 1 hour 40 minutes
- Yield: 2 pie crusts
- Diet: Vegetarian
Description
This Buttery Flaky Pie Crust is the secret to bakery-style pies with crisp golden layers and rich buttery flavor in every bite. Perfect for holiday desserts, easy dinner ideas, savory pies, and homemade baking projects, this easy recipe creates a tender crust that works beautifully with fruit fillings, cream pies, quiches, and pot pies. Whether you are searching for classic comfort food ideas or a reliable homemade pie dough, this quick and versatile crust delivers delicious results every time.
Ingredients
2 ½ cups all-purpose flour
1 teaspoon salt
1 tablespoon granulated sugar
1 cup unsalted butter, cold and cubed
6 tablespoons ice water
1 teaspoon apple cider vinegar
1 egg
1 tablespoon water
1 tablespoon coarse sugar
Instructions
1. In a large mixing bowl, whisk together the flour, salt, and sugar until evenly combined.
2. Add the cold cubed butter and cut it into the flour using a pastry cutter or forks until the mixture resembles coarse crumbs with pea-sized butter pieces.
3. Stir in the apple cider vinegar.
4. Add the ice water one tablespoon at a time, gently mixing until the dough just begins to come together.
5. Turn the dough onto a lightly floured surface and shape it into two flat disks.
6. Wrap the dough tightly and refrigerate for at least 1 hour.
7. Roll out one disk on a lightly floured surface into a 12-inch circle.
8. Transfer the dough carefully into a pie dish without stretching it.
9. Trim and crimp the edges as desired.
10. Chill the prepared crust for 20 to 30 minutes before baking.
11. For blind baking, line the crust with parchment paper and pie weights, then bake at 375°F for 15 minutes. Remove the weights and bake 5 to 10 minutes longer if needed.
12. Fill and bake according to your pie recipe instructions. Brush with egg wash and sprinkle with coarse sugar for a golden finish if desired.
Notes
Keep the butter as cold as possible throughout the entire process to achieve perfectly flaky layers.
Do not overmix the dough after adding water, as too much handling can create a tough crust instead of a tender one.
Always chill the dough before rolling and again before baking to prevent shrinking and maintain a crisp texture.
- Prep Time: 20 minutes
- Cook Time: 20 minutes
- Category: Dessert
- Method: Baking
- Cuisine: American
Nutrition
- Serving Size: 1 slice
- Calories: 260
- Sugar: 1g
- Sodium: 190mg
- Fat: 18g
- Saturated Fat: 11g
- Unsaturated Fat: 5g
- Trans Fat: 0g
- Carbohydrates: 22g
- Fiber: 1g
- Protein: 3g
- Cholesterol: 45mg
Keywords: buttery flaky pie crust, homemade pie dough, easy pie crust recipe, flaky pastry, baking recipes, pie dough recipe, homemade crust, dessert ideas