
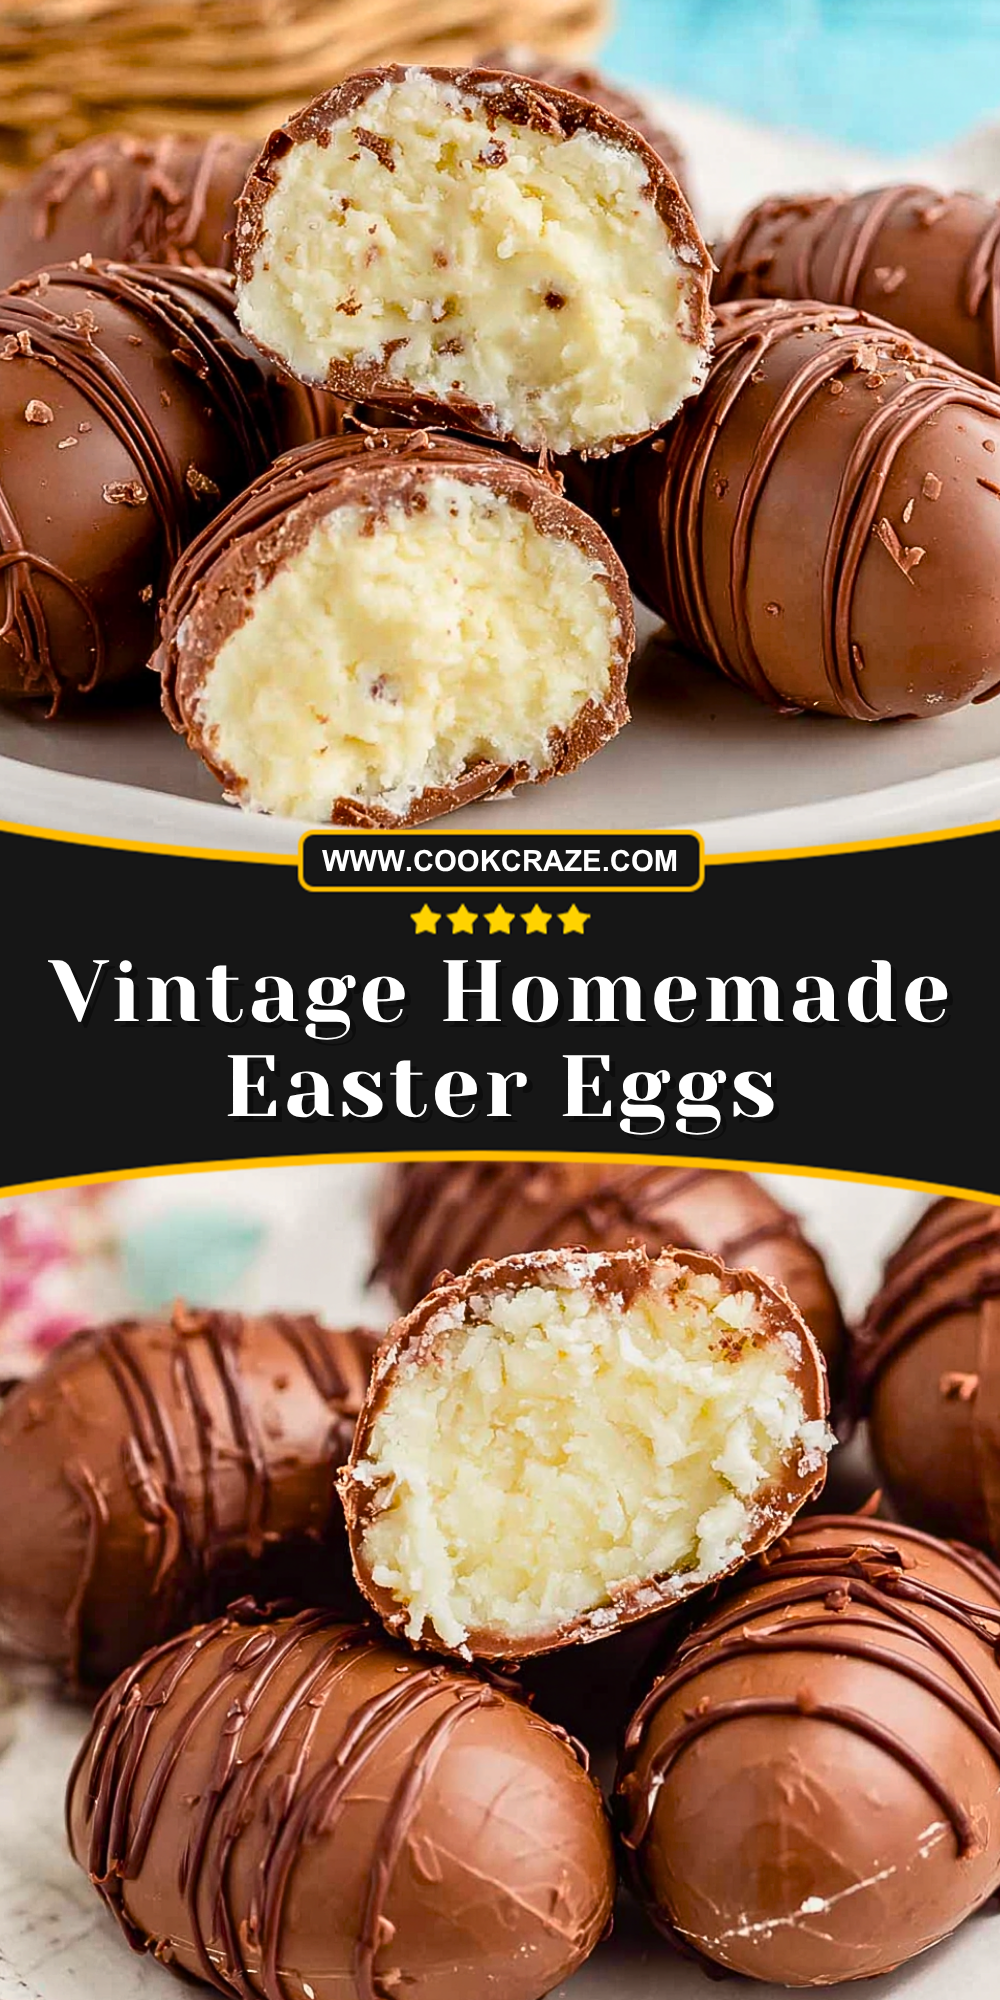
I still remember the first time I made these vintage homemade Easter eggs in my kitchen. There was something incredibly nostalgic about shaping the creamy centers by hand and dipping them into silky melted chocolate. The process felt almost therapeutic, and the result tasted even better than I had imagined—rich, sweet, and perfectly indulgent.
WANT TO SAVE THIS RECIPE?
Just enter your email and get it sent to your inbox!
Every time I recreate this recipe, it brings back that same comforting feeling. These Easter eggs aren’t just a treat; they’re a tradition waiting to happen. Whether you’re making them for a holiday gathering or simply to satisfy a sweet craving, they carry a homemade charm that store-bought candies just can’t match.
Why You’ll Love This Vintage Homemade Easter Eggs
There’s a certain magic in making candy from scratch, and these vintage homemade Easter eggs capture that beautifully. The creamy filling paired with a smooth chocolate coating creates a perfect balance of textures and flavors. They’re also surprisingly simple to prepare, even if you’re new to candy-making.
Another reason I keep coming back to this recipe is how customizable it is. You can adjust the sweetness, experiment with flavors, or even decorate them to match different occasions. Plus, they make thoughtful homemade gifts that feel personal and special.
What Makes Vintage Homemade Easter Eggs So Special?
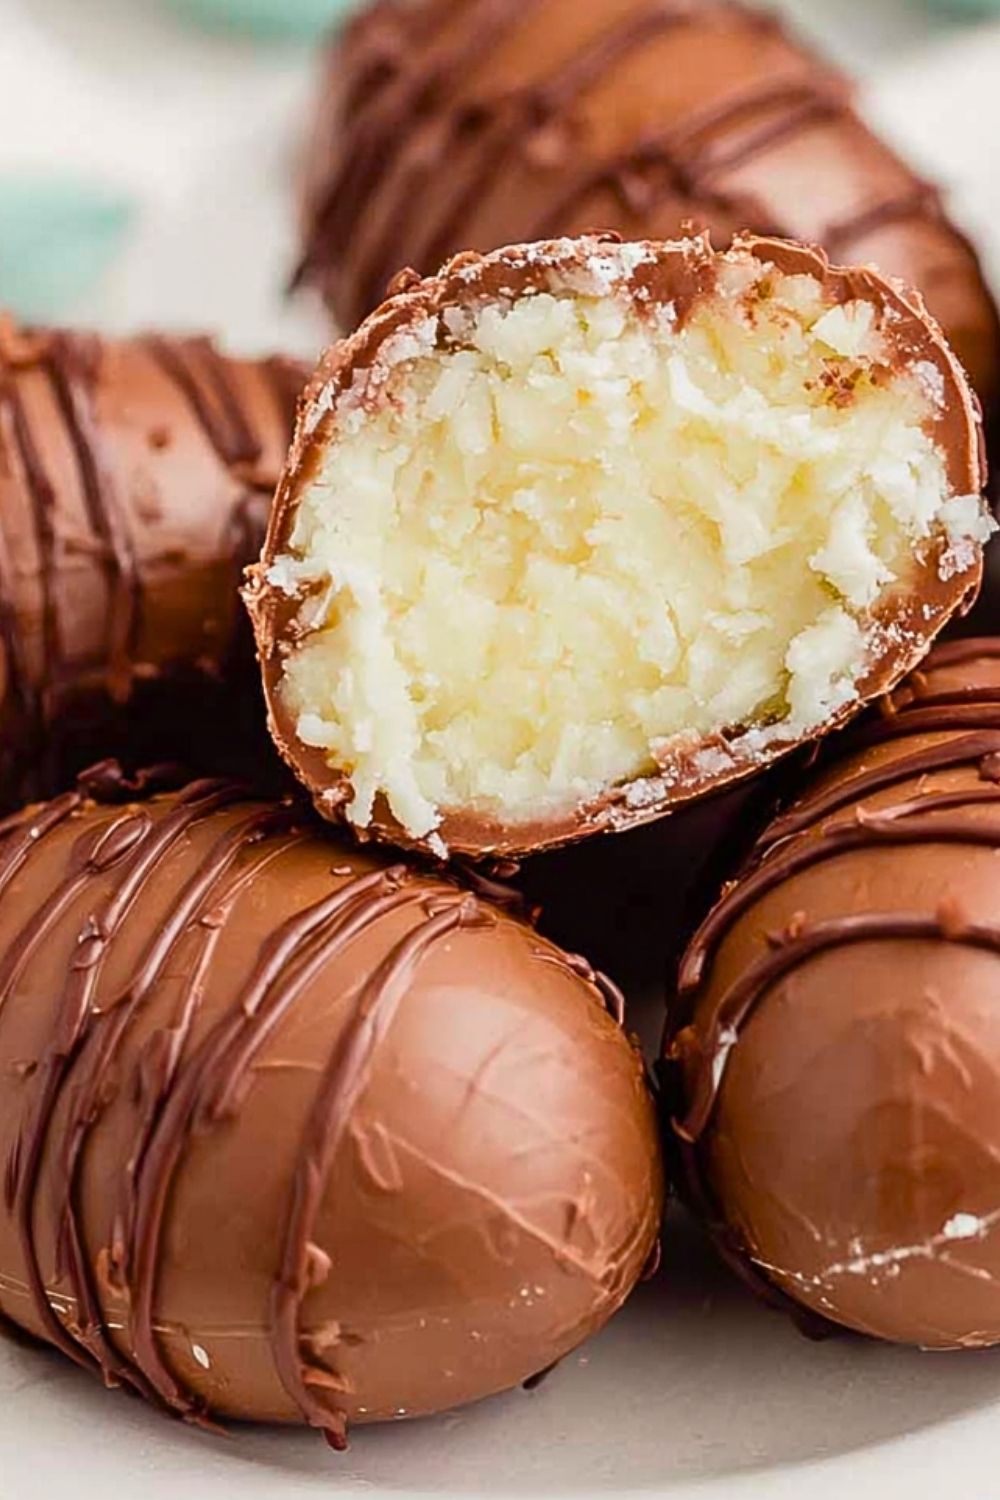
What sets these apart is their old-fashioned simplicity. Unlike modern candies filled with preservatives and artificial flavors, these rely on basic pantry ingredients to create something truly memorable. The texture of the filling is soft and slightly crumbly, almost like a melt-in-your-mouth fudge.
There’s also a sentimental element to them. Recipes like this have been passed down through generations, making each bite feel like a connection to the past. It’s the kind of treat that tells a story.
Options for Substitutions
If you’re missing a few ingredients or want to tweak the recipe, there’s plenty of flexibility. Butter can be swapped with margarine or a plant-based alternative if you’re aiming for a dairy-free version. Similarly, you can use dark chocolate instead of milk chocolate for a richer flavor.
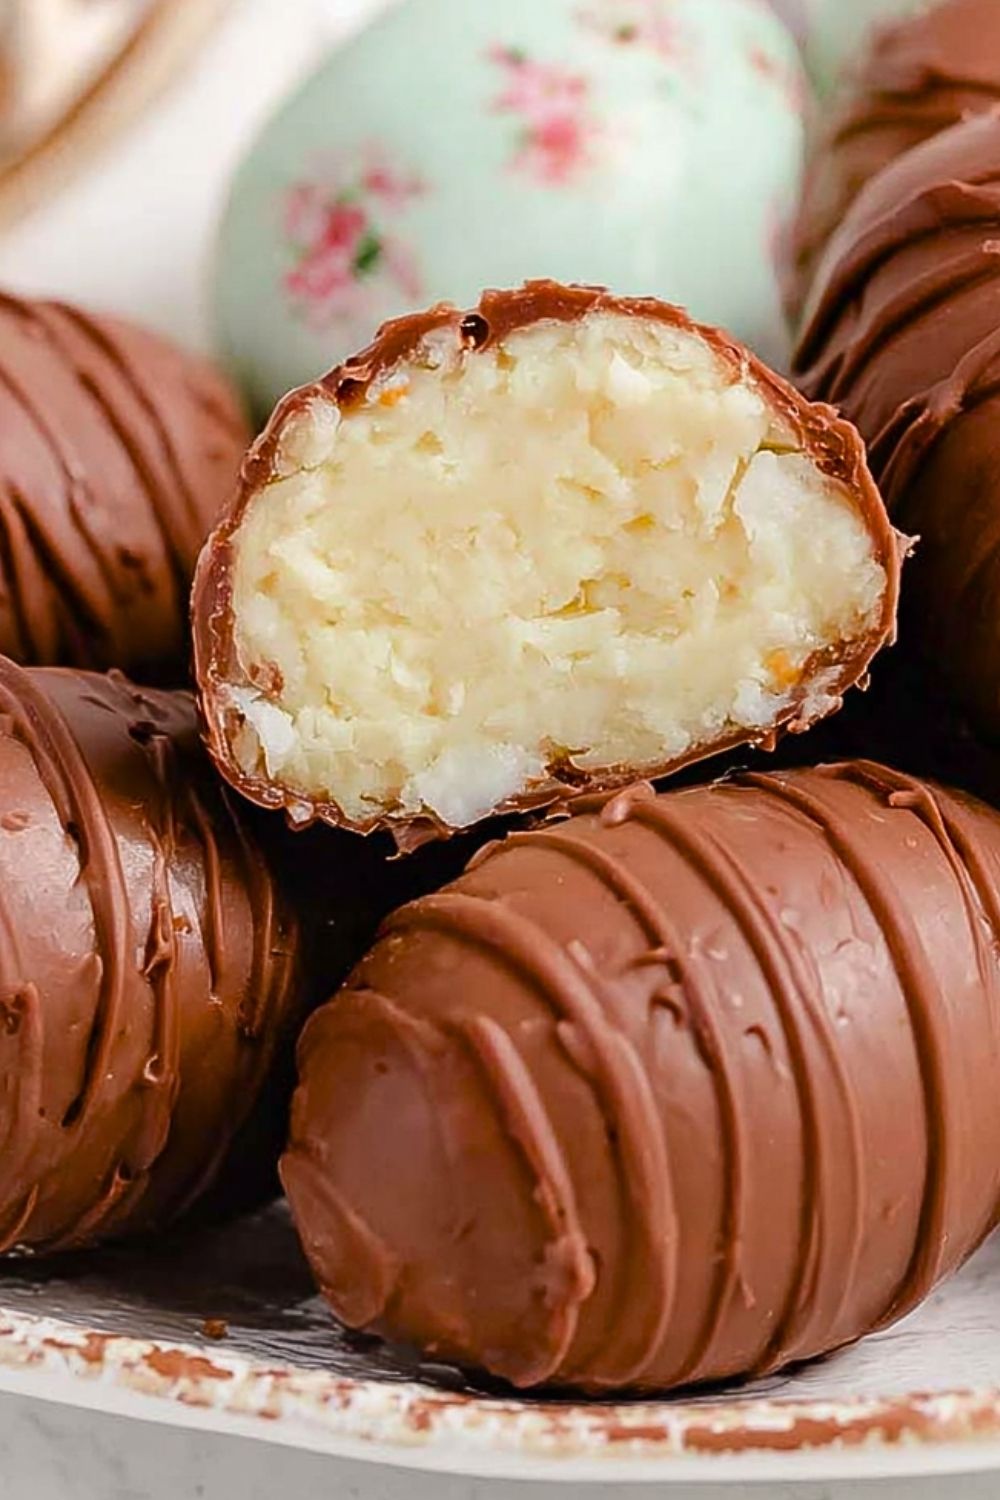
For the filling, some people like to add shredded coconut or finely chopped nuts for extra texture. If you prefer a lighter sweetness, reducing the sugar slightly or adding a pinch of salt can help balance the flavor. Even flavor extracts like almond or lemon can give these eggs a unique twist.
Ingredients for this Vintage Homemade Easter Eggs
Granulated Sugar – This is the backbone of the filling, giving the eggs their signature sweetness and structure. It helps create that classic firm yet creamy texture.
Unsalted Butter – Adds richness and smoothness to the filling. It also helps bind the ingredients together and enhances the overall flavor.
Cream Cheese – This is what gives the filling its soft, velvety consistency and a slight tang that balances the sweetness.
Vanilla Extract – A small amount goes a long way in adding warmth and depth to the flavor profile.
Powdered Sugar – Essential for thickening the mixture and achieving that moldable dough-like consistency needed to shape the eggs.
Milk Chocolate – Used for coating, it provides a smooth, sweet shell that complements the creamy interior.
Vegetable Oil or Shortening – Helps thin the melted chocolate slightly, making it easier to dip and ensuring a glossy finish.
Optional Add-ins (Coconut, Nuts, Flavor Extracts) – These allow you to customize the filling with added texture or unique flavors.
Step 1: Prepare the Filling Base
Start by creaming together the softened butter and cream cheese in a large mixing bowl. Mix until the texture becomes smooth and fluffy, with no visible lumps. This step is crucial because it ensures the filling will be silky and uniform.
Step 2: Add Flavoring
Pour in the vanilla extract and mix thoroughly. If you’re planning to experiment with other flavors like almond or lemon, this is the perfect stage to incorporate them.
Step 3: Incorporate Powdered Sugar
Gradually add powdered sugar, one cup at a time, mixing continuously. The mixture will begin to thicken and transform into a dough-like consistency. You’ll know it’s ready when it’s firm enough to hold its shape without sticking excessively to your hands.
Step 4: Customize the Filling
If you’re using optional ingredients like shredded coconut or chopped nuts, gently fold them into the mixture now. Make sure they’re evenly distributed so each bite has a balanced texture.
Step 5: Shape the Eggs
Scoop out portions of the filling and roll them into oval or egg shapes using your hands. Place each shaped piece onto a parchment-lined baking sheet. Try to keep the sizes consistent for even coating later.
Step 6: Chill the Eggs
Transfer the tray to the refrigerator and let the eggs chill for at least 1–2 hours. This step is essential because it firms up the filling, making it easier to dip in chocolate without falling apart.
Step 7: Melt the Chocolate
In a microwave-safe bowl or using a double boiler, melt the milk chocolate slowly. Stir frequently to prevent burning. Add a small amount of vegetable oil or shortening to achieve a smoother, more fluid consistency.
Step 8: Dip the Eggs
Using a fork or dipping tool, carefully lower each chilled egg into the melted chocolate. Ensure it’s fully coated, then lift it out and let the excess chocolate drip off before placing it back onto the parchment paper.
Step 9: Add Decorative Touches
While the chocolate is still slightly wet, you can drizzle extra chocolate over the top or add sprinkles for a festive look. This step is optional but adds a beautiful finish.
Step 10: Let Them Set
Allow the chocolate-coated eggs to sit at room temperature or in the refrigerator until the coating is fully hardened. Once set, they’re ready to enjoy.
How Long to Prepare the Vintage Homemade Easter Eggs
Preparing these vintage homemade Easter eggs doesn’t require complicated techniques, but it does benefit from a bit of patience. The active preparation time—mixing, shaping, and dipping—typically takes about 30 to 45 minutes depending on your experience and how many eggs you’re making.
The most important time factor is chilling. Allowing the shaped eggs to rest in the refrigerator for at least 1–2 hours ensures they firm up properly. This step makes dipping much easier and helps the chocolate coating set beautifully. If you’re planning ahead, you can even chill them overnight for best results.
Tips for Perfect Vintage Homemade Easter Eggs
Use room temperature butter and cream cheese to avoid lumps in your filling. A smooth base makes all the difference in texture.
Don’t rush the chilling process. Firm centers are much easier to coat and will hold their shape better.
When melting chocolate, go slowly and stir often. Overheated chocolate can become thick and difficult to work with.
Use a fork or dipping tool to achieve a clean, even coating and allow excess chocolate to drip off naturally.
If you want a professional finish, tap the fork gently on the bowl edge to remove extra chocolate before placing the eggs down.
Watch Out for These Mistakes While Cooking
Skipping the chill time can lead to soft centers that fall apart during dipping. It’s one of the most common issues.
Adding powdered sugar too quickly may create lumps in the mixture. Always add it gradually.
Overheating chocolate can cause it to seize or burn, resulting in a grainy texture.
Making the eggs too large can make them difficult to handle and coat evenly.
Using cold ingredients straight from the fridge can prevent the filling from blending smoothly.
What to Serve With Vintage Homemade Easter Eggs?
Fresh Fruit Platter
The natural sweetness and slight acidity of fruits like strawberries and oranges balance the richness of the eggs.
Coffee or Espresso
A warm cup of coffee pairs beautifully with the creamy filling and chocolate coating, cutting through the sweetness.
Vanilla Ice Cream
Serving these eggs alongside a scoop of vanilla ice cream creates a decadent dessert experience.
Hot Chocolate
For an extra indulgent treat, pair them with a mug of rich hot chocolate, especially during cooler weather.
Light Whipped Cream Dessert
A simple whipped cream with a hint of vanilla offers a light and airy contrast to the dense candy.
Storage Instructions
These vintage homemade Easter eggs store quite well when handled properly. Place them in an airtight container and keep them in the refrigerator to maintain freshness and texture. They typically last up to one week when chilled.
If you’d like to store them longer, freezing is an option. Arrange them in a single layer, freeze until solid, then transfer to a freezer-safe container. When ready to enjoy, allow them to thaw in the refrigerator to prevent condensation from affecting the chocolate coating.
For best flavor and texture, serve them slightly chilled or at room temperature after a short rest outside the fridge.
Estimated Nutrition
Each egg is a rich treat, so moderation is key. On average, one piece contains approximately 150–200 calories depending on size and ingredients used.
They also include fats from butter and chocolate, carbohydrates from sugar, and a small amount of protein from the dairy components. Adjustments like using dark chocolate or reducing sugar can slightly change the nutritional profile.
Frequently Asked Questions
Can I make these eggs ahead of time?
Yes, they are perfect for preparing in advance. You can make them a few days before serving and store them in the refrigerator.
Why is my filling too soft?
This usually happens if there isn’t enough powdered sugar or if the mixture hasn’t been chilled long enough.
Can I use dark chocolate instead of milk chocolate?
Absolutely. Dark chocolate adds a richer, less sweet contrast to the creamy filling.
How do I prevent the chocolate from cracking?
Make sure the filling isn’t too cold when dipping, and avoid sudden temperature changes during setting.
Can I add food coloring to the filling?
Yes, gel food coloring works best and won’t affect the consistency of the mixture.
Conclusion
Vintage homemade Easter eggs are more than just a sweet treat—they’re a delightful blend of tradition, flavor, and creativity. From shaping the creamy centers to dipping them in smooth chocolate, every step offers a chance to create something special.
Once you’ve made them yourself, it’s easy to see why this recipe has stood the test of time. Whether you’re sharing them with family or enjoying one quietly with a cup of coffee, they bring a sense of warmth and homemade goodness that’s hard to beat.
Vintage Homemade Easter Eggs
- Total Time: 1 hour 30 minutes
- Yield: 18 eggs
- Diet: Vegetarian
Description
If you’re looking for a nostalgic, no-bake treat that feels just as special as it tastes, these Vintage Homemade Easter Eggs are exactly what you need. With their creamy filling and smooth chocolate coating, they’re a perfect easy dessert, holiday treat, and sweet snack idea. These eggs are simple to make and ideal for Easter, family gatherings, or whenever you want a quick homemade candy recipe.
Ingredients
1/2 cup unsalted butter softened
8 oz cream cheese softened
1 teaspoon vanilla extract
4 cups powdered sugar
2 cups milk chocolate chips
1 tablespoon vegetable oil
1/2 cup shredded coconut optional
1/2 cup chopped nuts optional
Instructions
1. In a large bowl, beat butter and cream cheese together until smooth and creamy.
2. Add vanilla extract and mix until fully combined.
3. Gradually add powdered sugar, mixing until a thick dough forms.
4. Fold in coconut or nuts if using.
5. Shape into egg forms and place on parchment paper.
6. Refrigerate for 1 to 2 hours until firm.
7. Melt chocolate chips with vegetable oil until smooth.
8. Dip each egg into melted chocolate and coat fully.
9. Place back on parchment and let excess drip off.
10. Let chocolate set completely before serving.
Notes
Chill the filling thoroughly before dipping for best results.
Melt chocolate slowly to avoid burning.
Use a fork or dipping tool for smooth coating.
- Prep Time: 30 minutes
- Cook Time: 0 minutes
- Category: Dessert
- Method: No-Bake
- Cuisine: American
Nutrition
- Serving Size: 1 egg
- Calories: 180
- Sugar: 16g
- Sodium: 55mg
- Fat: 10g
- Saturated Fat: 6g
- Unsaturated Fat: 3g
- Trans Fat: 0g
- Carbohydrates: 22g
- Fiber: 1g
- Protein: 2g
- Cholesterol: 20mg
Keywords: easter candy, homemade chocolate eggs, easy dessert, holiday treats, sweet snacks