
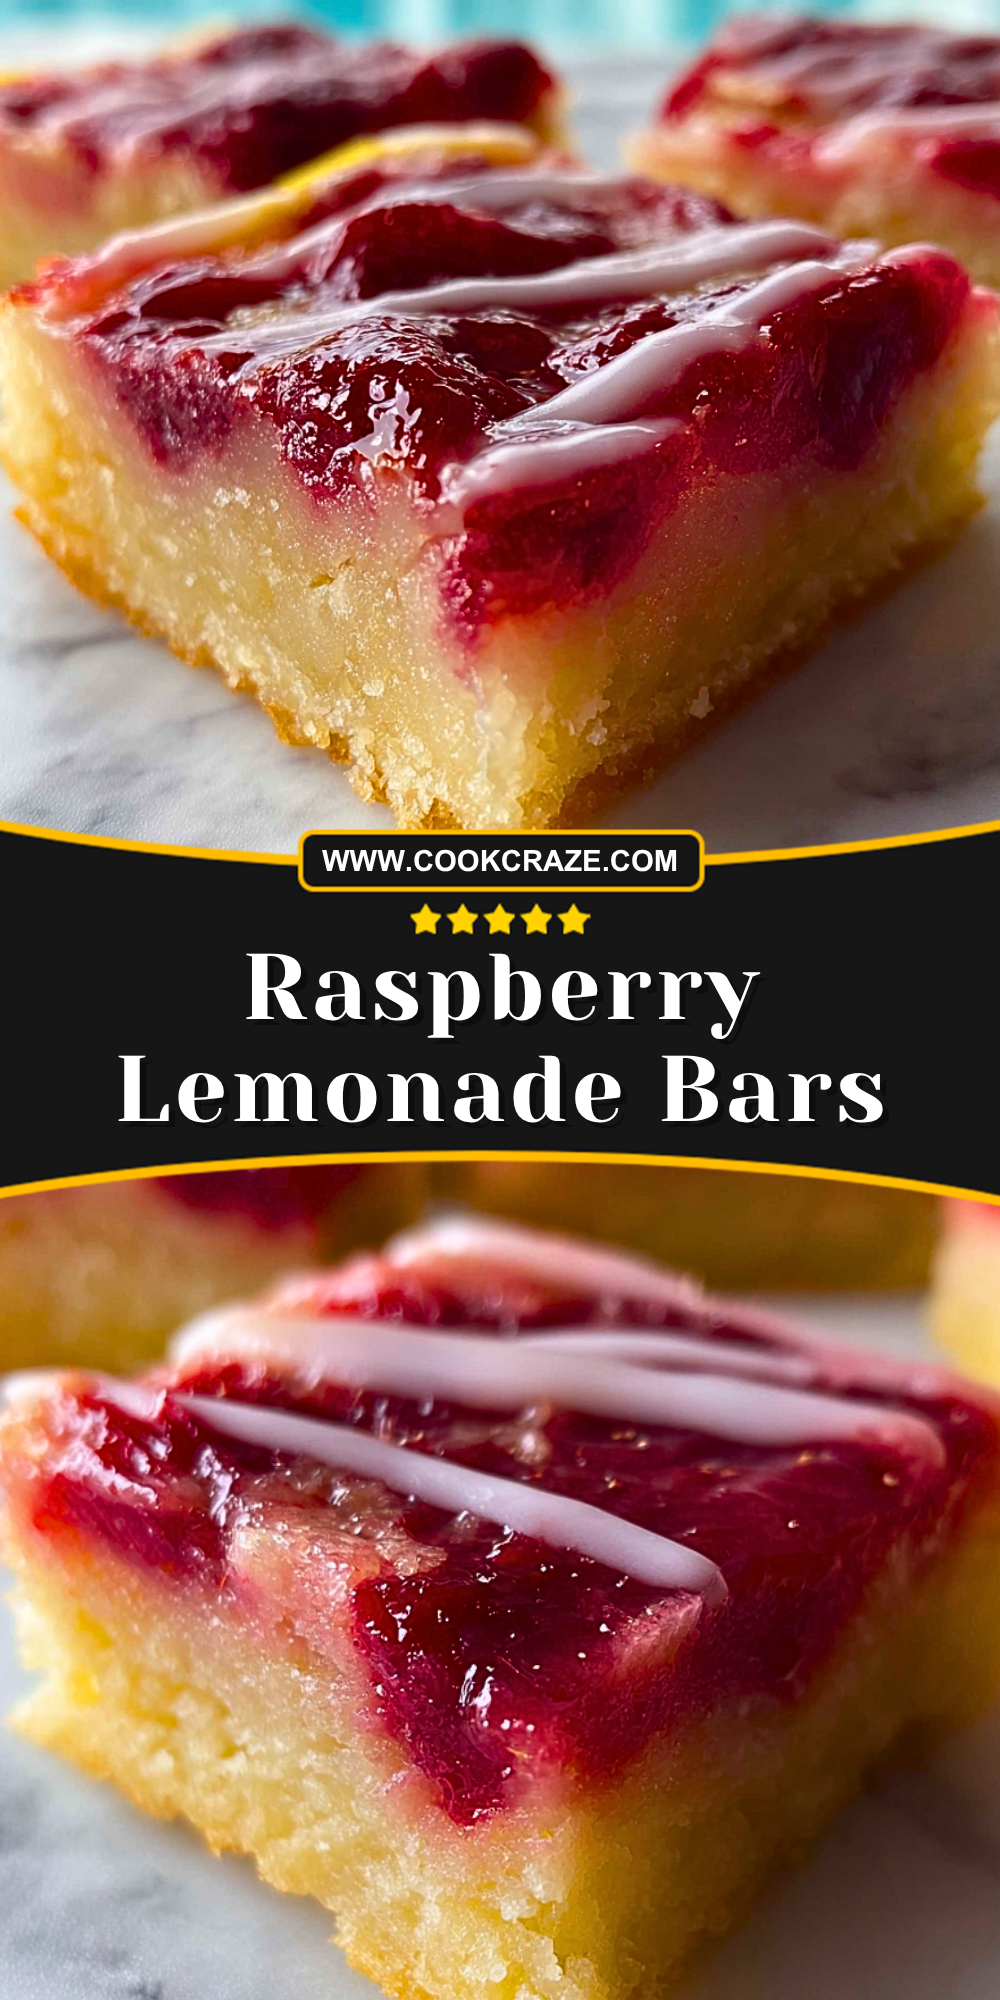
Bright, tangy, and irresistibly sweet, Raspberry Lemonade Bars bring together the refreshing flavor of lemonade with the juicy richness of raspberries in every bite. These vibrant dessert bars feature a soft buttery crust topped with a silky lemon filling swirled with raspberry goodness, then finished with a delicate glaze that adds just the right amount of sweetness. Their cheerful color and refreshing flavor make them perfect for spring gatherings, summer picnics, bake sales, or afternoon treats.
WANT TO SAVE THIS RECIPE?
Just enter your email and get it sent to your inbox!
What makes these bars truly memorable is the balance of flavors and textures. The tart lemon filling cuts through the sweetness beautifully, while the raspberries add a fruity burst that feels both fresh and indulgent. Each square is soft, creamy, and packed with citrus flavor, making these bars a crowd-pleasing dessert that looks as impressive as it tastes.
Why You’ll Love This Raspberry Lemonade Bars Recipe
These Raspberry Lemonade Bars are the kind of dessert that disappears quickly once served. They’re easy to prepare, require simple pantry ingredients, and deliver bakery-style results without complicated techniques. The combination of raspberry and lemon creates a refreshing dessert that feels light yet satisfying.
Another reason to love this recipe is its versatility. These bars work beautifully for brunch spreads, holiday dessert tables, summer cookouts, or casual family desserts. The bright pink raspberry topping also gives them an elegant appearance that instantly stands out on any dessert tray.
They can be made ahead of time, chilled until ready to serve, and sliced neatly for parties or gatherings. Plus, the smooth lemon filling and fruity topping pair wonderfully with coffee, tea, or fresh lemonade.
Preparation Phase & Tools to Use
To create perfectly layered Raspberry Lemonade Bars, having the right kitchen tools makes the process easier and ensures consistent results.
A 9×13-inch baking dish is essential for achieving evenly baked bars with the ideal thickness. Using parchment paper in the pan allows for easy lifting and cleaner slicing after chilling.
Mixing bowls are important for separating the crust mixture from the lemon filling. A medium whisk helps blend the filling smoothly and prevents lumps from forming, especially when incorporating eggs and lemon juice.
A silicone spatula is helpful for spreading the raspberry mixture evenly across the surface without disturbing the layers. Measuring cups and spoons ensure precise ingredient portions, which is especially important for balancing the tartness and sweetness.
Finally, a cooling rack helps the bars cool evenly before refrigeration, while a sharp knife creates clean bakery-style slices once chilled.
Preparation Tips
For the best texture, use fresh lemon juice rather than bottled juice because it provides a brighter and more natural citrus flavor. Allow the eggs and cream cheese, if using, to come to room temperature before mixing to create a smoother filling without lumps.
When spreading the raspberry layer, avoid overmixing it into the lemon filling so the beautiful swirled appearance remains visible after baking. Chilling the bars completely before slicing is another important step, as it helps the layers firm up and gives cleaner cuts.
If you want extra vibrant raspberry flavor, fresh raspberries work beautifully, though frozen raspberries can also be used when fresh berries are out of season. Lightly dusting the knife with powdered sugar or wiping it clean between cuts helps maintain neat slices for presentation.
Ingredients for Raspberry Lemonade Bars
For the Crust
- 2 cups all-purpose flour
- 1/2 cup granulated sugar
- 1 cup unsalted butter, melted
- 1/4 teaspoon salt
- 1 teaspoon vanilla extract
For the Lemon Filling
- 4 large eggs
- 1 3/4 cups granulated sugar
- 1/2 cup all-purpose flour
- 2/3 cup freshly squeezed lemon juice
- 1 tablespoon lemon zest
- 1/4 teaspoon salt
- 1 teaspoon vanilla extract
For the Raspberry Layer
- 2 cups fresh or frozen raspberries
- 1/4 cup granulated sugar
- 1 tablespoon lemon juice
- 1 tablespoon cornstarch
- 2 tablespoons water
For the Glaze
- 1 cup powdered sugar
- 2 tablespoons lemon juice
- 1 tablespoon milk or cream
Optional Garnishes
- Fresh raspberries
- Lemon zest curls
- Powdered sugar dusting
- Mint leaves
Step 1: Prepare the Baking Pan
Preheat your oven to 350°F (175°C). Line a 9×13-inch baking dish with parchment paper, leaving extra paper hanging over the sides to make lifting the bars easier after baking.
Lightly grease the parchment paper with nonstick spray or butter to prevent sticking. Preparing the pan properly ensures the bars release cleanly and keeps the crust intact.
Step 2: Make the Buttery Crust
In a large mixing bowl, combine the flour, sugar, and salt. Pour in the melted butter and vanilla extract, then stir until the mixture forms soft crumbs.
Transfer the mixture into the prepared baking pan and press it down firmly into an even layer using the back of a measuring cup or spatula. Make sure the crust reaches all corners evenly to prevent thin spots.
Bake the crust for 15–18 minutes or until lightly golden around the edges. Remove it from the oven and allow it to cool slightly while preparing the filling.
Step 3: Prepare the Raspberry Mixture
Add raspberries, sugar, lemon juice, cornstarch, and water to a small saucepan over medium heat. Stir gently as the berries begin to break down.
Cook the mixture for 5–7 minutes until it thickens into a jam-like consistency. If you prefer a smoother texture, strain the mixture through a fine mesh sieve to remove seeds.
Allow the raspberry mixture to cool slightly before layering it over the bars.
Step 4: Mix the Lemon Filling
In a large bowl, whisk together the eggs and sugar until smooth and slightly pale in color. Add the flour and whisk until fully incorporated.
Pour in the fresh lemon juice, lemon zest, vanilla extract, and salt. Continue whisking until the filling becomes silky and lump-free.
The filling should have a smooth pourable consistency with a bright lemon aroma.
Step 5: Assemble the Raspberry Lemonade Bars
Pour the lemon filling evenly over the partially cooled crust. Spoon small dollops of the raspberry mixture across the top.
Use a butter knife or toothpick to gently swirl the raspberry mixture into the lemon filling. Avoid overmixing so the bars keep their beautiful marbled appearance.
The swirls should create ribbons of raspberry color throughout the lemon layer.
Step 6: Bake the Bars
Return the baking dish to the oven and bake for 22–28 minutes, or until the center is set and no longer jiggles excessively.
The edges should appear slightly firm while the middle remains soft but stable. Avoid overbaking because the bars continue to set as they cool.
Once baked, remove the pan from the oven and place it on a cooling rack.
Step 7: Cool and Chill
Allow the bars to cool completely at room temperature for about 1 hour. After cooling, transfer the pan to the refrigerator and chill for at least 2–3 hours.
Chilling is essential because it helps the lemon layer firm up, enhances the flavor, and makes slicing easier.
For the cleanest cuts, use a sharp knife wiped clean between slices.
Step 8: Prepare the Lemon Glaze
In a small bowl, whisk together powdered sugar, lemon juice, and milk until smooth. The glaze should be thick enough to drizzle but still fluid.
If the glaze feels too thick, add a few drops of milk. If it becomes too thin, add extra powdered sugar until the desired consistency is reached.
Step 9: Decorate the Bars
Drizzle the glaze across the chilled bars using a spoon or piping bag. Add extra lemon zest, fresh raspberries, or powdered sugar for a bakery-style finish.
The bright glaze adds another layer of citrus flavor while making the dessert visually striking.
Step 10: Slice and Serve
Lift the bars from the pan using the parchment paper overhang and place them on a cutting board.
Slice into squares or rectangles depending on your preferred serving size. Serve chilled for the best flavor and texture.
These Raspberry Lemonade Bars pair wonderfully with iced tea, coffee, lemonade, or fresh fruit for a refreshing dessert experience.
Notes
Raspberry Lemonade Bars are best enjoyed chilled because the cool temperature enhances the creamy lemon texture and intensifies the bright citrus flavor. The balance between tart lemon and sweet raspberry creates a refreshing dessert that feels light while still being rich and satisfying.
Using freshly squeezed lemon juice makes a noticeable difference in flavor compared to bottled juice. Fresh lemons provide a cleaner, more vibrant citrus taste that complements the raspberry layer beautifully. If possible, choose ripe raspberries with deep color for the most flavorful topping.
These bars can easily be customized depending on your preferences. A buttery shortbread crust creates a classic base, but you can also experiment with graham cracker crusts or vanilla cookie crusts for a different texture. Adding extra lemon zest gives the bars a stronger citrus punch, while a thicker raspberry swirl creates a sweeter berry-forward dessert.
The glaze is optional, but it adds a beautiful bakery-style finish that makes the bars look elegant for parties, brunches, and special gatherings. For extra presentation appeal, garnish each slice with fresh raspberries or thin strips of lemon zest.
Because the filling is soft and creamy, patience during chilling is important. Refrigerating the bars fully before slicing helps them set properly and creates those clean, neat dessert squares.
Watch Out for These Mistakes While Cooking
Overbaking the Lemon Filling
One of the most common mistakes is baking the bars too long. Overbaked lemon filling can become rubbery and lose its silky texture. The center should still have a slight jiggle when removed from the oven because it continues to set while cooling.
Using Bottled Lemon Juice
Bottled lemon juice often tastes dull or overly acidic. Freshly squeezed lemon juice provides a brighter and more natural citrus flavor that makes a huge difference in the final dessert.
Skipping the Chilling Time
Cutting the bars too early can cause messy slices and a runny filling. Always allow enough chilling time so the layers fully firm up before serving.
Overmixing the Raspberry Swirl
Swirling the raspberry mixture too aggressively can muddy the colors instead of creating beautiful marbled ribbons. Gentle swirling gives the bars their signature appearance.
Uneven Crust Thickness
If the crust is not pressed evenly into the pan, some sections may become too thin or overbaked. Take time to smooth the crust evenly before baking.
Forgetting to Line the Pan
Without parchment paper, the bars may stick to the baking dish and become difficult to remove cleanly. Lining the pan also helps maintain the shape of the dessert squares.
Adding Hot Raspberry Mixture to the Filling
The raspberry mixture should cool slightly before swirling into the lemon layer. Adding it while extremely hot may affect the texture of the filling.
Storage Instructions
Raspberry Lemonade Bars should always be stored in the refrigerator because of their soft lemon filling. Place the bars in an airtight container or tightly cover the baking dish with plastic wrap.
They stay fresh for up to 5 days when refrigerated properly. For the best texture, keep the bars chilled until ready to serve.
If stacking the bars inside a container, place parchment paper between layers to prevent sticking. The glaze may soften slightly over time, but the flavor remains delicious.
These bars also freeze very well. Wrap individual slices tightly in plastic wrap and store them in a freezer-safe container for up to 2 months. Thaw overnight in the refrigerator before serving.
Avoid leaving the bars at room temperature for extended periods, especially in warm environments, as the filling can soften too much.
Estimated Nutrition
Per Serving (Approximate)
- Calories: 280
- Carbohydrates: 38g
- Protein: 4g
- Fat: 12g
- Saturated Fat: 7g
- Cholesterol: 70mg
- Sodium: 120mg
- Fiber: 2g
- Sugar: 24g
- Vitamin C: 15% Daily Value
Nutritional values may vary depending on ingredient brands, portion sizes, and optional toppings.
Frequently Asked Questions
Can I use frozen raspberries instead of fresh?
Yes, frozen raspberries work very well in this recipe. There is no need to thaw them completely before cooking the raspberry mixture.
How do I know when the bars are fully baked?
The edges should look set while the center remains slightly soft with a gentle jiggle. The filling firms up more as it cools.
Can I make Raspberry Lemonade Bars ahead of time?
Absolutely. These bars are actually better when made ahead because chilling improves both flavor and texture.
What type of lemons work best?
Fresh regular lemons are perfect, but Meyer lemons can also be used for a slightly sweeter citrus flavor.
Why did my bars crack on top?
Cracks usually happen from overbaking or sudden temperature changes. Removing the bars once the center is just set helps prevent cracking.
Can I make these bars gluten-free?
Yes, simply substitute the all-purpose flour with a good-quality gluten-free baking blend.
How do I get clean slices?
Use a sharp knife and wipe it clean between cuts. Chilling the bars thoroughly also helps create neat slices.
Can I skip the glaze?
Yes, the glaze is optional. The bars are still flavorful and delicious without it, though the glaze adds extra sweetness and visual appeal.
Conclusion
Raspberry Lemonade Bars are the perfect combination of bright citrus flavor and sweet berry richness, creating a dessert that feels refreshing, elegant, and incredibly satisfying. Their soft buttery crust, creamy lemon filling, and vibrant raspberry swirl make them a standout treat for nearly any occasion.
Whether you’re preparing them for a summer picnic, holiday dessert tray, family gathering, or casual afternoon snack, these bars deliver beautiful presentation and unforgettable flavor with every bite. They’re easy to prepare, simple to customize, and guaranteed to impress both visually and taste-wise.
Once chilled and sliced, these bakery-style bars become the kind of dessert everyone reaches for first — sweet, tangy, fruity, and impossible to resist.
Raspberry Lemonade Bars
- Total Time: 3 hours 5 minutes
- Yield: 16 bars
- Diet: Vegetarian
Description
Sweet, tangy, and bursting with fresh berry flavor, these Raspberry Lemonade Bars are the perfect dessert for spring and summer gatherings. Featuring a buttery soft crust, creamy lemon filling, vibrant raspberry swirl, and a light citrus glaze, these dessert bars deliver the perfect balance of tart and sweet in every bite. They’re an easy dessert recipe that works beautifully for brunch spreads, bake sales, holiday trays, picnic desserts, and summer party treats. If you love fruity dessert bars, lemon desserts, raspberry sweets, easy baking recipes, or refreshing homemade treats, this recipe is guaranteed to become a favorite. These bars are simple to prepare, easy to slice, and ideal for make-ahead dessert planning.
Ingredients
2 cups all-purpose flour
1/2 cup granulated sugar
1 cup unsalted butter, melted
1/4 teaspoon salt
1 teaspoon vanilla extract
4 large eggs
1 3/4 cups granulated sugar
1/2 cup all-purpose flour
2/3 cup freshly squeezed lemon juice
1 tablespoon lemon zest
1/4 teaspoon salt
1 teaspoon vanilla extract
2 cups fresh or frozen raspberries
1/4 cup granulated sugar
1 tablespoon lemon juice
1 tablespoon cornstarch
2 tablespoons water
1 cup powdered sugar
2 tablespoons lemon juice
1 tablespoon milk or cream
Instructions
1. Preheat oven to 350°F (175°C) and line a 9×13-inch baking dish with parchment paper.
2. In a mixing bowl, combine flour, sugar, salt, melted butter, and vanilla extract until crumbly.
3. Press the crust mixture evenly into the prepared pan and bake for 15–18 minutes until lightly golden.
4. In a saucepan over medium heat, combine raspberries, sugar, lemon juice, cornstarch, and water. Cook until thickened.
5. Allow the raspberry mixture to cool slightly while preparing the lemon filling.
6. In a large bowl, whisk eggs and sugar until smooth.
7. Add flour, lemon juice, lemon zest, salt, and vanilla extract. Whisk until fully combined.
8. Pour the lemon filling over the warm crust.
9. Spoon raspberry mixture over the filling and gently swirl using a knife or toothpick.
10. Bake for 22–28 minutes until the center is set with a slight jiggle.
11. Cool completely at room temperature, then refrigerate for at least 2–3 hours.
12. Mix powdered sugar, lemon juice, and milk to create the glaze.
13. Drizzle glaze over chilled bars.
14. Slice into squares and serve chilled.
Notes
Use freshly squeezed lemon juice for the brightest and freshest citrus flavor.
Allow the bars to chill completely before slicing to achieve clean dessert squares.
Avoid overmixing the raspberry swirl to maintain a beautiful marbled appearance.
- Prep Time: 20 minutes
- Cook Time: 45 minutes
- Category: Dessert
- Method: Baking
- Cuisine: American
Nutrition
- Serving Size: 1 bar
- Calories: 280
- Sugar: 24g
- Sodium: 120mg
- Fat: 12g
- Saturated Fat: 7g
- Unsaturated Fat: 4g
- Trans Fat: 0g
- Carbohydrates: 38g
- Fiber: 2g
- Protein: 4g
- Cholesterol: 70mg
Keywords: raspberry lemonade bars, lemon dessert bars, raspberry lemon squares, easy dessert recipe, summer desserts, fruity bars, baked lemon bars, homemade dessert bars