
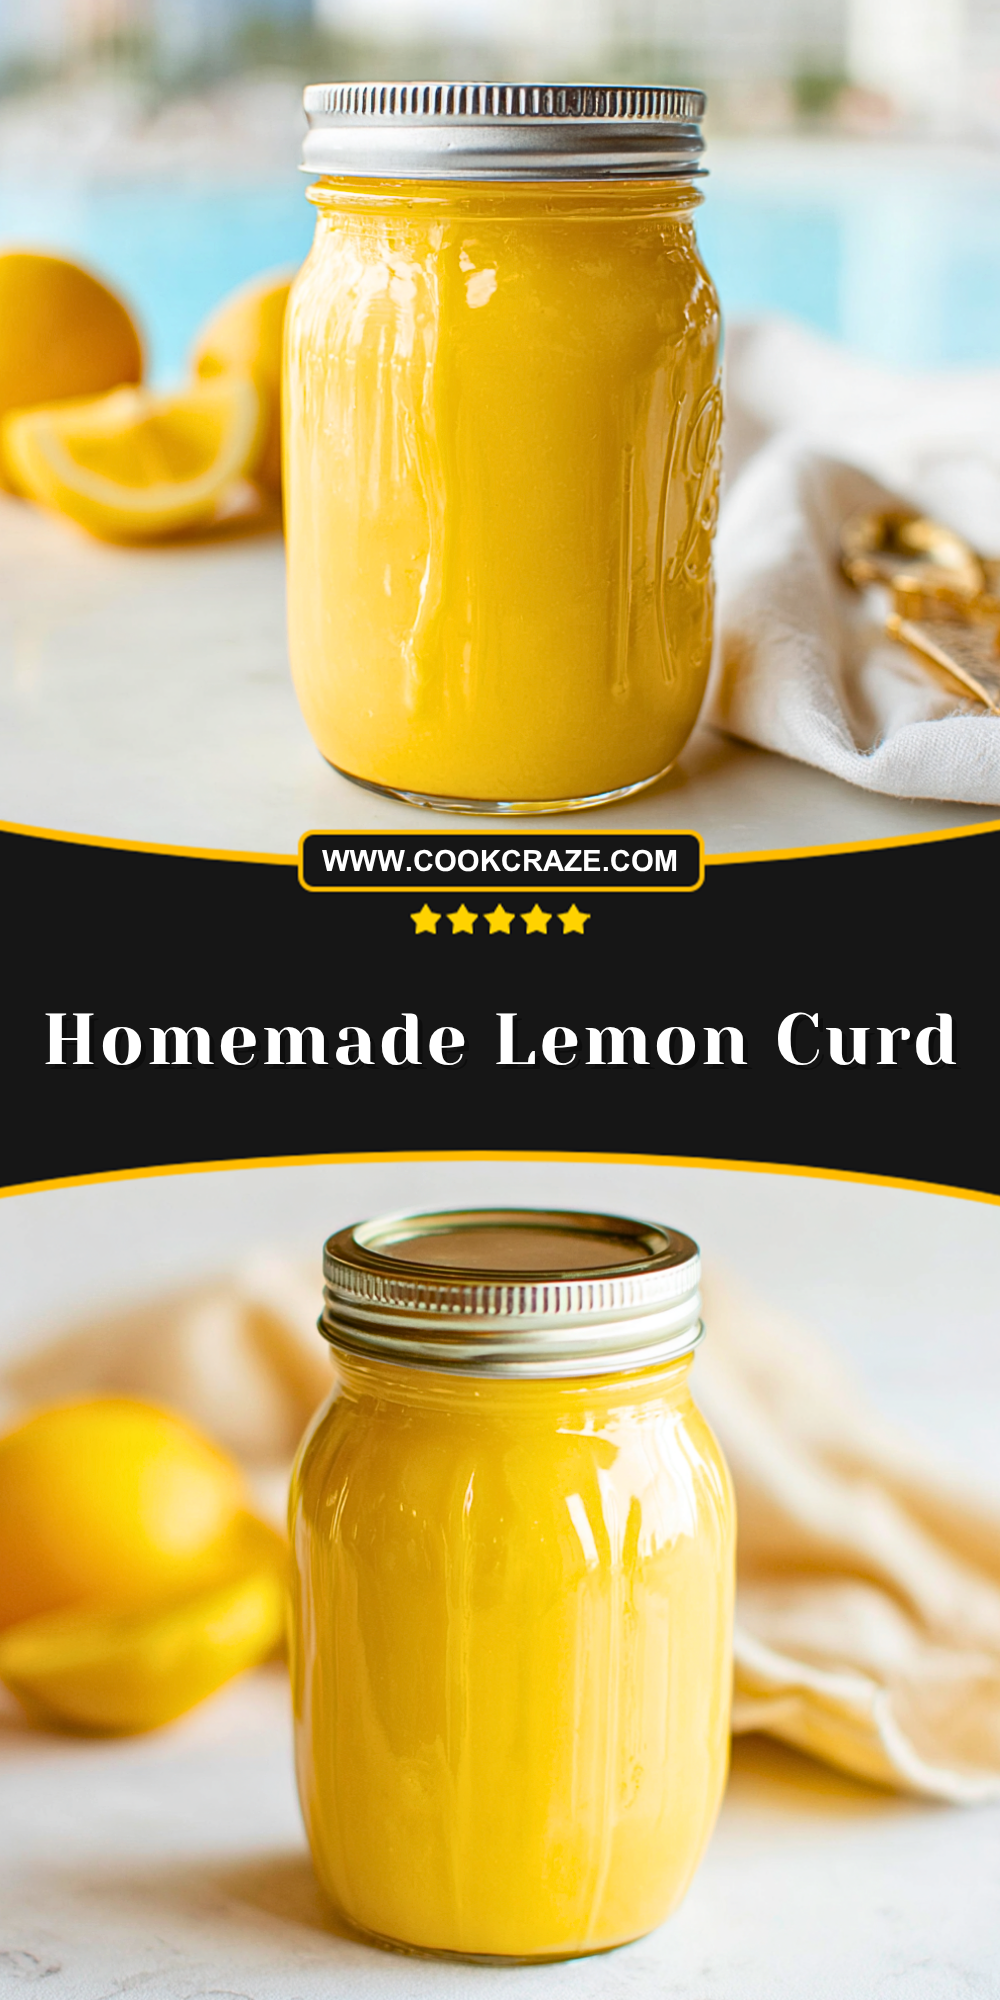
I’ve always found something incredibly satisfying about making Homemade Lemon Curd from scratch. The way simple ingredients transform into a silky, bright, and tangy spread feels almost magical. Every time I prepare it, the fresh citrus aroma fills my kitchen and instantly lifts my mood.
What I love most is how versatile this Homemade Lemon Curd can be. Whether I’m spreading it over warm toast, layering it into desserts, or simply enjoying a spoonful straight from the jar, it never fails to deliver that perfect balance of sweet and tart.
Why You’ll Love This Homemade Lemon Curd
This Homemade Lemon Curd is smooth, rich, and bursting with fresh lemon flavor. It comes together with just a handful of ingredients and delivers a luxurious texture that feels bakery-quality.
It’s also incredibly adaptable. You can use it as a filling, topping, or even a standalone treat. Plus, making it yourself means you control the sweetness and freshness completely.
What Makes Homemade Lemon Curd So Creamy and Smooth?
The secret lies in gently cooking the mixture and constantly stirring to create that velvety texture. Eggs provide structure, butter adds richness, and fresh lemon juice brings brightness.
Balancing heat and patience is key. Too much heat can scramble the eggs, while gentle cooking ensures a silky, custard-like consistency.
Options for Substitutions
If you’re out of fresh lemons, bottled lemon juice can work in a pinch, though the flavor won’t be as vibrant.
For a dairy-free version, you can substitute butter with plant-based alternatives, though the texture may vary slightly.
If you prefer a different citrus twist, try using lime, orange, or even grapefruit juice for a unique variation on this Homemade Lemon Curd.
Ingredients for this Homemade Lemon Curd
Fresh Lemons
I always rely on fresh lemons for this recipe because they bring that vibrant, zesty flavor that defines a truly great Homemade Lemon Curd. Both the juice and the zest are essential—the juice gives tanginess, while the zest intensifies the citrus aroma.
Granulated Sugar
Sugar balances the sharpness of the lemons and creates that classic sweet-tart harmony. It also helps with the texture, giving the curd its smooth, glossy finish.
Eggs
Eggs are the backbone of this Homemade Lemon Curd. They thicken the mixture into a rich custard-like consistency. Using whole eggs gives structure, while some recipes also include extra yolks for added richness.
Unsalted Butter
Butter adds a luxurious creaminess and smooth mouthfeel. I prefer unsalted butter so I can control the flavor precisely and let the lemon shine.
Salt
Just a small pinch of salt enhances all the flavors. It might seem minor, but it really brings balance and depth to the final result.
Step 1: Prepare the Lemons
Start by washing the lemons thoroughly. Zest them first using a fine grater, making sure to avoid the bitter white pith. Then juice the lemons and strain out any seeds. Fresh preparation at this stage sets the tone for the entire Homemade Lemon Curd.
Step 2: Combine Sugar and Zest
In a heatproof bowl, rub the lemon zest into the sugar using your fingers. I always do this because it releases the natural oils from the zest, intensifying the citrus flavor throughout the curd.
Step 3: Whisk in the Eggs
Add the eggs to the sugar and zest mixture. Whisk thoroughly until the mixture becomes pale and slightly thickened. This step ensures the eggs are evenly distributed before cooking.
Step 4: Add Lemon Juice
Pour in the freshly squeezed lemon juice and whisk again until everything is fully combined. At this stage, the mixture will look thin, but it will thicken as it cooks.
Step 5: Cook Gently Over Heat
Place the bowl over a saucepan of simmering water (double boiler method). Stir constantly with a spatula or whisk. I never rush this step—gentle heat is the key to preventing the eggs from scrambling.
Step 6: Monitor Thickening
Continue stirring until the mixture thickens enough to coat the back of a spoon. This usually takes around 8–12 minutes. You’ll notice it turning glossy and smooth.
Step 7: Add Butter
Remove the mixture from heat and immediately stir in the butter, one piece at a time. The residual heat will melt it, creating that signature silky texture.
Step 8: Strain for Smoothness
For an ultra-smooth Homemade Lemon Curd, strain the mixture through a fine mesh sieve. This removes any bits of cooked egg or zest, leaving a perfectly creamy finish.
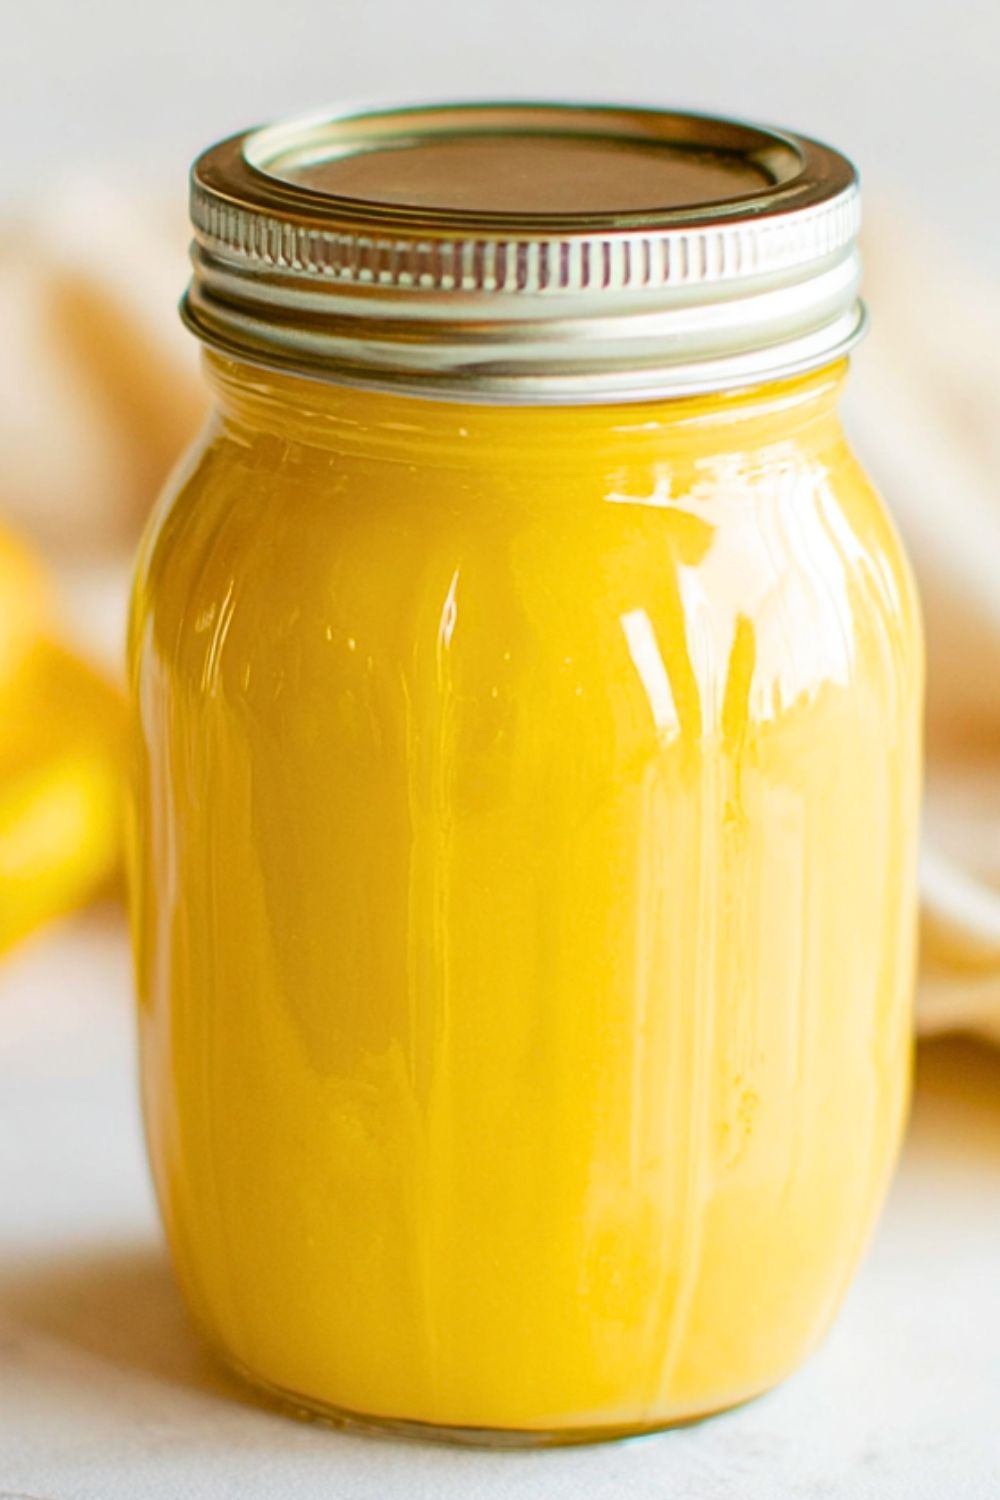
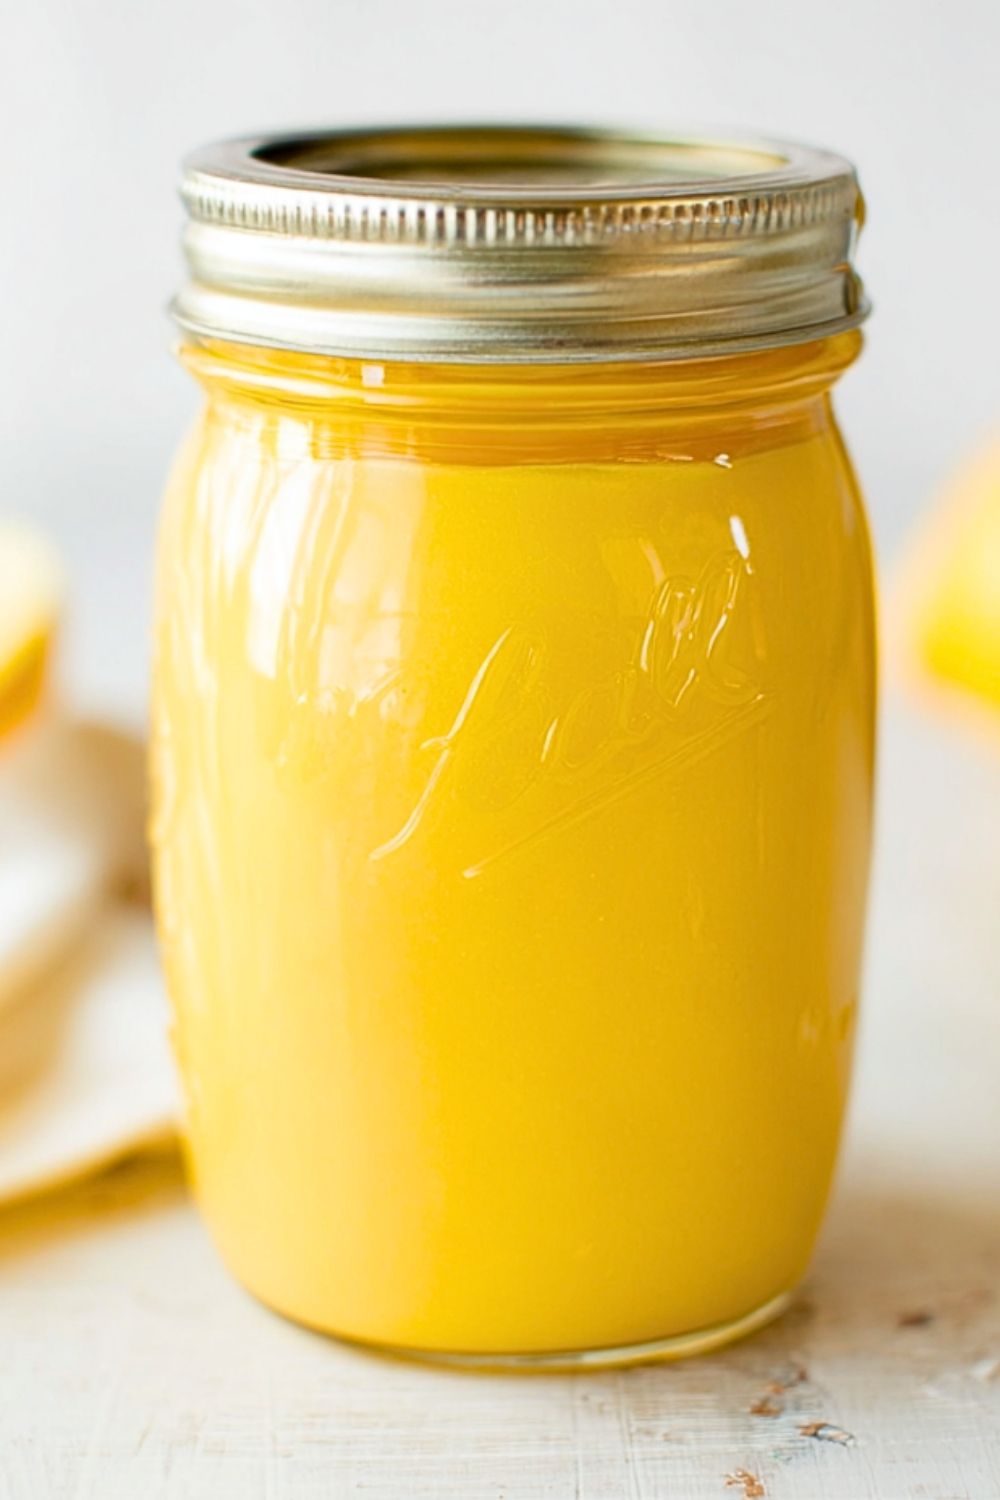
Step 9: Cool Properly
Transfer the curd into a clean jar or bowl. Press plastic wrap directly onto the surface to prevent a skin from forming. Let it cool at room temperature before refrigerating.
Step 10: Chill and Set
Refrigerate the curd for at least 2 hours. As it chills, it will continue to thicken and develop its rich, spreadable consistency.
How Long to Prepare the Homemade Lemon Curd
Making Homemade Lemon Curd doesn’t require complicated timing, but it does reward patience and attention. From start to finish, the active preparation is quite manageable, making it ideal even for a weekday kitchen project.
The prep work—zesting and juicing the lemons, measuring ingredients, and setting up a double boiler—takes about 10–15 minutes. Cooking the curd itself usually takes another 10–12 minutes, depending on your heat level and consistency preference. Cooling and chilling, however, require at least 2 hours to fully set and develop the perfect texture.
Tips for Perfect Homemade Lemon Curd
Use fresh, high-quality lemons for the brightest flavor and aroma.
Always cook over gentle heat to avoid scrambling the eggs.
Stir constantly with a silicone spatula to ensure even cooking and prevent sticking.
Cut butter into small cubes so it melts evenly into the warm curd.
Strain the curd for a professional, ultra-smooth finish.
Watch Out for These Mistakes While Cooking
Cooking over high heat can quickly turn your mixture into scrambled eggs instead of a silky curd.
Skipping constant stirring may lead to uneven thickening or lumps.
Adding butter too early can affect the emulsification process.
Not straining the mixture might leave bits of zest or cooked egg, affecting texture.
Overcooking can make the curd too thick or slightly grainy.
What to Serve With Homemade Lemon Curd?
Toast or English Muffins
Spread it over warm toast or freshly toasted English muffins for a simple yet luxurious breakfast.
Pancakes or Waffles
Drizzle it over pancakes or waffles instead of syrup for a bright, citrusy twist.
Yogurt Parfaits
Layer it with yogurt and granola for a refreshing and slightly tangy snack.
Cakes and Cupcakes
Use it as a filling between cake layers or inside cupcakes for a burst of flavor.
Scones and Biscuits
Pair it with buttery scones or biscuits for a classic bakery-style treat.
Storage Instructions
Homemade Lemon Curd should be stored in an airtight container or a sealed glass jar. Once cooled, keep it refrigerated to maintain freshness and prevent spoilage.
It typically lasts up to one week in the refrigerator. For longer storage, you can freeze it for up to 2–3 months. When freezing, leave some space in the container to allow for expansion.
To use after freezing, thaw it overnight in the refrigerator and give it a good stir before serving to restore its smooth consistency.
Estimated Nutrition
A typical serving of Homemade Lemon Curd (about 2 tablespoons) contains approximately 100–120 calories, depending on the exact proportions of sugar and butter used.
It also includes small amounts of protein from the eggs and fats from the butter, along with carbohydrates from the sugar. While it’s an indulgent treat, enjoying it in moderation makes it a delightful addition to many dishes.
Frequently Asked Questions
Can I make Homemade Lemon Curd without butter?
Yes, you can substitute butter with plant-based alternatives or omit it entirely, though the texture will be less rich and creamy.
Why did my lemon curd turn lumpy?
This usually happens when the heat is too high or the mixture isn’t stirred constantly. Straining can help fix minor lumps.
Can I use bottled lemon juice?
You can, but fresh lemon juice provides a much brighter and more natural flavor.
How do I know when the curd is done?
It’s ready when it thickens enough to coat the back of a spoon and leaves a clear line when you run your finger through it.
Can I make this ahead of time?
Absolutely. Homemade Lemon Curd stores well and can be prepared several days in advance.
Conclusion
Homemade Lemon Curd is one of those recipes that feels both simple and special at the same time. With just a few ingredients and a bit of care, you can create a smooth, vibrant spread that elevates everything it touches.
Once you’ve made it yourself, it’s hard to go back to store-bought versions. The freshness, flavor, and satisfaction of crafting it in your own kitchen make it well worth the effort.
Homemade Lemon Curd
- Total Time: 2 hours 30 minutes
- Yield: 1 1/2 cups
- Diet: Vegetarian
Description
Bright, silky, and bursting with citrus flavor, this Homemade Lemon Curd is the perfect balance of sweet and tangy. Whether you’re looking for a quick breakfast spread, an easy dessert filling, or a healthy snack alternative, this easy recipe delivers every time. It’s one of those versatile food ideas that works beautifully for breakfast ideas, dinner ideas, or even as a refreshing treat on its own.
Ingredients
1 cup granulated sugar
3 large eggs
1/2 cup fresh lemon juice
1 tablespoon lemon zest
1/2 cup unsalted butter
1 pinch salt
Instructions
1. Wash, zest, and juice the lemons, making sure to remove seeds.
2. Rub the lemon zest into the sugar to release natural oils.
3. Whisk in the eggs until the mixture becomes pale and slightly thick.
4. Add lemon juice and mix until fully combined.
5. Place over a double boiler and cook on low heat, stirring constantly.
6. Continue cooking until the mixture thickens and coats the back of a spoon.
7. Remove from heat and stir in butter gradually until smooth.
8. Strain the mixture for a silky texture.
9. Transfer to a jar and cover with plastic wrap touching the surface.
10. Chill in the refrigerator for at least 2 hours before serving.
Notes
Use fresh lemon juice for the best flavor and aroma.
Always cook on low heat to prevent curdling.
Strain the curd for an ultra-smooth, professional texture.
- Prep Time: 15 minutes
- Cook Time: 12 minutes
- Category: Dessert
- Method: Stovetop
- Cuisine: American
Nutrition
- Serving Size: 2 tablespoons
- Calories: 110
- Sugar: 14g
- Sodium: 15mg
- Fat: 6g
- Saturated Fat: 3.5g
- Unsaturated Fat: 2g
- Trans Fat: 0g
- Carbohydrates: 15g
- Fiber: 0g
- Protein: 1g
- Cholesterol: 55mg
Keywords: lemon curd, easy recipe, quick breakfast, dessert ideas, citrus spread