
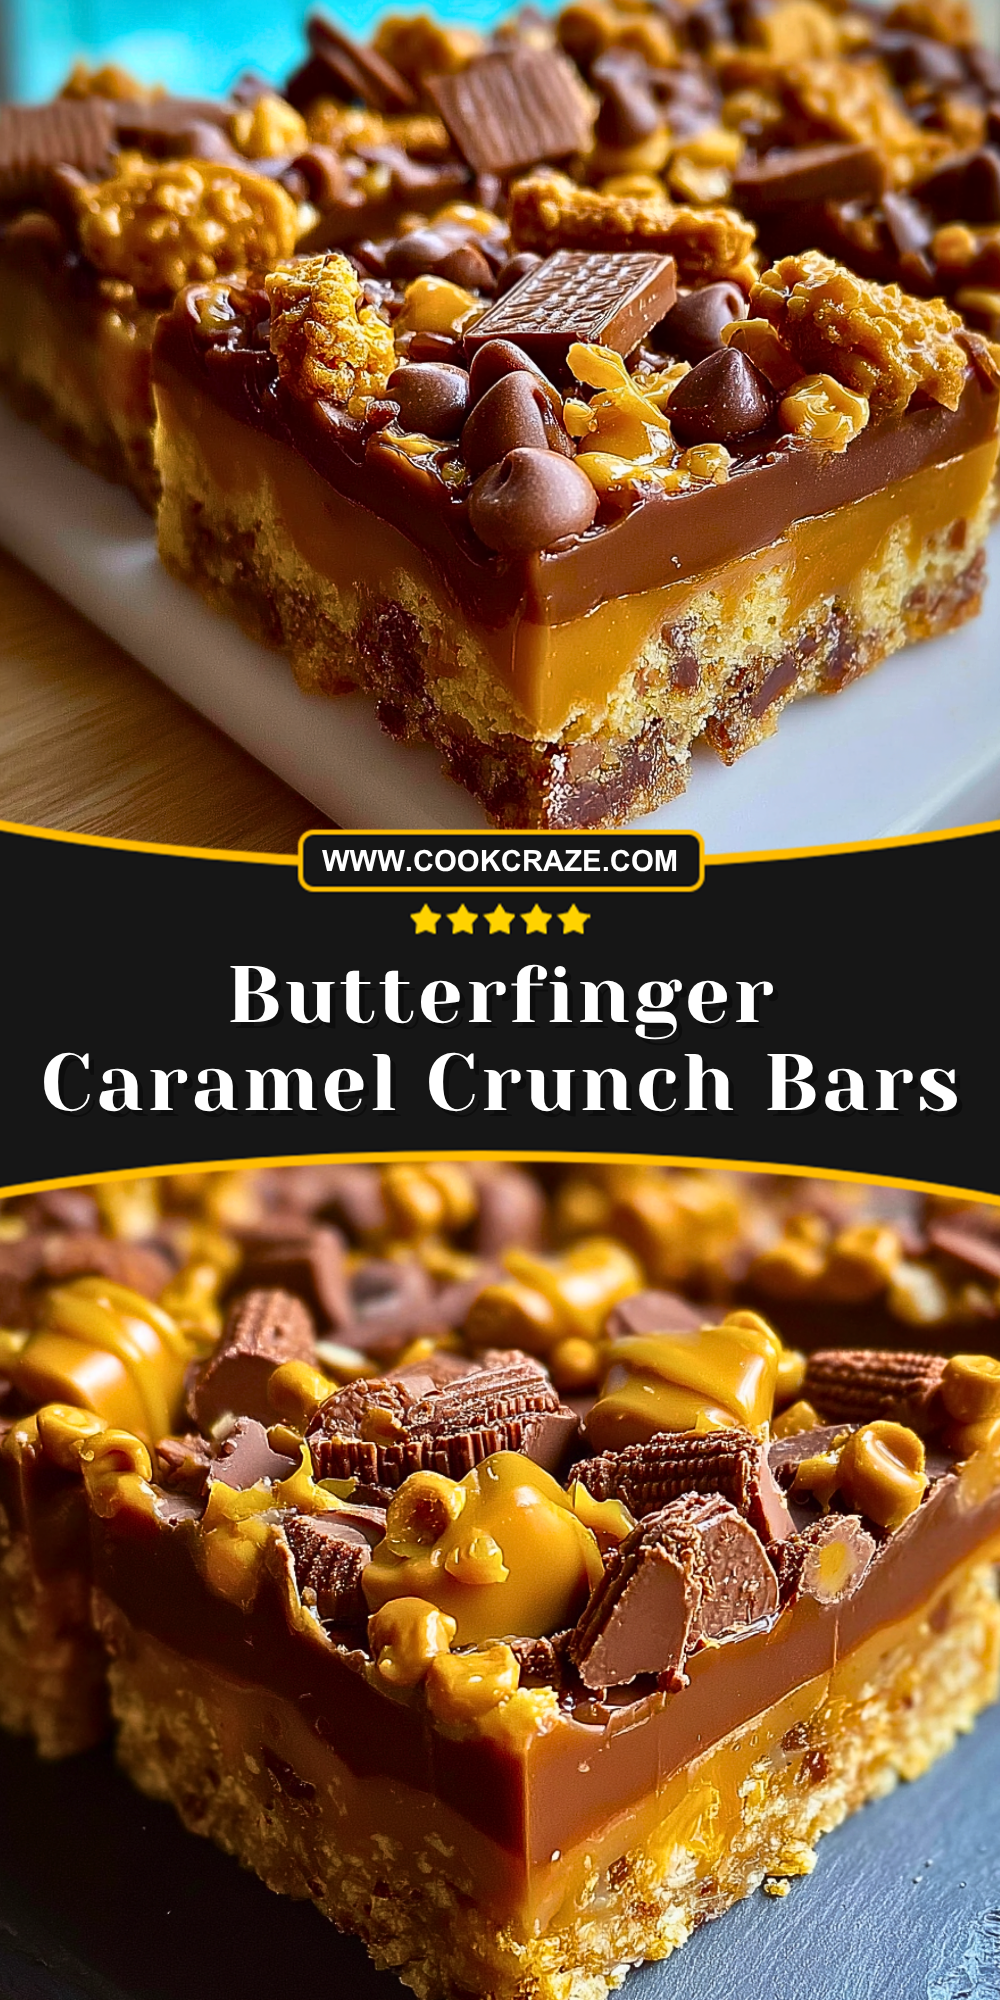
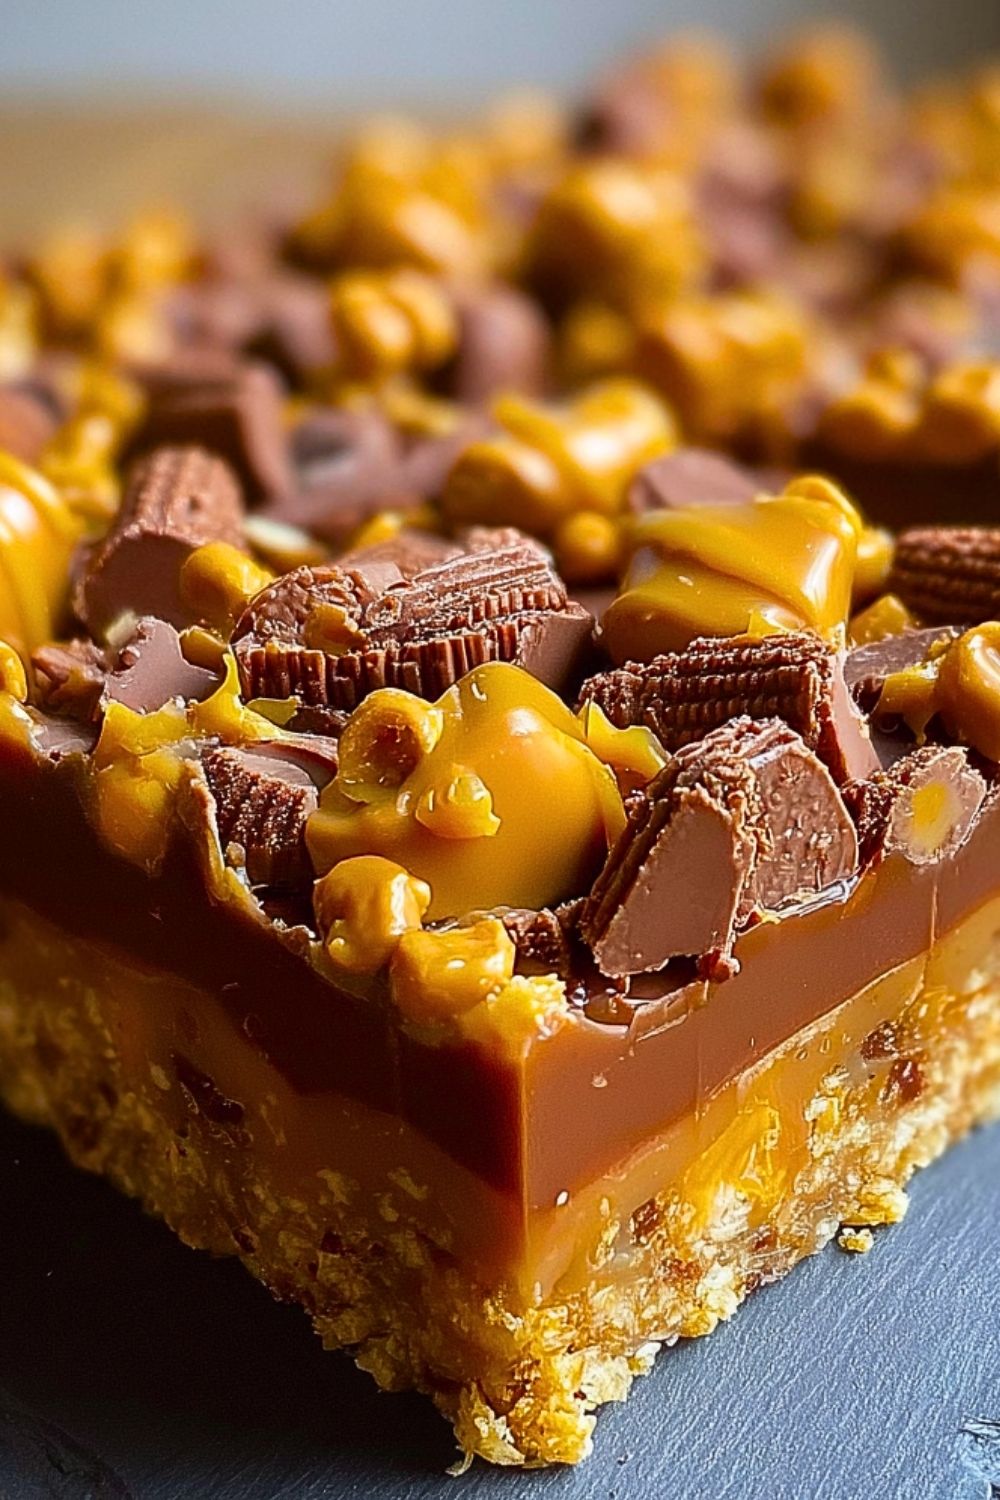
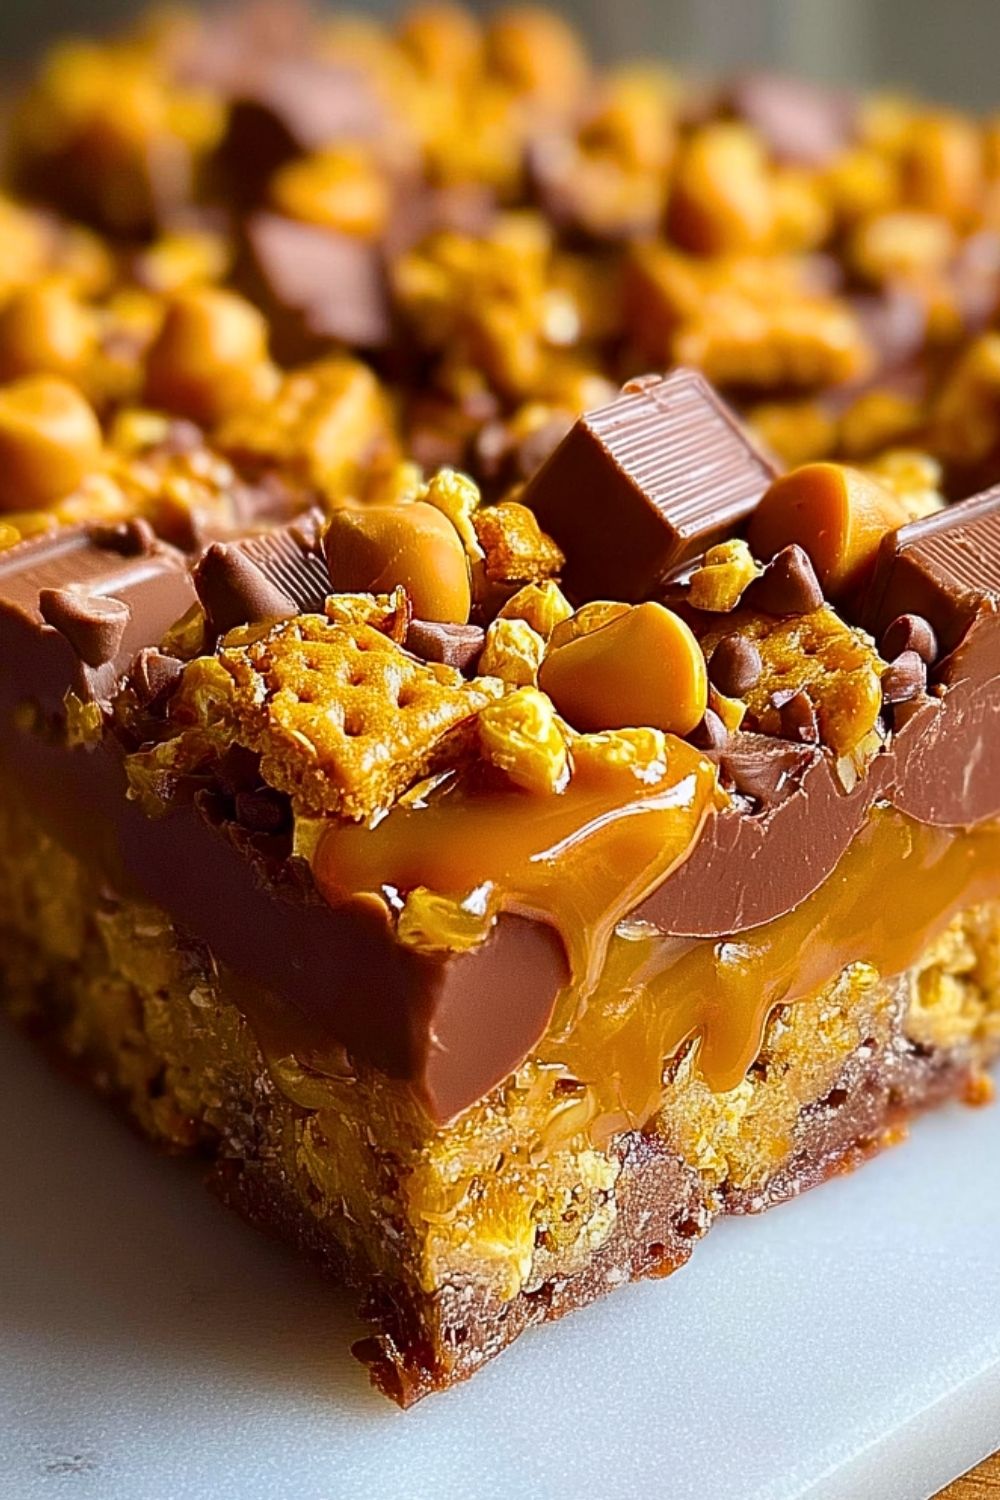
I still remember the first time I combined crunchy candy pieces with gooey caramel and a buttery base—it felt like discovering dessert magic. These Butterfinger Caramel Crunch Bars are exactly that kind of treat: indulgent, layered, and impossible to forget. Every bite brings a contrast of textures, from the soft base to the silky caramel and the crisp, chocolatey topping.
WANT TO SAVE THIS RECIPE?
Just enter your email and get it sent to your inbox!
When I make these, they never last long. They’re the kind of dessert people hover around, sneaking “just one more” piece. Whether you’re making them for a party, a weekend treat, or simply to satisfy a sweet craving, they deliver big flavor with surprisingly simple steps.
Why You’ll Love This Butterfinger Caramel Crunch Bars
These bars strike the perfect balance between sweet, crunchy, and creamy. The buttery base holds everything together while the caramel layer adds richness, and the Butterfinger pieces bring that signature crisp peanut-buttery crunch.
They’re also incredibly versatile—you can dress them up for special occasions or keep them rustic for casual snacking. Plus, they’re easy to slice and share, making them ideal for gatherings.
What Makes Butterfinger Caramel Crunch Bars So Irresistible?
Is it the gooey caramel that melts into every layer, or the crunchy candy pieces that add bursts of flavor? The magic really comes from how each layer complements the others. The chocolate ties everything together, creating a dessert that feels both decadent and comforting.
Options for Substitutions
If you want to switch things up, there are plenty of ways to customize these bars. Swap Butterfinger pieces with other crunchy chocolate candies, or use dark chocolate instead of milk chocolate for a richer taste. You can also experiment with a graham cracker base instead of a cookie crust for a slightly different texture.
For a nut-free version, choose candies without peanuts and double-check your caramel ingredients. And if you prefer a less sweet version, a touch of sea salt on top can balance everything beautifully.
Ingredients for this Butterfinger Caramel Crunch Bars
Unsalted Butter – Forms the rich, tender base and binds the crust together while adding a deep buttery flavor.
Brown Sugar – Brings moisture and a subtle molasses note that enhances the caramel tones throughout the bars.
All-Purpose Flour – Provides structure to the base layer, ensuring the bars hold their shape when sliced.
Vanilla Extract – Adds warmth and rounds out the sweetness in both the crust and the overall flavor profile.
Sweetened Condensed Milk – The key to that luscious, gooey caramel layer; it thickens beautifully when heated.
Caramel Candies or Caramel Sauce – Intensifies the caramel flavor and creates that signature soft, flowing center.
Milk Chocolate Chips – Melt into a smooth top layer that balances sweetness with creaminess.
Butterfinger Candy Bars (chopped) – Deliver the signature crunchy, peanut-buttery texture that defines these bars.
Mini Chocolate Chips or Chocolate Chunks – Add extra bursts of chocolate throughout the topping.
Crushed Crackers or Crispy Cereal – Enhance the crunch factor and contrast the soft caramel layer.
Pinch of Salt (optional) – Helps balance the sweetness and elevate all the flavors.
Step 1: Prepare the Baking Pan
Line a square or rectangular baking pan with parchment paper, leaving some overhang for easy removal. Lightly grease the paper to prevent sticking and ensure clean edges when cutting.
Step 2: Make the Buttery Base
In a mixing bowl, combine melted butter and brown sugar until smooth and glossy. Stir in vanilla extract, then gradually fold in the flour until a soft dough forms. The mixture should be slightly crumbly but hold together when pressed.
Step 3: Press and Pre-Bake the Crust
Transfer the dough into the prepared pan and press it evenly into the bottom, creating a firm, compact layer. Bake in a preheated oven at 350°F (175°C) for about 12–15 minutes, or until lightly golden. Remove and let it cool slightly.
Step 4: Create the Caramel Layer
In a saucepan over low heat, combine sweetened condensed milk with caramel candies or sauce. Stir continuously until fully melted and smooth. The mixture should be thick, glossy, and pourable.
Step 5: Spread the Caramel
Pour the warm caramel evenly over the pre-baked crust. Use a spatula to spread it into all corners, ensuring a consistent layer. Work quickly before it begins to set.
Step 6: Add Chocolate Layer
Sprinkle milk chocolate chips over the warm caramel. Let them sit for a minute to soften, then gently spread into a smooth layer using an offset spatula or the back of a spoon.
Step 7: Load the Crunch Toppings
Scatter chopped Butterfinger pieces generously across the chocolate layer. Follow with mini chocolate chips and crushed crackers or cereal for added texture.
Step 8: Light Press for Stability
Gently press the toppings into the softened chocolate so they adhere well once set. This step ensures every slice holds together beautifully.
Step 9: Chill Until Set
Place the pan in the refrigerator for at least 2 hours, or until fully set. The caramel should firm up while remaining soft and chewy.
Step 10: Slice and Serve
Lift the bars out using the parchment overhang. Cut into squares or rectangles with a sharp knife. For cleaner cuts, wipe the blade between slices.
How Long to Prepare the Butterfinger Caramel Crunch Bars
Preparing these Butterfinger Caramel Crunch Bars doesn’t take as long as you might expect, especially considering how indulgent and layered they are. The base comes together quickly, and most of the time is spent allowing the layers to set properly. From start to finish, you’re looking at around 20–25 minutes of active prep time.
The chilling stage is what requires a bit of patience. After assembling the layers, the bars need at least 2 hours in the refrigerator to fully set. This step is essential for clean slicing and achieving that perfect contrast between firm chocolate and soft caramel.
Tips for Perfect Butterfinger Caramel Crunch Bars
Use room temperature ingredients when possible, especially butter, to ensure smooth mixing and even texture.
Press the crust firmly and evenly into the pan to avoid crumbly or uneven layers.
When melting caramel, keep the heat low and stir constantly to prevent burning or separation.
Let the chocolate chips sit briefly before spreading—this helps create a smooth, glossy top without overworking them.
Chill thoroughly before slicing to get neat, bakery-style squares.
Watch Out for These Mistakes While Cooking
Overbaking the crust can make it too hard and difficult to bite through, so keep an eye on the color and remove it once lightly golden.
Rushing the caramel melting process can lead to a grainy texture. Low and slow is key.
Skipping parchment paper may cause sticking, making it difficult to remove and cut the bars cleanly.
Adding toppings too late, after the chocolate has set, will prevent them from sticking properly.
Cutting before the bars are fully chilled can result in messy, uneven pieces.
What to Serve With Butterfinger Caramel Crunch Bars?
Vanilla Ice Cream
The creamy, cool texture pairs beautifully with the rich and crunchy bars.
Fresh Berries
Strawberries or raspberries add a refreshing contrast to the sweetness.
Hot Coffee
A strong cup of coffee balances the dessert’s sweetness and enhances the chocolate flavor.
Salted Caramel Drizzle
A light drizzle on top adds an extra layer of indulgence and visual appeal.
Whipped Cream
Soft, airy whipped cream lightens the richness and makes each bite feel less heavy.
Storage Instructions
Store the Butterfinger Caramel Crunch Bars in an airtight container in the refrigerator to keep the caramel firm and the chocolate set. They will stay fresh for up to 5 days when properly stored.
If you prefer a softer texture, you can let them sit at room temperature for about 10–15 minutes before serving. This slightly softens the caramel and enhances the flavor.
For longer storage, these bars can be frozen. Wrap them individually or place parchment between layers in a sealed container. They can last up to 2 months in the freezer. Thaw in the refrigerator before serving for best results.
Estimated Nutrition
Each bar is a rich treat, offering a balance of carbohydrates, fats, and sugars. While exact values may vary based on ingredient brands and portion sizes, expect a dessert that is indulgent and best enjoyed in moderation.
On average, one serving may contain approximately 250–350 calories, with a higher proportion coming from sugars and fats due to the caramel and chocolate layers.
Frequently Asked Questions
Can I make Butterfinger Caramel Crunch Bars ahead of time?
Yes, these bars are perfect for making ahead. In fact, they taste even better after chilling overnight as the flavors meld together.
Can I use store-bought caramel sauce?
Absolutely. Store-bought caramel sauce works well and saves time, just make sure it’s thick enough to set properly.
How do I get clean slices?
Use a sharp knife and wipe it clean between each cut. Chilling the bars thoroughly also helps achieve neat edges.
Can I make this recipe gluten-free?
Yes, simply substitute the flour with a gluten-free blend and ensure all other ingredients are certified gluten-free.
What other toppings can I use?
You can experiment with chopped nuts, pretzels, toffee bits, or even coconut flakes for different textures and flavors.
Conclusion
Butterfinger Caramel Crunch Bars are the kind of dessert that effortlessly impresses. With their layered textures and bold flavors, they strike a perfect balance between crunchy, creamy, and sweet.
Whether you’re making them for a gathering or simply treating yourself, they’re guaranteed to become a go-to favorite. Once you try them, it’s hard not to come back for another piece.
Butterfinger Caramel Crunch Bars
- Total Time: 2 hours 40 minutes
- Yield: 12 bars
- Diet: Vegetarian
Description
Get ready to fall in love with these Butterfinger Caramel Crunch Bars—a perfect mix of crunchy, gooey, and chocolatey goodness. This easy recipe is ideal for a quick dessert, sweet snack, or party treat. With layers of buttery crust, rich caramel, smooth chocolate, and crispy candy pieces, it’s one of those irresistible food ideas that works for both casual gatherings and special occasions.
Ingredients
1 cup unsalted butter
1 cup brown sugar
2 cups all-purpose flour
1 teaspoon vanilla extract
1 can (14 oz) sweetened condensed milk
1 1/2 cups caramel candies or thick caramel sauce
1 1/2 cups milk chocolate chips
1 1/2 cups chopped Butterfinger bars
1/2 cup mini chocolate chips
1 cup crushed crackers or crispy cereal
1/2 teaspoon salt
Instructions
1. Preheat oven to 350°F (175°C) and line a baking pan with parchment paper.
2. Mix melted butter and brown sugar until smooth, then add vanilla extract.
3. Stir in flour until a soft dough forms.
4. Press dough evenly into the pan and bake for 12–15 minutes until lightly golden.
5. In a saucepan, melt sweetened condensed milk with caramel over low heat until smooth.
6. Pour caramel evenly over the baked crust.
7. Sprinkle chocolate chips over caramel, let soften, then spread evenly.
8. Add chopped Butterfinger pieces, mini chocolate chips, and crushed crackers.
9. Gently press toppings into the chocolate layer.
10. Refrigerate for at least 2 hours until fully set.
11. Slice into bars and serve.
Notes
Use low heat when melting caramel to avoid burning or grainy texture.
Chill completely before slicing to get clean, sharp edges.
Add a light sprinkle of sea salt on top for a balanced sweet-salty flavor.
- Prep Time: 25 minutes
- Cook Time: 15 minutes
- Category: Dessert
- Method: Baking
- Cuisine: American
Nutrition
- Serving Size: 1 bar
- Calories: 300
- Sugar: 22g
- Sodium: 120mg
- Fat: 18g
- Saturated Fat: 10g
- Unsaturated Fat: 6g
- Trans Fat: 0g
- Carbohydrates: 32g
- Fiber: 1g
- Protein: 3g
- Cholesterol: 35mg
Keywords: easy recipe, dessert bars, chocolate caramel bars, sweet snack, party dessert