
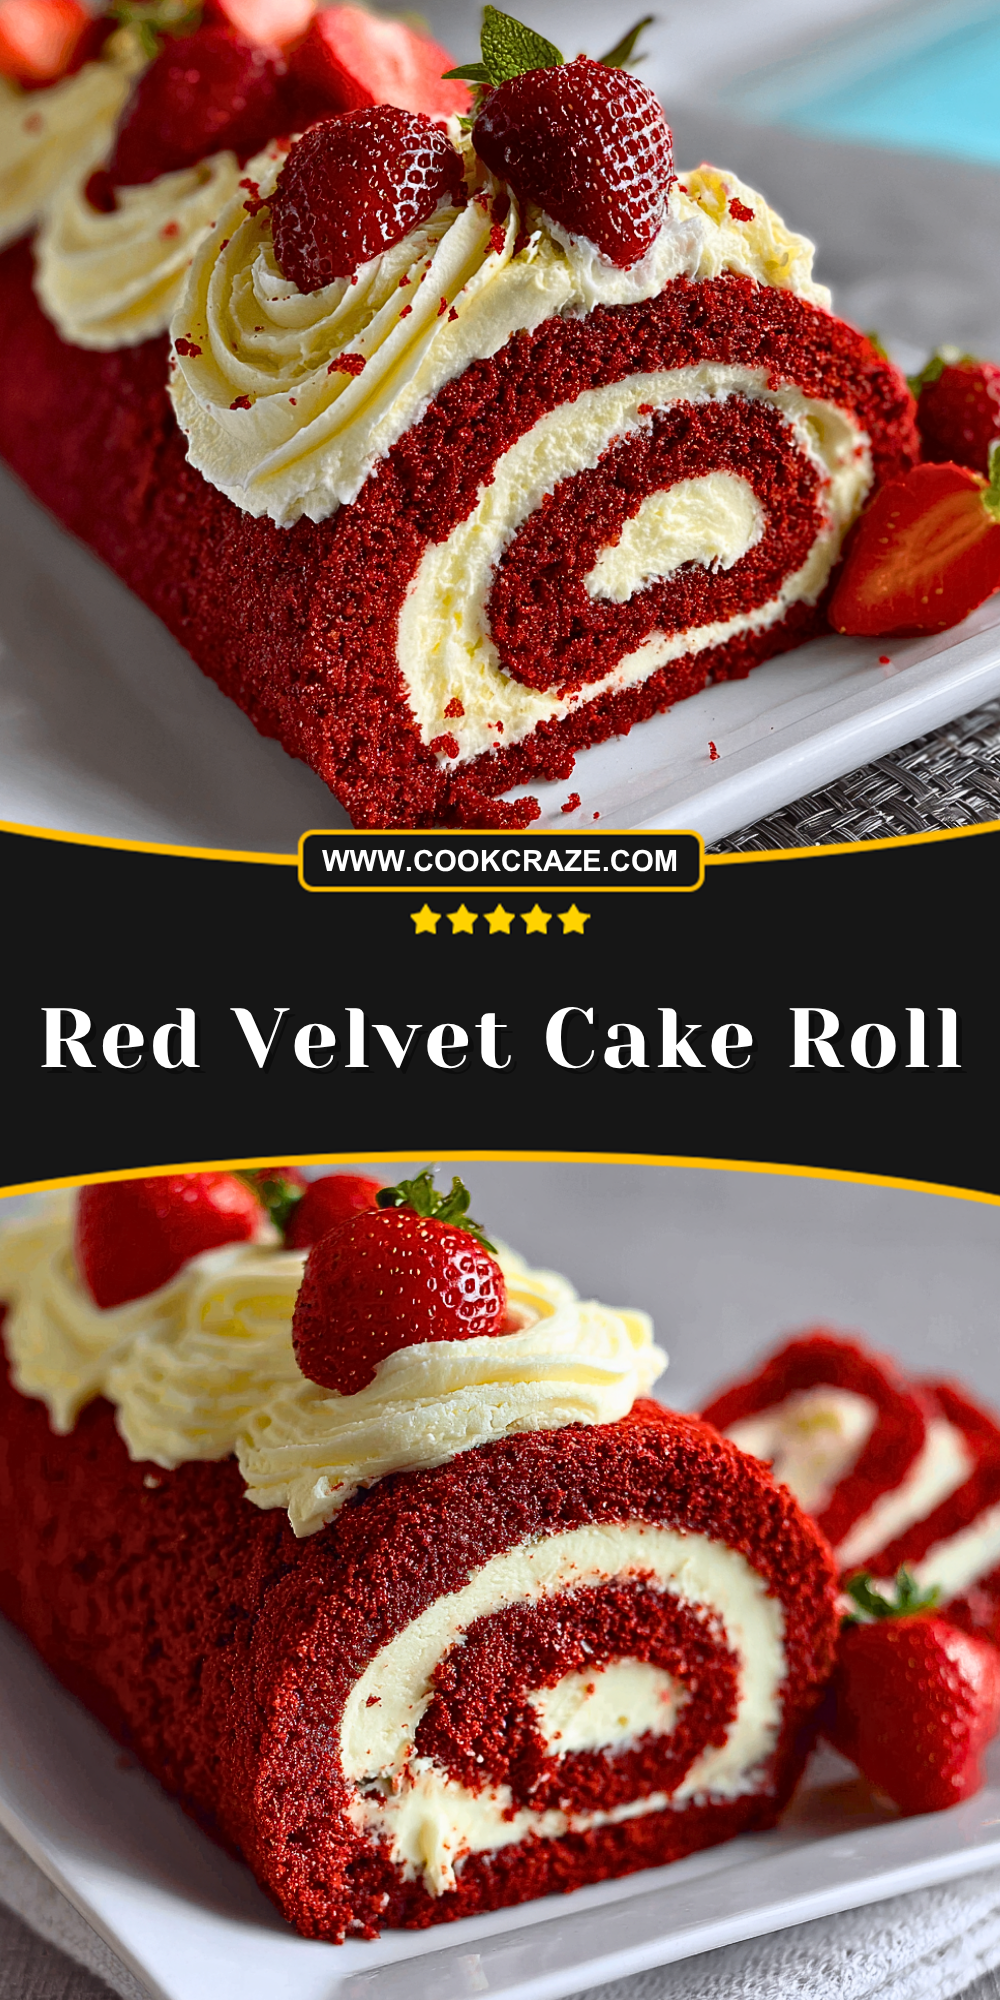
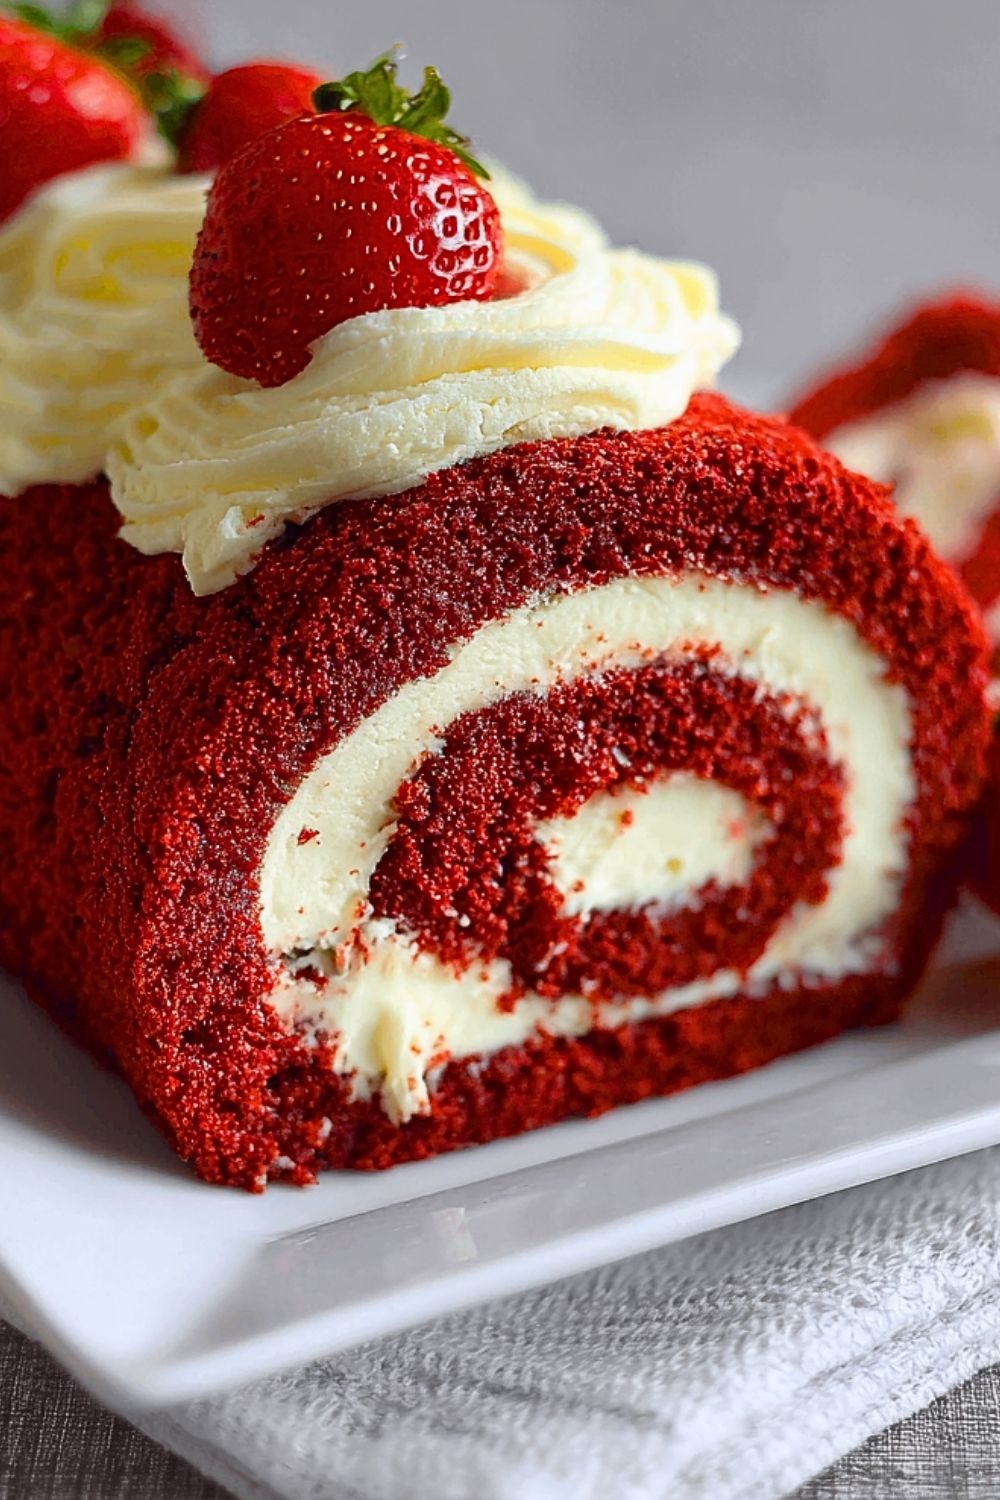
The first time I made this Red Velvet Cake Roll, I wasn’t expecting it to be such a showstopper—but once I saw the vibrant red swirl against the creamy filling, I knew it was something special. The soft, velvety sponge cake paired with a smooth and lightly tangy cream cheese filling creates a dessert that’s not only stunning to look at but unforgettable in flavor. It’s festive enough for holidays and impressive enough to serve at a dinner party.
What I love most about this cake roll is how it combines elegance with comfort. It has the flair of a bakery-style dessert, yet every bite feels nostalgic and familiar. It’s surprisingly simple to make once you get the rolling technique down, and the result is absolutely worth the effort.
Why You’ll Love This Red Velvet Cake Roll
This dessert brings together the best of both worlds: the rich, cocoa-kissed flavor of red velvet and the creamy decadence of a whipped filling. It’s moist, tender, and keeps beautifully in the fridge for a few days. Plus, it slices beautifully for a dessert table and is a total crowd-pleaser. Whether you’re making it for a holiday, birthday, or just because—this one’s going to be requested again and again.
What Kind of Cream Cheese Filling Should I Use?
For the best results, go with full-fat cream cheese for a rich, smooth texture. Let it soften to room temperature before beating it—this will ensure a lump-free, silky filling. I like to whip mine with powdered sugar and a splash of vanilla, but you can also fold in a bit of whipped cream for an even lighter texture.
Options for Substitutions
No red food coloring? You can leave it out—the flavor will still be wonderful, though the cake won’t have that signature color. If you want a natural alternative, beet powder or pomegranate juice concentrate can help achieve the hue. Gluten-free flour works well in this sponge-style cake, and if you need a dairy-free version, opt for plant-based cream cheese and whipped topping. Just keep the proportions the same and check for sweetness.
Ingredients for this Red Velvet Cake Roll
Eggs – These provide the structure and lift for the sponge cake. Beat them until thick and pale for that light, airy texture.
Granulated Sugar – Helps stabilize the eggs during whipping and adds the right level of sweetness to the cake.
Vegetable Oil – Keeps the sponge cake soft and moist without weighing it down.
Buttermilk – Adds a gentle tang that’s classic in red velvet desserts, and helps tenderize the cake.
All-Purpose Flour – The main dry ingredient that provides body to the cake roll. Sift for a finer crumb.
Unsweetened Cocoa Powder – Adds that signature red velvet flavor with just a hint of chocolate.
Baking Powder – Gives the cake its light rise.
Salt – Enhances all the flavors and balances the sweetness.
Red Food Coloring – Gives the cake its signature bold red color. Use gel for more vibrant color with less liquid.
Vanilla Extract – Rounds out the flavors beautifully in both the cake and the filling.
Cream Cheese – The base for the rich, tangy filling. Soften it before use for a smooth texture.
Powdered Sugar – Used in the filling to sweeten and stabilize it without grittiness.
Heavy Cream (optional) – Adds fluffiness if whipped into the filling.
Step 1: Prepare Your Baking Tools
Preheat your oven to 350°F (175°C) and line a 10×15-inch jelly roll pan with parchment paper. Spray lightly with non-stick spray to ensure easy removal after baking. Also, lay out a clean kitchen towel and dust it with powdered sugar—this will help roll the cake without sticking.
Step 2: Make the Sponge Cake Batter
Beat the eggs in a large bowl for 5 minutes until thick and lemon-colored. Gradually add the sugar and beat until fully incorporated. Stir in the oil, buttermilk, vanilla, and red food coloring. In a separate bowl, whisk together flour, cocoa, baking powder, and salt. Gradually fold the dry ingredients into the wet until just combined.
Step 3: Bake the Cake
Pour the batter evenly into your prepared pan and smooth the top. Bake for 12–15 minutes or until the cake springs back lightly when touched in the center. Avoid overbaking, as it can dry out quickly.
Step 4: Roll the Cake While Warm
Immediately turn the hot cake onto the prepared sugared towel. Peel off the parchment paper, then gently roll the cake up with the towel starting from the short side. Let it cool completely while rolled up—this helps it hold the shape without cracking later.
Step 5: Make the Filling
In a medium bowl, beat the softened cream cheese with powdered sugar and vanilla until smooth. If desired, fold in some whipped heavy cream for a lighter texture.
Step 6: Assemble the Cake Roll
Once the cake is completely cool, carefully unroll it. Spread the filling evenly across the surface, leaving a half-inch border. Re-roll the cake (without the towel), and place seam-side down.
Step 7: Chill and Garnish
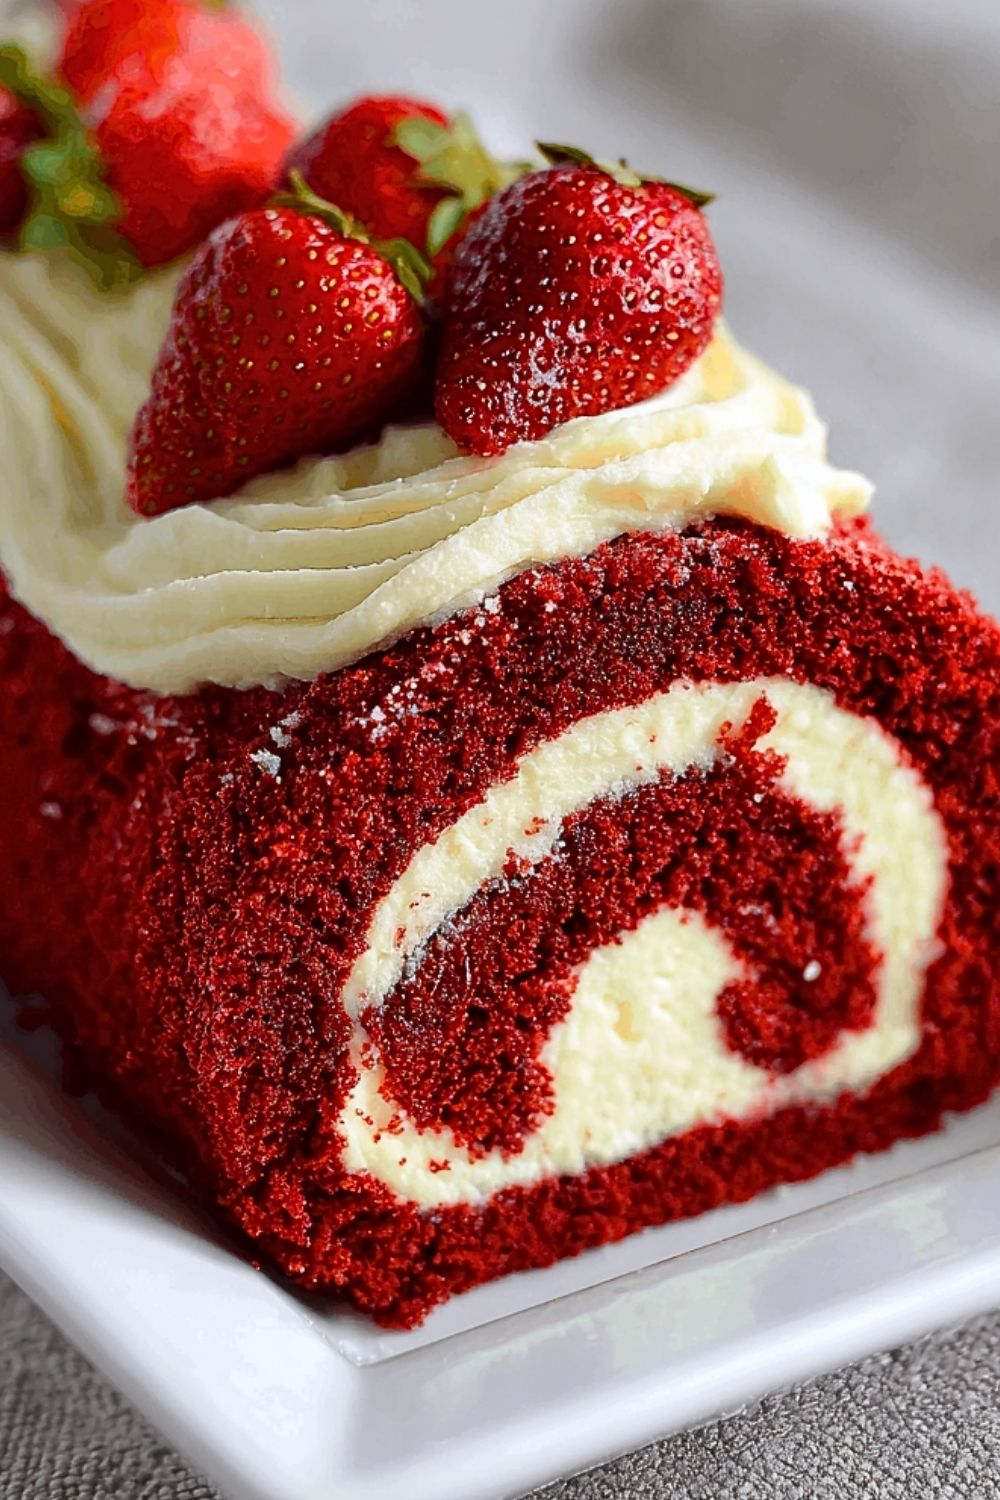
Wrap the rolled cake in plastic wrap and chill for at least 1 hour to set. Before serving, top with extra filling or whipped cream and garnish with fresh strawberries or a dusting of powdered sugar for a polished look.
How Long to Prepare the Red Velvet Cake Roll
Prep Time: The preparation takes around 25–30 minutes, including mixing the batter, preparing the filling, and setting up your pan and towel for rolling. It’s important not to rush through the egg beating or folding steps, as this is what gives the sponge its structure.
Cooling and Assembling Time: The cake needs to cool while rolled up, which takes about 1 hour. Assembling and chilling after adding the filling takes another hour. So, plan for at least 2.5 hours total, but most of that time is passive.
Tips for Perfect Red Velvet Cake Roll
- Make sure your eggs are at room temperature for maximum volume.
- Sift your dry ingredients to avoid any lumps.
- Don’t overmix the batter once dry ingredients are added—fold gently.
- Roll the cake while it’s still warm to prevent cracking.
- Allow it to cool completely before unrolling to fill.
- Chill well before slicing for clean cuts.
Watch Out for These Mistakes While Cooking
- Overbaking the Cake: This can make it dry and more prone to cracking.
- Not Rolling While Warm: The sponge sets quickly; wait too long and it won’t roll well.
- Too Much Filling: Overfilling makes it difficult to roll and can lead to a messy appearance.
- Skipping the Dusting on Towel: This prevents the cake from sticking—don’t forget it.
- Using Cold Cream Cheese: Your filling will be lumpy if you skip softening it.
What to Serve With Red Velvet Cake Roll?
1. Fresh Berries
A bowl of mixed strawberries, raspberries, and blueberries makes a fresh, tart contrast to the sweet, creamy roll.
2. Vanilla Bean Ice Cream
A scoop of creamy ice cream melts beautifully beside a slice of cake roll for a decadent pairing.
3. Espresso or Coffee
The bitterness of coffee cuts the sweetness and enhances the cocoa flavor in the cake.
4. Whipped Cream with Mint
Add a touch of lightness and a fresh pop of flavor with mint-infused whipped cream.
5. Dark Chocolate Drizzle
Drizzle melted dark chocolate over each slice for added richness and a dramatic finish.
Storage Instructions
Refrigerator: Wrap the cake roll tightly in plastic wrap or store it in an airtight container. It will stay fresh in the fridge for up to 4 days. You can slice off portions as needed.
Freezer: You can freeze the cake (before garnishing) for up to 2 months. Wrap it in plastic wrap and foil. To serve, thaw overnight in the fridge, then top with whipped cream or frosting before serving.
Estimated Nutrition
Per Slice (based on 12 servings):
- Calories: 280–320 kcal
- Fat: 16g
- Saturated Fat: 9g
- Carbohydrates: 34g
- Sugar: 24g
- Protein: 4g
- Fiber: 1g
- Cholesterol: 75mg
- Sodium: 210mg
Frequently Asked Questions
What if my cake cracks while rolling?
If it cracks a little, don’t worry—you can hide it with extra whipped cream or frosting on top. Make sure to roll while warm next time.
Can I make this a day ahead?
Yes! In fact, making it a day in advance allows the flavors to settle and makes slicing easier.
Do I need a jelly roll pan?
Yes, the size is important to get the right thickness for rolling. A 10×15-inch pan works best.
Can I add fruit to the filling?
Absolutely. Diced strawberries or raspberries can be gently folded into the filling for added freshness.
Can I use boxed cake mix?
You can adapt a red velvet boxed mix, but the sponge will be softer and may crack more easily when rolled.
Conclusion
The Red Velvet Cake Roll is more than just a pretty dessert—it’s a delicious blend of flavor, texture, and presentation. Once you master the simple technique of rolling a sponge cake, the possibilities are endless. It’s perfect for holidays, birthdays, or just when you want to impress your guests with something homemade and utterly delightful. With its vibrant color and luxurious filling, this cake roll will quickly become a favorite in your dessert rotation.
Red Velvet Cake Roll
- Total Time: 2.5 hours
- Yield: 12 slices
Description
If you’re looking for a showstopping dessert that tastes as amazing as it looks, this Red Velvet Cake Roll is the answer. With its deep red cocoa sponge and luxurious cream cheese filling, it’s the perfect combination of indulgent and elegant. Whether you’re in search of quick breakfast ideas, easy dinner desserts, or a unique treat to wow guests, this recipe checks every box. It’s one of those easy recipes that will become a go-to in your collection of food ideas, perfect for any special occasion or simple sweet craving.
Ingredients
4 large eggs
3/4 cup granulated sugar
2 tablespoons vegetable oil
1/4 cup buttermilk
1 teaspoon vanilla extract
1 tablespoon red food coloring (gel preferred)
2/3 cup all-purpose flour
2 tablespoons unsweetened cocoa powder
1 teaspoon baking powder
1/4 teaspoon salt
8 ounces cream cheese (softened)
1 cup powdered sugar
1/2 teaspoon vanilla extract
1/4 cup heavy cream (optional)
Instructions
1. Preheat oven to 350°F (175°C). Line a 10×15-inch jelly roll pan with parchment paper and lightly spray with non-stick spray. Prepare a clean kitchen towel dusted with powdered sugar for rolling.
2. Beat the eggs for 5 minutes until thick and pale. Gradually add the sugar and continue beating. Stir in oil, buttermilk, vanilla, and red food coloring.
3. In a separate bowl, whisk together flour, cocoa powder, baking powder, and salt. Gently fold the dry ingredients into the wet until just combined.
4. Spread the batter into the prepared pan and smooth the top. Bake for 12–15 minutes until the cake springs back when touched.
5. Immediately turn the cake onto the prepared towel and peel off the parchment paper. Roll it up in the towel starting at the short end. Let it cool completely.
6. Beat the softened cream cheese with powdered sugar and vanilla until smooth. Fold in whipped heavy cream if using.
7. Once cooled, unroll the cake and spread the filling evenly, leaving a border. Re-roll (without the towel), wrap in plastic, and chill for at least 1 hour.
8. Garnish with extra cream, strawberries, or a dusting of powdered sugar before serving.
Notes
Use room-temperature eggs and cream cheese for best texture.
Rolling the cake while warm is essential to prevent cracks.
Chill thoroughly before slicing for clean, beautiful cuts.
- Prep Time: 30 minutes
- Cook Time: 15 minutes
- Category: Dessert
- Method: Baking
- Cuisine: American
Nutrition
- Serving Size: 1 slice
- Calories: 300
- Sugar: 24g
- Sodium: 210mg
- Fat: 16g
- Saturated Fat: 9g
- Unsaturated Fat: 5g
- Trans Fat: 0g
- Carbohydrates: 34g
- Fiber: 1g
- Protein: 4g
- Cholesterol: 75mg
Keywords: red velvet, cake roll, holiday dessert, easy recipe, food ideas, cream cheese filling