

I never thought something as playful as Fruity Pebbles could turn into a full-on dessert obsession, but here I am—absolutely hooked on these Fruity Pebbles Cheesecake Tacos. The first time I made them, I was just looking for something fun and colorful for a weekend treat. But what I got was a brilliant mix of textures and flavors: crispy, chewy cereal shells wrapped around silky-smooth cheesecake filling. They’re like a joyful explosion in every bite.
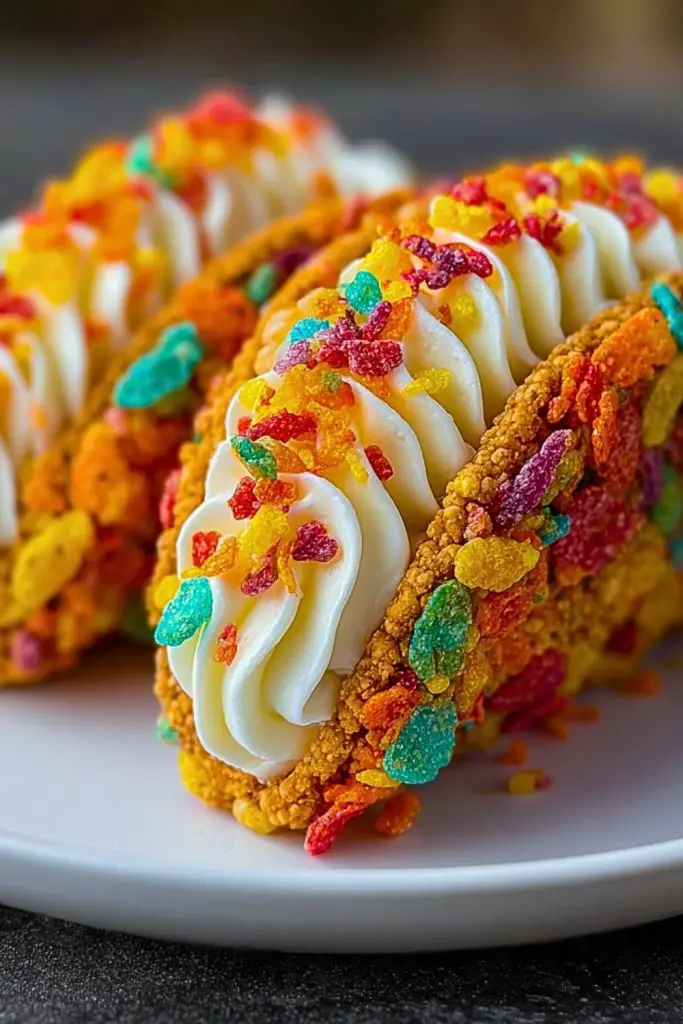
What I love about these is how easy they are to make while looking like you spent hours in the kitchen. The vibrant colors instantly grab attention, making them perfect for parties, kids’ birthdays, or even just a sweet surprise for yourself. And that balance—light crunch from the cereal, rich creaminess from the cheesecake—is so satisfying, it’s honestly hard to stop at one.
Why You’ll Love These Fruity Pebbles Cheesecake Tacos
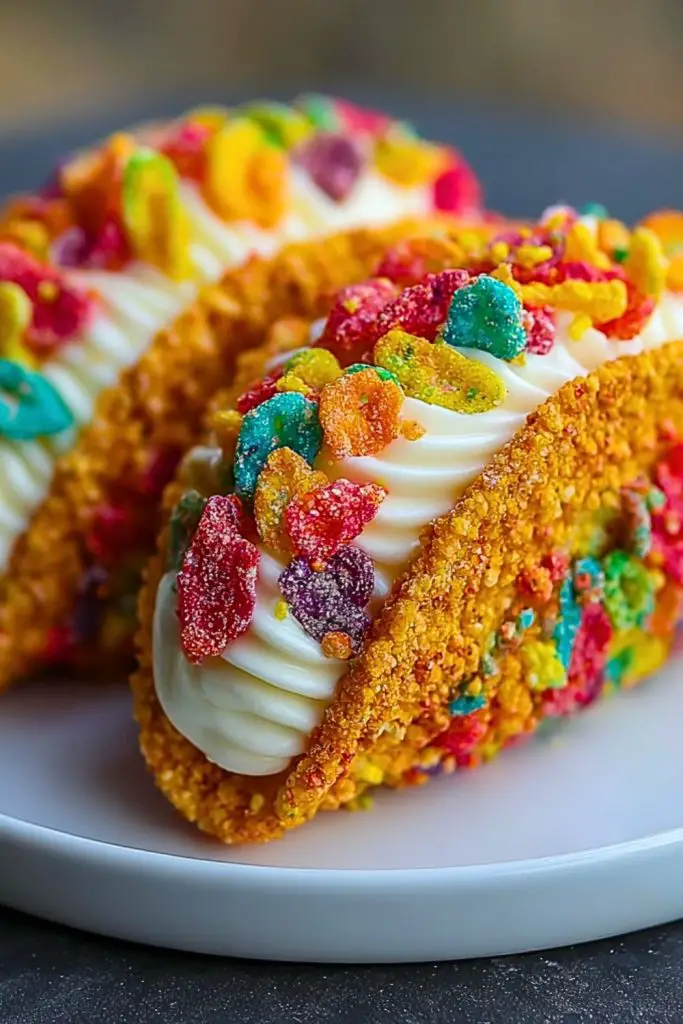
These aren’t just photogenic—they’re downright irresistible. You’ll love how the cereal shell stays crisp even after being filled, and how the no-bake cheesecake is luscious without being overly heavy. They’re quick to prep, require minimal baking skill, and bring smiles wherever they go. Whether you’re making a batch for a birthday bash or just craving something nostalgic with a twist, this recipe will win hearts every time.
What Kind of Fruity Pebbles Should I Use?
You’ll want to use the classic Fruity Pebbles cereal—the original, brightly colored kind that’s crisp and slightly fruity. It’s what gives these cheesecake tacos their iconic rainbow look and crunchy texture. Some stores carry off-brand versions, and while those can work in a pinch, the original brand really delivers the best flavor and holds up well when shaped into taco shells. Avoid cereals that are too soft or puffed; you need that signature crunch to create the structure.
Options for Substitutions
If Fruity Pebbles aren’t your thing or you’re looking to experiment, there are several fun variations to try:
- Cocoa Pebbles: For a chocolate twist with the same crispiness.
- Frosted Flakes or Cornflakes: Slightly more neutral in taste, but great for a sweet-and-crunchy shell.
- Rice Krispies: Add mini marshmallows for a gooey version—think Rice Krispie Treat Tacos.
- Cream Cheese Alternatives: Use whipped coconut cream cheese or plant-based cream cheese for a dairy-free version.
- Sugar-Free Whipped Cream: If you’re reducing sugar, opt for a sugar-free or light whipped topping for the filling.
Each variation brings its own charm, but the fun is in keeping that dessert taco concept playful and vibrant.
Ingredients for Fruity Pebbles Cheesecake Tacos
- Fruity Pebbles Cereal
The star of the show. This cereal becomes the colorful, crunchy taco shell that holds everything together. - Mini Marshmallows
When melted, these bind the cereal into a pliable mixture—think of them like edible glue with a sweet, sticky bonus. - Unsalted Butter
Helps melt the marshmallows smoothly and adds richness to the cereal shells. - Cream Cheese
The base of the cheesecake filling. It gives the filling its tangy, creamy body and structure. - Powdered Sugar
Sweetens the cream cheese without making the texture grainy. It also helps thicken the filling just enough. - Vanilla Extract
Adds a touch of warmth and depth to the cheesecake flavor. - Heavy Whipping Cream
Whipped into the cheesecake mixture, it lightens the texture and makes the filling ultra-smooth and pipeable. - Sprinkles or Extra Cereal (optional)
For garnishing the edges or tops of the tacos to give that extra colorful crunch and festive finish.
Step 1: Make the Fruity Pebbles Taco Shells
In a large saucepan, melt butter over low heat. Add the mini marshmallows and stir until completely melted and smooth. Remove from heat and gently fold in the Fruity Pebbles cereal until fully coated.
Step 2: Shape the Shells
While the mixture is still warm (but not too hot to handle), scoop out portions and press them over the underside of a greased muffin tin or taco mold to form the taco shape. Let them cool and set for about 20–30 minutes until firm and crisp.
Step 3: Prepare the Cheesecake Filling
In a mixing bowl, beat the cream cheese until smooth. Add powdered sugar and vanilla extract, and continue beating until well combined. In a separate bowl, whip the heavy cream until stiff peaks form, then gently fold it into the cream cheese mixture.
Step 4: Pipe the Filling
Transfer the cheesecake filling into a piping bag (or use a zip-top bag with the corner snipped off). Pipe generous swirls of filling into each taco shell, filling from end to end.
Step 5: Garnish and Chill
Top with extra Fruity Pebbles or sprinkles for a decorative crunch. Refrigerate for at least 30 minutes before serving to allow the filling to firm up slightly.
How Long to Cook the Fruity Pebbles Cheesecake Tacos
Technically, there’s no actual baking involved—this is a no-bake dessert! The only heat comes from melting the marshmallows and butter, which takes about 5–7 minutes. Once you form the taco shells, give them about 20–30 minutes to set at room temperature. After filling, refrigerate the tacos for at least 30 minutes so the cheesecake can firm up a bit. So in total, you’re looking at around 1 hour from start to ready-to-eat.
Tips for Perfect Fruity Pebbles Cheesecake Tacos
- Work quickly with the cereal mixture: It stiffens fast once it starts cooling, so have your shaping tools (like a muffin tin or taco rack) greased and ready before you start.
- Grease your hands: Lightly coat your hands with butter or cooking spray to prevent sticking when shaping the cereal shells.
- Let the shells cool fully before filling: Warm shells can melt the cheesecake filling, so give them time to set completely.
- Use chilled cream cheese: This helps the filling hold its shape better when piped and prevents it from becoming too runny.
- Refrigerate before serving: A short chill in the fridge not only improves texture but makes the tacos easier to hold and enjoy.
Watch Out for These Mistakes While Cooking
- Overheating the marshmallows
If you cook them too long, they’ll become stiff and hard when cooled. Melt them gently over low heat for the perfect gooey texture. - Waiting too long to shape the shells
Once the cereal mix cools, it hardens quickly. Work while it’s warm and pliable, or you’ll end up with cracked or unshapable shells. - Under-whipping the cream
Soft peaks won’t hold up in the filling. Make sure you whip the heavy cream to stiff peaks so your cheesecake filling is stable. - Overfilling the tacos
It’s tempting, but too much filling can make them difficult to eat or cause the shell to crack. Fill generously, but with balance. - Skipping the chill time
The flavors meld and the filling firms up during that 30-minute rest in the fridge. Don’t rush it—it makes a big difference.
What to Serve With Fruity Pebbles Cheesecake Tacos?
Mini Milkshakes
Pair with colorful strawberry or vanilla milkshakes for a retro dessert moment.
Fresh Fruit Skewers
Cut through the richness with chilled grapes, strawberries, and pineapple chunks.
Hot Chocolate
Great in colder months—especially with whipped cream and a sprinkle of Fruity Pebbles on top!
Ice Cream Scoops
Vanilla or cotton candy ice cream complements the fruity, creamy flavors beautifully.
Birthday Cake Slices
Make it a full-on dessert party by serving with a bright, frosted cake.
Whipped Cream Dollops
Extra whipped cream with a dash of cereal crumbles works perfectly as a dip or topping.
Strawberry Sauce or Berry Coulis
Drizzle on top or serve on the side for a burst of fresh, tart flavor.
Storage Instructions
Fruity Pebbles Cheesecake Tacos are best enjoyed fresh, but if you’ve got leftovers, store them in an airtight container in the refrigerator. The cereal shells will stay crisp for about 1–2 days, though they may soften slightly over time due to the moisture from the filling. If you want to make them ahead, prepare and store the shells and filling separately, then assemble just before serving for the best texture.
Avoid freezing, as the cereal becomes chewy and the cheesecake filling can separate once thawed.
Estimated Nutrition (Per Taco – based on standard-sized serving)
- Calories: ~290 kcal
- Fat: 17g
- Saturated Fat: 10g
- Cholesterol: 45mg
- Sodium: 115mg
- Carbohydrates: 33g
- Sugar: 22g
- Fiber: <1g
- Protein: 3g
Please note, these values can vary depending on the exact brands and amounts used.
Frequently Asked Questions
Can I make the taco shells ahead of time?
Yes! You can make the shells a day in advance. Just store them in an airtight container at room temperature to keep them crisp until you’re ready to fill and serve.
What can I use instead of a muffin tin to shape the tacos?
If you don’t have a muffin tin, you can drape the warm cereal mixture over a thick wooden spoon handle balanced between two cups. Just make sure to grease the surface first.
Can I freeze these tacos?
Freezing is not recommended. The cereal loses its crisp texture, and the cheesecake filling can become watery after thawing.
Is this safe for kids to help make?
Absolutely—with supervision! Kids can help mix the filling and decorate the tacos. Be cautious with the hot marshmallow mixture—it’s sticky and can burn.
How long can they stay out at room temperature?
Once filled, they can sit out for about 1 hour. After that, it’s best to keep them chilled to maintain texture and food safety.
Can I use store-bought whipped cream instead of whipping my own?
You can, but freshly whipped cream adds better texture and flavor. Store-bought versions tend to deflate or water down the filling over time.
Can I make them dairy-free?
Yes! Use plant-based butter, vegan cream cheese, and dairy-free whipped topping. Just be aware the texture may vary slightly.
How do I transport these for a party?
Place each taco in a cupcake liner or small container to protect the shell and keep them upright. Chill them well before transporting to help them stay firm.
Conclusion
Fruity Pebbles Cheesecake Tacos are the perfect combination of playful and indulgent—bright colors, creamy filling, and that nostalgic crunch in every bite. They’re fun to make, even more fun to eat, and guaranteed to light up any dessert table. Whether you’re prepping them for a party, surprising your kids, or just giving yourself a sweet treat, these tacos bring joy with every bite. Try them once, and they’ll quickly become a repeat favorite.

Fruity Pebbles Cheesecake Tacos
- Total Time: 1 hour
- Yield: 8 tacos
- Diet: Vegetarian
Description
Fruity Pebbles Cheesecake Tacos are a colorful, no-bake dessert that combines crunchy cereal shells with creamy, whipped cheesecake filling. These fun treats are perfect for birthdays, parties, or anytime you want something playful and indulgent. Quick to prepare and packed with nostalgic flavor, they bring a rainbow-bright twist to dessert time.
Ingredients
3 cups Fruity Pebbles cereal
2 cups mini marshmallows
2 tablespoons unsalted butter
8 ounces cream cheese, softened
1 cup powdered sugar
1 teaspoon vanilla extract
1 cup heavy whipping cream
Optional: extra Fruity Pebbles or sprinkles for garnish
Instructions
1. In a saucepan over low heat, melt the butter. Add mini marshmallows and stir until fully melted and smooth.
2. Remove from heat and fold in Fruity Pebbles cereal until evenly coated.
3. Scoop warm cereal mixture and press over the backside of a greased muffin tin or taco mold to form shell shapes.
4. Let the shells cool and harden at room temperature for 20–30 minutes.
5. In a bowl, beat cream cheese until smooth. Add powdered sugar and vanilla extract, mixing until combined.
6. In a separate bowl, whip the heavy cream to stiff peaks.
7. Fold whipped cream into the cream cheese mixture until smooth.
8. Transfer filling to a piping bag and pipe into cooled taco shells.
9. Garnish with extra Fruity Pebbles or sprinkles if desired.
10. Chill in the refrigerator for at least 30 minutes before serving.
Notes
Best served the same day. Store leftovers in the refrigerator for up to 2 days. Assemble right before serving for optimal texture.
- Prep Time: 20 minutes
- Cook Time: 7 minutes
- Category: Dessert
- Method: No-Bake
- Cuisine: American
Nutrition
- Serving Size: 1 taco
- Calories: 290
- Sugar: 22g
- Sodium: 115mg
- Fat: 17g
- Saturated Fat: 10g
- Unsaturated Fat: 6g
- Trans Fat: 0g
- Carbohydrates: 33g
- Fiber: <1g
- Protein: 3g
- Cholesterol: 45mg
Keywords: fruity pebbles, cheesecake tacos, no-bake dessert, cereal treats