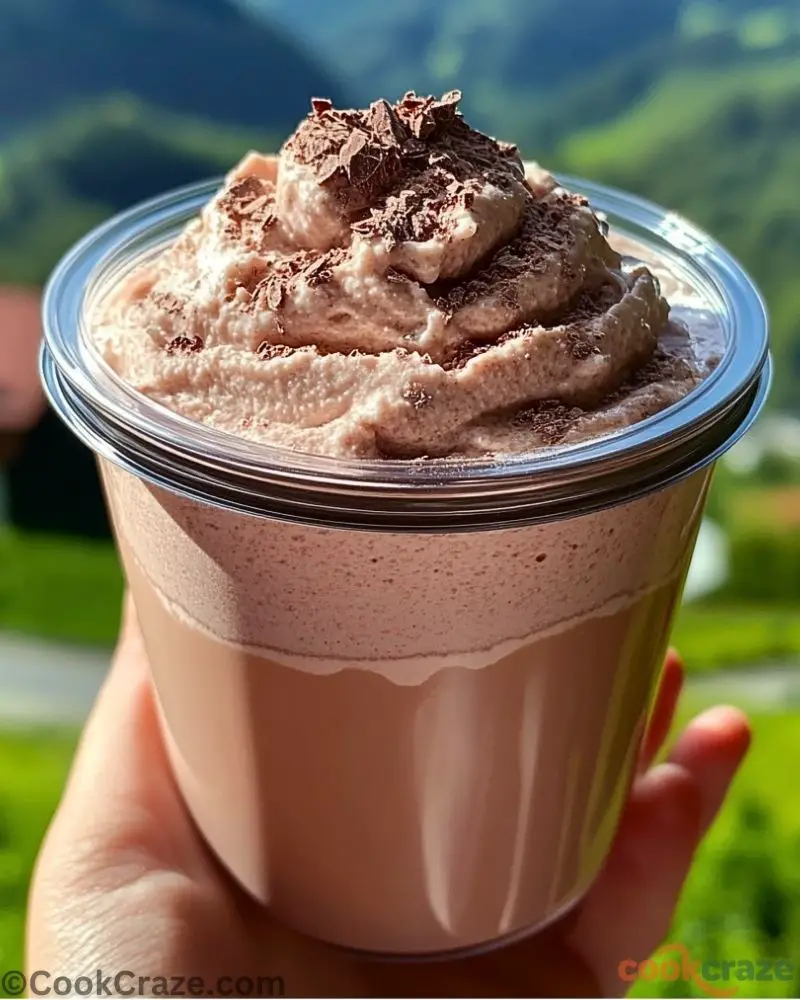
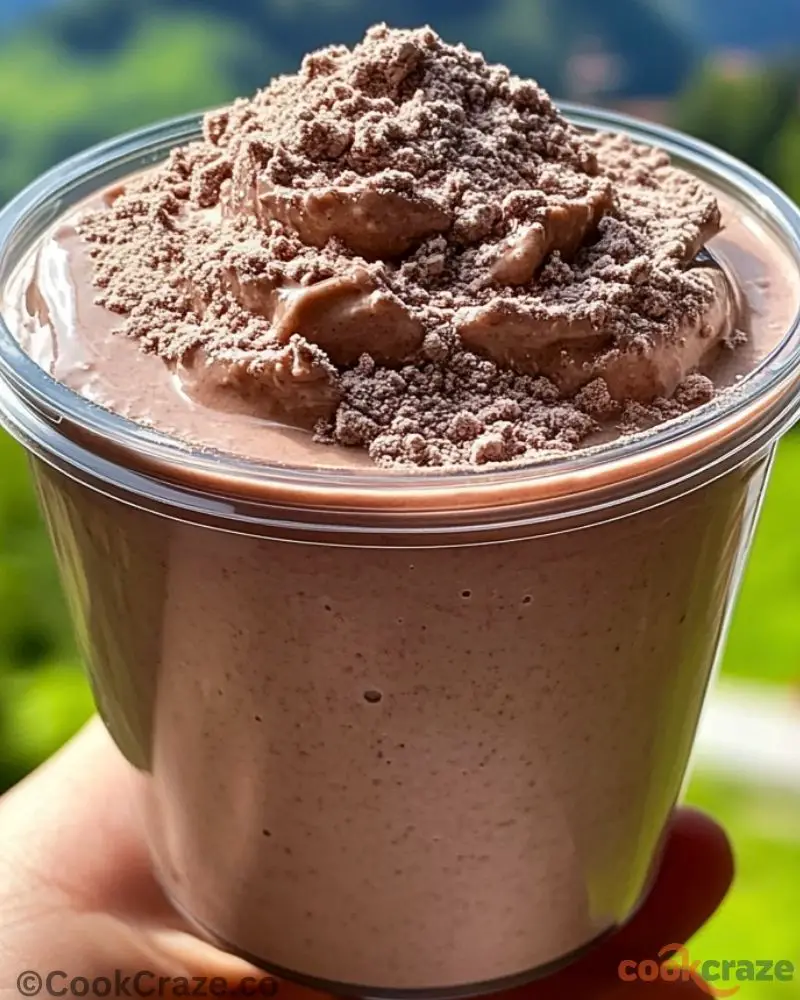
Chocolate Instant Pudding is one of those desserts that brings back childhood memories with every spoonful. It’s creamy, rich, and deeply chocolatey—yet surprisingly simple to make. Whether you enjoy it as a standalone treat, layer it into trifles, or use it as a pie filling, this pudding is a must-have recipe for any chocolate lover.

I love how this instant pudding mix comes together in minutes, making it perfect for busy days when I’m craving something sweet but don’t want to spend hours in the kitchen. Plus, it’s a great homemade alternative to store-bought mixes, allowing me to control the ingredients and adjust the flavors to my liking.
Why You’ll Love This Chocolate Instant Pudding
- Quick & Easy – Ready in just a few minutes with minimal effort.
- No Cooking Required – Just mix, chill, and enjoy.
- Rich Chocolate Flavor – Satisfies your chocolate cravings instantly.
- Customizable – Adjust the sweetness, add toppings, or mix in extras.
- Perfect for Various Desserts – Use it in pies, parfaits, or just eat it by the spoonful!
What Type of Cocoa Powder Should I Use?
The cocoa powder you choose makes a huge difference in the flavor of your chocolate instant pudding. I recommend using unsweetened cocoa powder for a deep, rich chocolate taste. Dutch-process cocoa will give you a smoother and more intense chocolate flavor, while natural cocoa powder offers a slightly more acidic and classic chocolate taste. If you want an ultra-dark and decadent pudding, try black cocoa powder for a hint of Oreo-like richness.
Options for Substitutions
Want to tweak the recipe to fit your preferences? Here are some great substitution ideas:
- Cocoa Powder – Swap regular cocoa with Dutch-process for a deeper flavor or use dark cocoa for an intense chocolate kick.
- Sweetener – Use powdered sugar, monk fruit sweetener, or coconut sugar instead of regular sugar.
- Milk Powder – If you’re dairy-free, replace it with coconut milk powder or almond milk powder.
- Cornstarch – Arrowroot powder or tapioca starch can work as a thickener if needed.
- Vanilla Flavor – Swap vanilla extract for almond extract or coffee extract for a unique twist.
With these simple substitutions, you can make this chocolate instant pudding fit your dietary needs and taste preferences perfectly!
Ingredients for This Chocolate Instant Pudding
Each ingredient plays a key role in making this instant pudding creamy, rich, and delicious. Here’s what you’ll need:
- Cocoa Powder – This is the heart of the pudding, providing that deep chocolate flavor. Choose high-quality cocoa for the best taste.
- Sugar – Adds sweetness and balances the bitterness of the cocoa powder. You can adjust the amount based on your preference.
- Cornstarch – Acts as a thickening agent, giving the pudding its smooth and creamy consistency.
- Milk Powder – Enhances the creaminess and richness of the pudding. It also helps create a more instant-like mix.
- Salt – A pinch of salt enhances the overall flavor, making the chocolate taste even more pronounced.
- Vanilla Powder or Extract – Adds depth and warmth to the pudding, balancing the chocolate flavor beautifully.

Step 1: Mix the Dry Ingredients
In a large bowl, whisk together the cocoa powder, sugar, cornstarch, milk powder, and salt until well combined. This ensures that all the ingredients are evenly distributed, preventing clumps when you mix it with liquid later.
Step 2: Store the Instant Pudding Mix
Transfer the dry mix to an airtight container or jar and keep it in a cool, dry place. This homemade pudding mix can last for several months, making it a great pantry staple for quick desserts.
Step 3: Prepare the Pudding
When you’re ready to make pudding, measure out ½ cup of the dry mix and whisk it into 2 cups of cold milk (or a milk alternative). Stir vigorously until the mixture is smooth and well combined.
Step 4: Let It Thicken
Allow the pudding to sit for about 5–10 minutes to thicken. If you prefer a firmer consistency, refrigerate it for 30 minutes to an hour before serving.
Step 5: Serve and Enjoy
Once the pudding reaches your desired thickness, serve it in bowls or glasses. Garnish with whipped cream, chocolate shavings, or fresh berries for an extra-special touch!
How Long to Cook the Chocolate Instant Pudding?
The beauty of this instant pudding is that no cooking is required! Once you mix the dry ingredients with cold milk, the pudding starts to thicken within 5–10 minutes. For a firmer texture, chilling it in the refrigerator for about 30 minutes to an hour will give you the perfect consistency. If you’re using a dairy-free milk alternative, you may need to refrigerate it a little longer for the best results.
Tips for Perfect Chocolate Instant Pudding
- Use Cold Milk – Mixing with cold milk ensures the pudding sets up properly without clumps.
- Whisk Well – Stir thoroughly to dissolve the dry mix completely for a smooth, creamy texture.
- Chill for a Firmer Pudding – While the pudding thickens quickly, refrigerating it for at least 30 minutes makes it even better.
- Adjust Sweetness – Taste the mix before using and tweak the sugar amount to fit your preference.
- Add a Flavor Boost – A dash of espresso powder or cinnamon can enhance the chocolate flavor beautifully.
- Use High-Quality Cocoa – The better the cocoa powder, the richer and more decadent your pudding will taste.
- For Extra Creaminess – Replace half the milk with heavy cream for a more luxurious texture.
- Make It Vegan – Swap regular milk powder for coconut or almond milk powder and use a plant-based milk alternative.
With these tips, you’ll have the perfect chocolate instant pudding every time!
Watch Out for These Mistakes While Cooking
Even though this pudding is simple to make, a few common mistakes can affect the texture and flavor. Here’s what to avoid:
- Not Whisking Enough – If you don’t mix the dry ingredients thoroughly before adding milk, you may end up with lumps.
- Using Warm or Hot Milk – Cold milk is essential to achieving the right consistency. Warm milk can prevent the pudding from thickening properly.
- Skipping the Chill Time – While the pudding sets quickly, refrigerating it for at least 30 minutes enhances the texture.
- Not Storing It Properly – If the dry mix is exposed to moisture, it can clump up. Always store it in an airtight container.
- Using Low-Quality Cocoa Powder – The chocolate flavor depends on the quality of the cocoa, so choose a good brand for the best taste.
- Adding Too Much Liquid – Stick to the recommended milk-to-mix ratio to ensure the pudding thickens properly.
- Forgetting the Salt – A small pinch of salt brings out the chocolate flavor and prevents the pudding from tasting flat.
- Not Letting It Fully Thicken – Give the pudding enough time to set before serving for the best creamy consistency.
What to Serve With Chocolate Instant Pudding?
Chocolate instant pudding is delicious on its own, but pairing it with other treats makes it even better!
1. Whipped Cream
A dollop of freshly whipped cream adds a light and airy contrast to the rich pudding.
2. Fresh Berries
Strawberries, raspberries, or blueberries bring a refreshing balance to the chocolatey goodness.
3. Crushed Cookies
Sprinkle crushed Oreos, graham crackers, or shortbread cookies on top for extra crunch.
4. Chocolate Shavings
A sprinkle of dark, milk, or white chocolate shavings makes the pudding look fancy and taste even better.
5. Chopped Nuts
Almonds, hazelnuts, or pecans add a nice crunch and a nutty depth to the pudding.
6. Caramel or Chocolate Drizzle
A drizzle of caramel or extra chocolate sauce takes this dessert to the next level.
7. Marshmallows
Mini marshmallows mixed in or placed on top give a fun, s’mores-inspired twist.
8. Layered in a Trifle
Use the pudding as a layer in trifles with cake, whipped cream, and fruit for an elegant dessert.
Storage Instructions
Storing the Dry Mix
To keep your homemade instant pudding mix fresh, store it in an airtight container or a mason jar in a cool, dry place. It will stay good for up to 3 months as long as no moisture gets in. Make sure to shake or stir the mix before using, as ingredients may settle over time.
Storing Prepared Pudding
Once mixed with milk, store the pudding in an airtight container in the refrigerator. It will stay fresh for 3–4 days. Cover the surface with plastic wrap to prevent a skin from forming on top.
Freezing Instructions
While freezing isn’t ideal for the pudding’s texture, you can freeze it in popsicle molds to make chocolate pudding pops! Simply pour the prepared pudding into molds, freeze overnight, and enjoy.
Estimated Nutrition
The following nutrition estimate is based on one serving (½ cup) of prepared chocolate instant pudding:
- Calories: ~180
- Carbohydrates: 30g
- Protein: 4g
- Fat: 5g
- Sugar: 20g
- Fiber: 2g
- Sodium: 150mg
These values may vary depending on the ingredients used, especially if you substitute sugar, milk, or cocoa powder types. If you’re looking for a lower-sugar option, consider using a sugar substitute or unsweetened cocoa.
Frequently Asked Questions
1. Can I make this pudding without milk powder?
Yes! If you don’t have milk powder, simply omit it and mix the dry ingredients directly with cold milk when preparing the pudding.
2. How do I make this pudding dairy-free?
Swap the milk powder for coconut or almond milk powder and use a plant-based milk alternative like almond, oat, or coconut milk.
3. Can I use this mix to make a cooked pudding?
Absolutely! To make a cooked version, whisk the dry mix with milk and gently heat it over medium heat until it thickens, stirring constantly.
4. Why isn’t my pudding thickening?
If your pudding isn’t thickening, check that you used the correct ratio of mix to milk. Also, let it sit for a few more minutes or refrigerate it for better consistency.
5. Can I reduce the sugar?
Yes! You can cut back on the sugar or replace it with a sugar alternative like monk fruit sweetener, erythritol, or coconut sugar.
6. What’s the best cocoa powder to use?
For the richest flavor, use Dutch-process cocoa or a mix of natural cocoa and dark cocoa for depth. Black cocoa powder will give it a deep, Oreo-like taste.
7. Can I use this mix for chocolate pie filling?
Yes! This pudding works as a great no-bake pie filling. Simply prepare the pudding, let it thicken, then pour it into a pre-made crust and refrigerate until firm.
8. How can I make it extra creamy?
For a creamier texture, replace half of the milk with half-and-half or heavy cream. This makes the pudding extra rich and indulgent.
Conclusion
This Chocolate Instant Pudding is the perfect dessert for when you need something quick, easy, and delicious. Whether you enjoy it on its own, layered into a trifle, or as a pie filling, it’s a must-have recipe for any chocolate lover. Save this recipe on Pinterest, share it with your friends, and enjoy every spoonful of creamy chocolate goodness!

Chocolate Instant Pudding
- Total Time: 5 minutes
- Yield: 6 servings
Description
This homemade chocolate instant pudding mix is rich, creamy, and incredibly easy to make. With just a few pantry staples like cocoa powder, cornstarch, and milk powder, you can create a quick and delicious dessert in minutes. Perfect for serving on its own, as a pie filling, or layered in trifles!
Ingredients
- 1 cup unsweetened cocoa powder
- 1 ½ cups sugar
- ¾ cup cornstarch
- 1 cup milk powder
- ½ teaspoon salt
- 1 tablespoon vanilla powder (or add extract when mixing with milk)
Instructions
- In a large bowl, whisk together cocoa powder, sugar, cornstarch, milk powder, salt, and vanilla powder until well combined.
- Transfer the mix to an airtight container for storage.
- To prepare pudding, whisk ½ cup of the dry mix with 2 cups of cold milk.
- Stir continuously until smooth and thickened (about 5–10 minutes).
- For a firmer consistency, refrigerate for 30 minutes before serving.
- Enjoy as-is or top with whipped cream, chocolate shavings, or fresh berries!
- Prep Time: 5 minutes

