
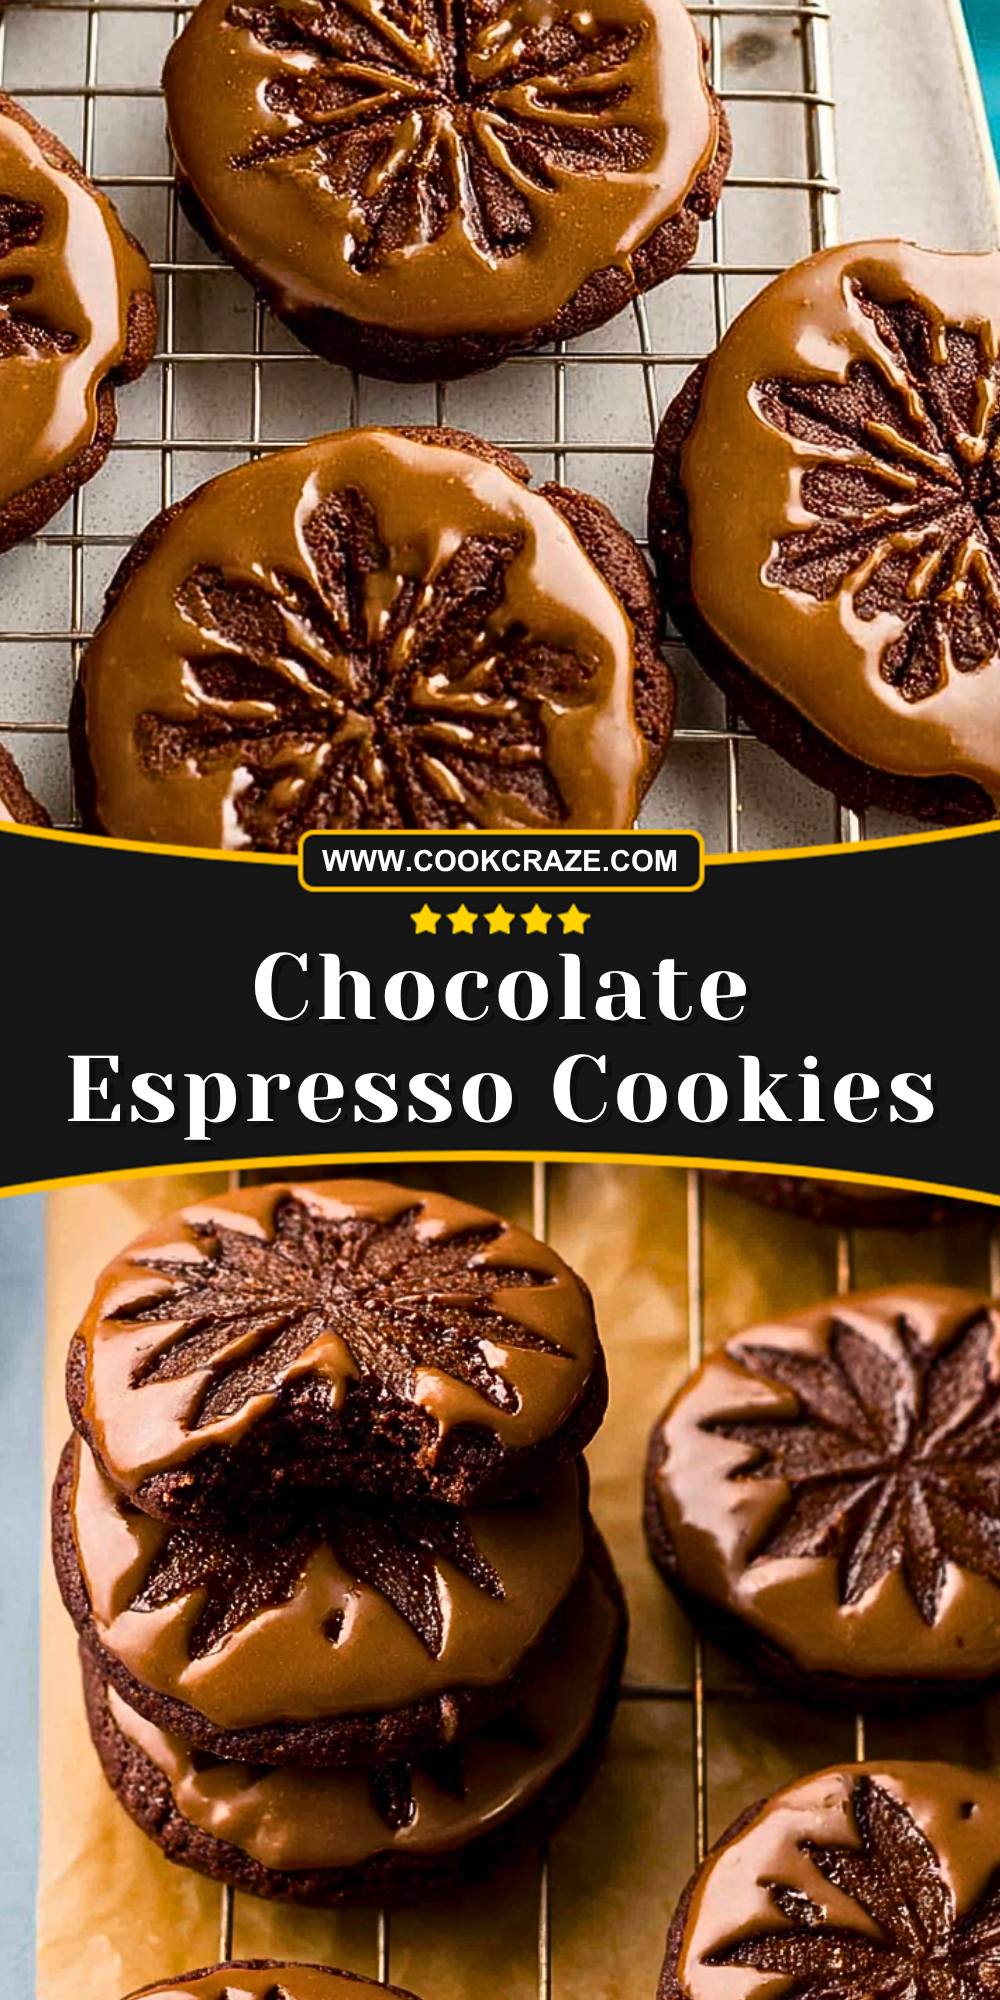
There’s something irresistibly indulgent about the deep, rich flavor of chocolate paired with the bold kick of espresso. These Chocolate Espresso Cookies bring together the best of both worlds, creating a treat that feels both comforting and sophisticated. Each bite delivers a soft, chewy texture with a glossy coffee glaze that enhances the chocolate notes beautifully.
Perfect for afternoon pick-me-ups or elegant dessert platters, these cookies don’t just taste amazing—they look stunning too. The intricate stamped pattern adds a bakery-quality finish, making them just as impressive to serve as they are satisfying to eat.
Why You’ll Love This Chocolate Espresso Cookies
If you enjoy desserts that balance sweetness with a hint of bitterness, these cookies are a dream come true. The espresso intensifies the chocolate flavor rather than overpowering it, resulting in a more complex and satisfying bite. They’re also versatile enough for both casual snacking and special occasions.
Another reason to love this recipe is its visual appeal. With minimal extra effort, you can create beautifully patterned cookies that look professionally made. Plus, the dough is easy to work with, making this a great recipe whether you’re a beginner or an experienced baker.
Preparation Phase & Tools to Use (Essential Tools and Equipment, and the Importance of Each Tool)
To achieve the perfect Chocolate Espresso Cookies, having the right tools makes a noticeable difference. A sturdy mixing bowl is essential for combining ingredients evenly, while an electric mixer helps create a smooth, consistent dough with minimal effort. Measuring cups and spoons ensure accuracy, which is key for baking success.
A baking sheet lined with parchment paper prevents sticking and promotes even baking. A cookie stamp or embossed cutter is what gives these cookies their signature decorative pattern, turning a simple treat into something visually striking. Finally, a cooling rack allows air to circulate around the cookies, preventing sogginess and helping the glaze set properly.
Preparation Tips
For the best results, use high-quality cocoa powder and freshly brewed espresso or espresso powder to maximize flavor. Chill the dough slightly if it becomes too soft—this makes stamping and shaping much easier. When applying the glaze, ensure the cookies are completely cooled so it sets smoothly without melting or becoming runny. Taking a little extra care during preparation will elevate both the taste and presentation of your cookies.
Ingredients for this Chocolate Espresso Cookies
For the Cookies
- 1 cup (226g) unsalted butter, softened
- 1 cup (200g) granulated sugar
- 1/2 cup (100g) brown sugar, packed
- 1 large egg, room temperature
- 1 teaspoon vanilla extract
- 2 cups (250g) all-purpose flour
- 1/2 cup (50g) unsweetened cocoa powder (high quality recommended)
- 1 tablespoon espresso powder (or finely ground instant espresso)
- 1/2 teaspoon baking soda
- 1/4 teaspoon baking powder
- 1/2 teaspoon salt
For the Espresso Glaze
- 1 1/2 cups (180g) powdered sugar
- 2–3 tablespoons brewed espresso (cooled)
- 1/2 teaspoon vanilla extract
- Optional: 1 tablespoon cocoa powder for deeper chocolate flavor
Optional Add-Ins & Variations
- 1/2 cup chocolate chips or chunks (dark or semi-sweet)
- A pinch of cinnamon for warmth
- Flaky sea salt for topping
Step 1: Prepare the Dry Ingredients
In a medium bowl, whisk together the all-purpose flour, cocoa powder, espresso powder, baking soda, baking powder, and salt. This step ensures even distribution of leavening agents and prevents clumping, especially from cocoa powder. Sifting is recommended if your cocoa tends to form lumps.
Step 2: Cream the Butter and Sugars
In a large mixing bowl, beat the softened butter, granulated sugar, and brown sugar using an electric mixer on medium speed for about 2–3 minutes. The mixture should become light, fluffy, and slightly pale in color. This process incorporates air, which helps create a tender cookie texture.
Step 3: Add Wet Ingredients
Add the egg and vanilla extract to the creamed mixture. Beat until fully combined and smooth. Scrape down the sides of the bowl to ensure everything is evenly incorporated.
Step 4: Combine Wet and Dry Mixtures
Gradually add the dry ingredients into the wet mixture, mixing on low speed. Continue until a soft dough forms. Avoid overmixing, as this can make the cookies dense instead of tender.
Step 5: Chill the Dough (Highly Recommended)
Cover the dough and refrigerate for at least 30–45 minutes. Chilling helps firm up the dough, making it easier to handle and enhancing the flavor. It also prevents excessive spreading during baking.
Step 6: Preheat and Prepare Baking Sheets
Preheat your oven to 350°F (175°C). Line baking sheets with parchment paper or silicone baking mats to ensure even baking and easy cleanup.
Step 7: Shape and Stamp the Cookies
Scoop about 1.5 tablespoons of dough and roll into balls. Place them on the prepared baking sheet, leaving space between each cookie. Use a decorative cookie stamp or the bottom of a glass to gently flatten each dough ball. If using a stamp, lightly dust it with cocoa powder or sugar to prevent sticking.
Step 8: Bake the Cookies
Bake for 9–11 minutes. The edges should be set, while the centers remain slightly soft. Avoid overbaking, as the cookies will continue to firm up as they cool.
Step 9: Cool Completely
Allow the cookies to cool on the baking sheet for 5 minutes, then transfer them to a wire rack. Cooling completely is crucial before adding glaze, as warmth will cause it to melt and lose its definition.
Step 10: Prepare the Espresso Glaze
In a small bowl, whisk together powdered sugar, brewed espresso, and vanilla extract until smooth. Adjust consistency by adding more sugar (to thicken) or espresso (to thin). The glaze should be thick yet pourable.
Step 11: Glaze and Decorate
Spoon or spread the glaze over each cooled cookie. Let it settle naturally into the stamped pattern. For extra flair, lightly drizzle melted chocolate or sprinkle flaky sea salt on top.
Step 12: Let the Glaze Set
Allow the cookies to sit at room temperature for 20–30 minutes, or until the glaze is fully set. This ensures a clean, professional finish and prevents smudging during storage.
Notes
These Chocolate Espresso Cookies strike a perfect balance between rich chocolate intensity and the subtle bitterness of coffee. The espresso doesn’t overpower but instead enhances the cocoa, making each bite deeper and more complex. If you prefer a milder coffee flavor, you can slightly reduce the espresso powder without compromising the overall taste. For a more indulgent version, adding chocolate chunks creates pockets of melted chocolate that pair beautifully with the glaze.
The texture of these cookies can be adjusted based on baking time. Slightly underbaking will give you a softer, fudgier center, while baking a minute longer results in a firmer cookie with crisp edges. Both variations work wonderfully depending on your preference.
Watch Out for These Mistakes While Cooking
One common mistake is overmixing the dough after adding the dry ingredients, which can lead to tough cookies. Mix just until combined. Another issue is skipping the chilling step—this often causes cookies to spread too much and lose their shape, especially if you’re using a stamp design.
Using hot cookies for glazing is another pitfall. The glaze will melt and lose its defined pattern if the cookies aren’t fully cooled. Also, be careful not to overbake; chocolate cookies can look done on the outside while drying out inside.
Storage Instructions
Store the cookies in an airtight container at room temperature for up to 4–5 days. Keep them in a cool, dry place to maintain the glaze texture. If stacking, place parchment paper between layers to prevent sticking.
For longer storage, these cookies can be frozen (without glaze) for up to 2 months. Thaw at room temperature and glaze fresh before serving for the best appearance and taste. You can also freeze the dough balls and bake them straight from frozen—just add an extra minute or two to the baking time.
Estimated Nutrition
- Calories: ~180 per cookie
- Carbohydrates: 22g
- Sugar: 14g
- Fat: 9g
- Saturated Fat: 5g
- Protein: 2g
- Fiber: 2g
- Sodium: 85mg
Note: Values are approximate and may vary depending on ingredients used.
Frequently Asked Questions
Can I make these cookies without espresso?
Yes, you can omit the espresso powder. However, the coffee enhances the chocolate flavor, so the cookies may taste slightly less rich.
What type of cocoa powder works best?
Unsweetened natural cocoa powder works well, but Dutch-processed cocoa will give a darker color and smoother flavor.
Can I use instant coffee instead of espresso powder?
Yes, but make sure it’s finely ground. The flavor may be slightly less intense than espresso powder.
Why did my cookies spread too much?
This usually happens if the dough wasn’t chilled or if the butter was too soft. Chilling helps maintain structure.
How do I get a clean stamped design?
Lightly dust your stamp with cocoa powder or sugar before pressing it into the dough to prevent sticking.
Can I make the dough ahead of time?
Absolutely. The dough can be refrigerated for up to 48 hours before baking.
Is the glaze necessary?
No, the cookies are delicious on their own, but the glaze adds sweetness and enhances presentation.
Can I make these gluten-free?
Yes, substitute with a 1:1 gluten-free flour blend designed for baking. Texture may vary slightly.
Conclusion
Chocolate Espresso Cookies are a delightful fusion of bold flavors and elegant presentation. Whether you’re baking for a special occasion or simply treating yourself, these cookies offer a bakery-quality experience right at home. With their rich taste, beautiful design, and customizable options, they’re sure to become a favorite in your recipe collection.
Chocolate Espresso Cookies
- Total Time: 30 minutes
- Yield: 18 cookies
- Diet: Vegetarian
Description
Indulge in these rich and flavorful Chocolate Espresso Cookies—perfect for a quick dessert, easy dinner party treat, or satisfying sweet snack. These cookies combine deep chocolate flavor with bold espresso notes, topped with a smooth coffee glaze that makes them both visually stunning and irresistibly delicious.
Ingredients
1 cup unsalted butter softened
1 cup granulated sugar
1/2 cup brown sugar packed
1 large egg room temperature
1 teaspoon vanilla extract
2 cups all-purpose flour
1/2 cup unsweetened cocoa powder
1 tablespoon espresso powder
1/2 teaspoon baking soda
1/4 teaspoon baking powder
1/2 teaspoon salt
1 1/2 cups powdered sugar
2 to 3 tablespoons brewed espresso cooled
1/2 teaspoon vanilla extract for glaze
Instructions
1. Whisk together flour cocoa powder espresso powder baking soda baking powder and salt.
2. Beat butter granulated sugar and brown sugar until light and fluffy.
3. Add egg and vanilla extract and mix until smooth.
4. Gradually combine dry ingredients with wet mixture to form dough.
5. Chill dough for 30 to 45 minutes.
6. Preheat oven to 350°F and line baking sheets.
7. Roll dough into balls and stamp or flatten.
8. Bake for 9 to 11 minutes until edges are set.
9. Cool cookies completely on a rack.
10. Mix glaze ingredients until smooth.
11. Spread glaze over cookies and let set.
Notes
Use high-quality cocoa powder and espresso powder for the richest flavor.
Chilling the dough helps maintain the cookie shape and enhances taste.
Always glaze completely cooled cookies to achieve a clean finish.
- Prep Time: 20 minutes
- Cook Time: 10 minutes
- Category: Dessert
- Method: Baking
- Cuisine: American
Nutrition
- Serving Size: 1 cookie
- Calories: 180
- Sugar: 14g
- Sodium: 85mg
- Fat: 9g
- Saturated Fat: 5g
- Unsaturated Fat: 3g
- Trans Fat: 0g
- Carbohydrates: 22g
- Fiber: 2g
- Protein: 2g
- Cholesterol: 25mg
Keywords: chocolate espresso cookies, easy dessert, baking ideas, coffee cookies