
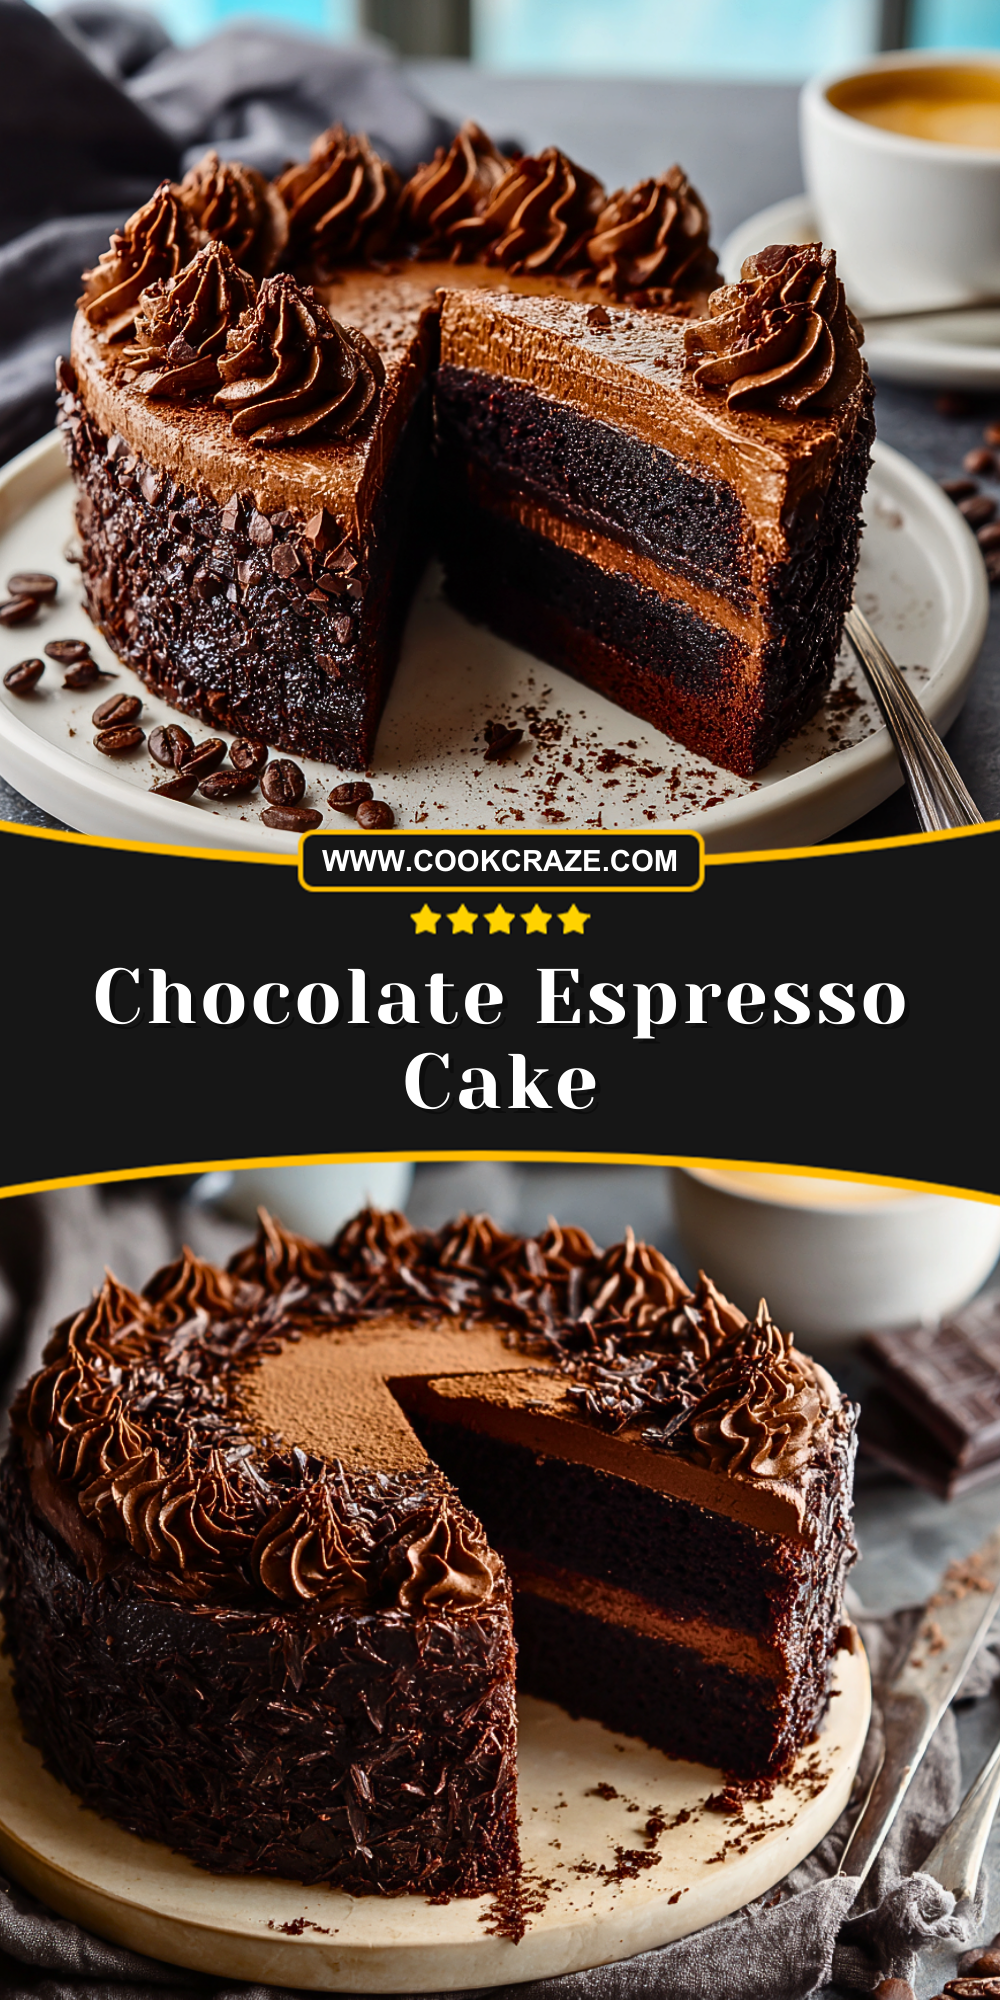
When I first baked this Chocolate Espresso Cake, I wasn’t prepared for how intensely rich and satisfying it would be. It’s a beautiful blend of deep cocoa flavor and the bold kick of espresso, layered into a moist, tender crumb and topped with the silkiest chocolate espresso frosting. This isn’t just any chocolate cake—it’s an experience. Every bite carries that perfect harmony of bittersweet and smooth, making it a favorite for birthdays, celebrations, or any day that just needs a little extra indulgence.
I created this recipe for the chocolate lovers who crave that deep, coffee-infused complexity. The espresso doesn’t overpower—it enhances. It gives the cake a grown-up twist while keeping it utterly irresistible. Whether you’re serving it alongside a strong cup of coffee or as a show-stopping dessert, this cake never fails to impress.
Why You’ll Love This Chocolate Espresso Cake
This cake has everything you want in a dessert: moist, rich chocolate layers, a hint of espresso to deepen the flavor, and a frosting that’s so creamy you’ll want to eat it with a spoon. It’s easy enough to bake on a weekend but impressive enough for special occasions. And the best part? It actually gets better the next day, once all the flavors have settled in.
What Kind of Espresso Should I Use?
Instant espresso powder is the easiest way to go. It dissolves quickly into your wet ingredients and gives you that robust coffee essence without needing a machine. If you prefer, you can use a shot of brewed espresso, but be mindful of the liquid ratio—it might slightly alter the batter’s consistency. I recommend a dark roast espresso powder for maximum flavor.
Options for Substitutions
If you’re avoiding caffeine, you can substitute the espresso with decaf espresso powder or omit it entirely for a more traditional chocolate cake. Want it dairy-free? Swap the butter for vegan butter and use a plant-based milk. Gluten-free flour blends can work well here too, especially those designed for 1:1 substitution. For a twist, try adding a pinch of cinnamon or chili powder to the batter for a subtle heat that plays nicely with the chocolate.
Ingredients for this Chocolate Espresso Cake
All-purpose flour – The base structure of the cake, offering a sturdy yet soft crumb.
Granulated sugar – Sweetens the batter and helps keep the cake moist.
Unsweetened cocoa powder – Provides a deep, chocolatey foundation. Use high-quality cocoa for the richest flavor.
Baking powder and baking soda – Both are used to create rise and softness, essential for the cake’s light texture.
Salt – Enhances all the other flavors, especially the chocolate.
Instant espresso powder – Intensifies the chocolate flavor and brings out the espresso profile.
Eggs – Bind the ingredients together and give structure to the cake.
Buttermilk – Adds tang and moisture, making the cake tender.
Vegetable oil – Keeps the crumb soft and moist without overpowering the flavor.
Vanilla extract – Adds warmth and depth.
Hot water – Blooming the cocoa in hot water unlocks its full flavor and gives a smoother texture to the batter.
Butter (for frosting) – Provides a rich, creamy base for the frosting.
Powdered sugar – Sweetens and thickens the frosting.
Cocoa powder (for frosting) – Doubles down on the chocolate flavor.
Espresso or brewed strong coffee (for frosting) – Enhances the depth and adds bold flavor to the buttercream.
Step 1: Preheat and Prep
Preheat your oven to 350°F (175°C). Grease and line three 8-inch round cake pans with parchment paper. This ensures easy removal and perfect edges.
Step 2: Mix the Dry Ingredients
In a large bowl, whisk together flour, sugar, cocoa powder, baking powder, baking soda, salt, and espresso powder. Make sure everything is evenly distributed for a balanced batter.
Step 3: Combine Wet Ingredients
In another bowl, whisk together the eggs, buttermilk, oil, and vanilla extract until smooth. This wet mixture brings richness and moisture.
Step 4: Blend and Add Hot Water
Pour the wet ingredients into the dry and mix until just combined. Then slowly add the hot water (or hot brewed coffee), mixing gently. The batter will be thin – this is normal and helps create a moist cake.
Step 5: Bake the Cake
Divide the batter evenly among the prepared pans. Bake for 30–35 minutes, or until a toothpick inserted into the center comes out clean. Let the cakes cool in the pans for 10 minutes before turning them out onto wire racks to cool completely.
Step 6: Make the Espresso Frosting
Beat softened butter until light and fluffy. Gradually add powdered sugar and cocoa powder, then pour in the espresso or coffee a little at a time until you reach a smooth, spreadable consistency.
Step 7: Assemble and Frost
Once the cakes are fully cooled, layer them with frosting between each tier. Finish with a generous coat of frosting on top and around the sides. Use a piping bag to decorate the edges if you’re feeling fancy.
How Long to Prepare the Chocolate Espresso Cake
Prep Time: The preparation takes about 25–30 minutes. This includes gathering your ingredients, mixing the batter, and preparing the pans. If you’re making the frosting while the cakes bake, it saves additional time.
Bake and Cool Time: The cakes need around 30–35 minutes to bake, depending on your oven. Cooling takes another 45–60 minutes, which is crucial before frosting to avoid melting. Plan for about 2 hours total from start to finish, not including decorative touches.
Tips for Perfect Chocolate Espresso Cake
- Use room-temperature ingredients to ensure smooth blending and even baking.
- Sift the cocoa powder and flour to prevent clumps and to aerate the batter.
- Don’t overmix once the wet and dry ingredients are combined. Mix until just incorporated.
- Let the cakes cool completely before frosting to avoid a melted mess.
- For sharp, clean layers, level the cakes with a serrated knife before stacking.
Watch Out for These Mistakes While Cooking
- Using cold ingredients – It can cause uneven mixing and affect texture.
- Overbaking – Check at the 30-minute mark. Overbaking will dry out the cake.
- Not blooming the cocoa – Skipping the hot water step dulls the chocolate flavor.
- Applying frosting to warm cakes – The frosting will melt and slide.
- Incorrect pan prep – Grease and line your pans well to prevent sticking.
What to Serve With Chocolate Espresso Cake?
1. A shot of espresso
Amplifies the coffee notes and keeps the flavor theme strong.
2. Whipped cream
A lightly sweetened dollop balances the richness of the cake.
3. Vanilla bean ice cream
Cold and creamy, it contrasts beautifully with the cake’s dense texture.
4. Fresh raspberries
Their tartness cuts through the deep chocolate flavor and adds color.
5. Salted caramel drizzle
A decadent topping that adds a buttery contrast to the espresso depth.
Storage Instructions
Room Temperature: If you plan to eat the cake within 1–2 days, keep it covered at room temperature. A cake dome or airtight container works best.
Refrigerator: For longer storage, place the cake in the fridge, tightly covered. It will stay fresh for up to 5 days. Bring to room temperature before serving for the best flavor and texture.
Freezer: You can freeze unfrosted cake layers for up to 2 months. Wrap them tightly in plastic wrap and foil. Thaw overnight in the refrigerator before frosting and serving.
Estimated Nutrition
Per slice (based on 12 servings):
- Calories: 480
- Fat: 26g
- Saturated Fat: 10g
- Carbohydrates: 60g
- Sugar: 45g
- Protein: 5g
- Fiber: 3g
- Sodium: 310mg
- Cholesterol: 55mg
Frequently Asked Questions
Can I make this cake ahead of time?
Yes! You can bake the cake layers a day in advance and store them wrapped at room temperature or in the fridge. Assemble and frost the day of serving.
Can I use brewed coffee instead of espresso powder?
You can, but be sure to reduce other liquids slightly to keep the batter balanced. Espresso powder has a more concentrated flavor.
Can I make this gluten-free?
Absolutely. Use a 1:1 gluten-free flour blend designed for baking, and make sure all other ingredients are gluten-free.
How do I get smooth frosting?
Beat the butter well before adding sugar. Add espresso gradually and beat until creamy and fluffy. A small offset spatula helps create a smooth surface.
Why is my cake sinking in the middle?
It could be underbaked, or your oven temperature might be off. Always check doneness with a toothpick and avoid opening the oven door too early.
Conclusion
The Chocolate Espresso Cake is one of those showstopper desserts that looks as good as it tastes. Rich, moist, and full of bold flavor, it balances the intense depth of chocolate with just the right hint of espresso. Whether you’re celebrating or just indulging, this cake brings bakery-level flavor to your home kitchen. With simple ingredients and clear steps, it’s totally doable—and absolutely unforgettable.
Chocolate Espresso Cake
- Total Time: 2 hours
- Yield: 12 servings
Description
Bold, rich, and indulgent—this Chocolate Espresso Cake is the ultimate dessert for any chocolate lover. Moist chocolate layers are elevated with a subtle kick of espresso, making every bite intensely satisfying. Frosted with a luscious chocolate espresso buttercream, this cake is a bakery-worthy showstopper that’s surprisingly easy to make. Whether you’re looking for easy dinner party desserts, birthday cake ideas, or a quick celebration cake that delivers major flavor, this recipe has you covered. It’s a standout among dessert ideas and perfect for those who love easy recipes with gourmet results.
Ingredients
1 ¾ cups all-purpose flour
2 cups granulated sugar
¾ cup unsweetened cocoa powder
2 teaspoons baking powder
1 ½ teaspoons baking soda
1 teaspoon salt
1 tablespoon instant espresso powder
2 large eggs
1 cup buttermilk
½ cup vegetable oil
2 teaspoons vanilla extract
1 cup hot water
1 cup unsalted butter, softened
3 ½ cups powdered sugar
½ cup unsweetened cocoa powder
3–4 tablespoons brewed espresso or strong coffee
1 teaspoon vanilla extract
Instructions
1. Preheat your oven to 350°F (175°C). Grease and line three 8-inch round cake pans with parchment paper.
2. In a large mixing bowl, whisk together flour, sugar, cocoa powder, baking powder, baking soda, salt, and espresso powder.
3. In a separate bowl, combine eggs, buttermilk, oil, and vanilla extract. Mix until smooth.
4. Add the wet mixture into the dry ingredients and mix gently. Gradually pour in the hot water while stirring. The batter will be thin.
5. Divide the batter evenly into the prepared pans and bake for 30–35 minutes. Check doneness with a toothpick.
6. Let the cakes cool in pans for 10 minutes, then transfer to wire racks to cool completely.
7. For the frosting, beat softened butter until creamy. Slowly add powdered sugar and cocoa powder, then blend in espresso and vanilla until smooth and fluffy.
8. Assemble the cake by layering frosting between cooled cake layers. Frost the top and sides generously.
9. Decorate with piped frosting or chocolate shavings, if desired.
10. Chill the cake slightly before slicing for clean, neat layers.
Notes
Make sure all ingredients are at room temperature for best results.
Sift cocoa and powdered sugar for a smooth, clump-free frosting.
Let cake layers cool completely before frosting to avoid melting or sliding.
- Prep Time: 30 minutes
- Cook Time: 35 minutes
- Category: Dessert
- Method: Baking
- Cuisine: American
Nutrition
- Serving Size: 1 slice
- Calories: 480
- Sugar: 45g
- Sodium: 310mg
- Fat: 26g
- Saturated Fat: 10g
- Unsaturated Fat: 14g
- Trans Fat: 0g
- Carbohydrates: 60g
- Fiber: 3g
- Protein: 5g
- Cholesterol: 55mg
Keywords: chocolate cake, espresso cake, coffee dessert, easy celebration cake, chocolate layer cake