
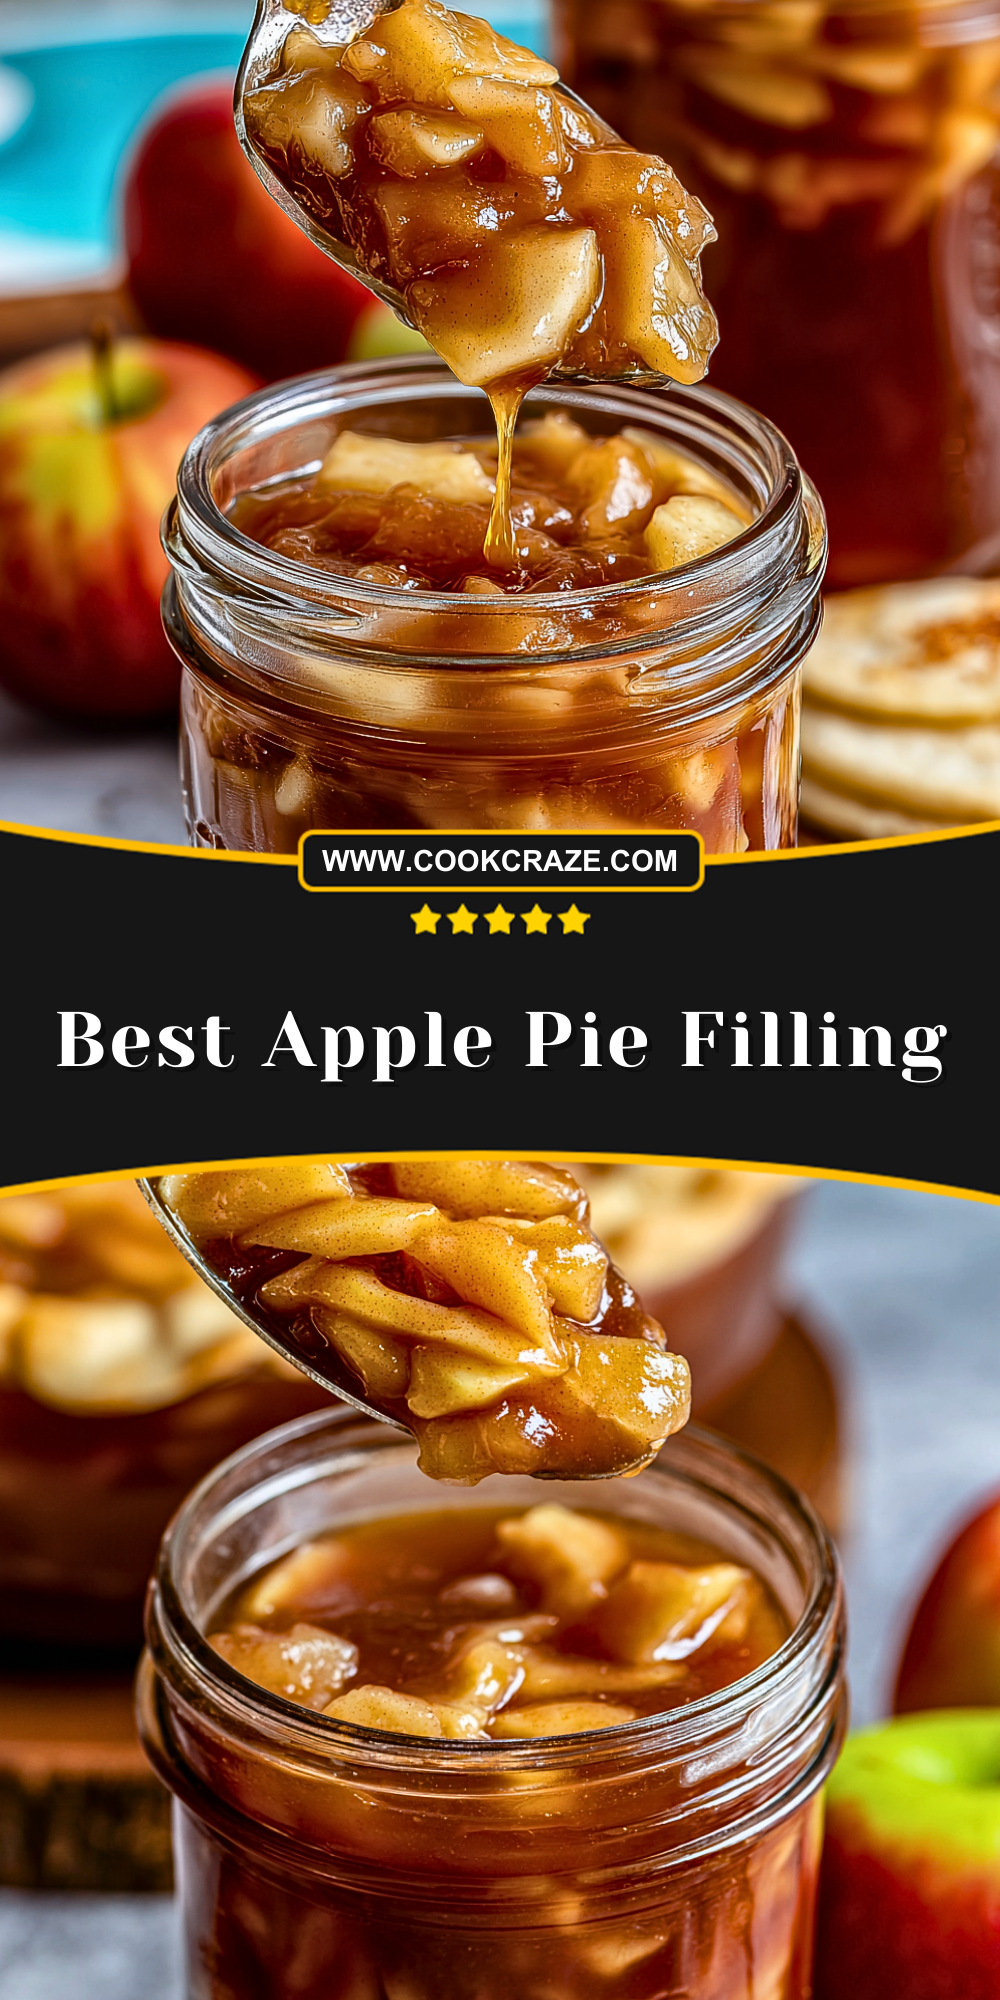
Nothing says comfort like the warm, cinnamon-kissed aroma of a perfectly spiced apple pie filling simmering on the stove. This Best Apple Pie Filling is a blend of tender apple slices enveloped in a rich, buttery sauce with just the right balance of sweet and tart. It’s the ultimate kitchen staple to elevate your pies, turnovers, pancakes, and even oatmeal bowls.
Homemade apple pie filling has an unmatched depth of flavor that canned versions simply can’t offer. Whether you’re baking for the holidays, prepping for quick desserts, or just craving something cozy, this filling is incredibly easy to make and store. One batch and you’ll never reach for store-bought again.
Why You’ll Love This Best Apple Pie Filling
- Bursting with real apple flavor and warm spices
- Easy to make in under 30 minutes
- Versatile for pies, crisps, tarts, or even spooned over ice cream
- Make-ahead friendly and freezer-safe
- No artificial ingredients or preservatives
Preparation Phase & Tools to Use
Before you start, gather your tools for a smooth cooking process:
- Heavy-bottomed saucepan or Dutch oven: Essential for evenly cooking the apples and preventing the filling from burning.
- Peeler and sharp knife or apple corer/slicer: Helps you quickly prep the apples into even slices, which ensures uniform cooking.
- Measuring cups and spoons: Accuracy matters when balancing the sugar and spices.
- Wooden spoon or silicone spatula: Ideal for stirring without damaging your cookware.
- Storage jars or airtight containers: Important for cooling and storing your finished filling safely.
Each tool plays a role in making this process mess-free and efficient, setting you up for success.
Preparation Tips
Choose firm apples like Granny Smith, Honeycrisp, or Fuji for the best texture — you want slices that hold their shape and don’t turn to mush. Slice them uniformly to ensure even cooking, and don’t skip the lemon juice, which balances sweetness and prevents browning. Adjust the sugar based on the natural sweetness of your apples, and always taste the filling before it finishes cooking. A pinch of salt might sound odd but rounds out the flavor beautifully. Finally, allow the filling to cool completely before using it in any recipe to avoid soggy crusts or uneven bakes.
Ingredients for this Best Apple Pie Filling
- 6 cups peeled, cored, and sliced apples (Granny Smith, Honeycrisp, or Fuji recommended)
- 3/4 cup granulated sugar
- 1/4 cup brown sugar (light or dark, packed)
- 1/4 cup cornstarch
- 1 1/2 tsp ground cinnamon
- 1/4 tsp ground nutmeg
- 1/8 tsp ground cloves (optional, for extra warmth)
- 1/4 tsp salt
- 1 tbsp lemon juice (freshly squeezed)
- 2 cups water
- 1 tsp vanilla extract
- 1 tbsp unsalted butter (optional for a glossy finish)
Step 1: Prep the Apples
Wash, peel, core, and slice the apples into thin, even slices—about 1/4 inch thick. Place the slices in a bowl and toss with lemon juice to prevent browning and add a bit of tang.
Step 2: Combine Dry Ingredients
In a small bowl, mix together the granulated sugar, brown sugar, cornstarch, cinnamon, nutmeg, cloves (if using), and salt. This blend will form the base of your thickened sauce.
Step 3: Cook the Base Mixture
In a large saucepan or Dutch oven over medium heat, pour in 2 cups of water and slowly whisk in the dry mixture until smooth. Bring this mixture to a gentle simmer, stirring frequently to prevent clumps.
Step 4: Add the Apples
Once the base starts to thicken and bubble, stir in the prepared apple slices. Reduce heat slightly and cook for 10–12 minutes, gently stirring often, until the apples begin to soften but still retain some bite.
Step 5: Finish with Flavor
Stir in the vanilla extract and optional butter. The vanilla enhances the depth of flavor, while the butter adds richness and a glossy appearance. Cook for 1–2 more minutes, then remove from heat.
Step 6: Cool and Store
Allow the filling to cool completely in the pan or transfer it to a heat-safe bowl. Once cooled, use immediately or transfer to airtight containers or jars. Store in the refrigerator for up to 1 week or freeze for up to 3 months.
Notes
For a more intense flavor, let the apple pie filling rest for several hours or overnight in the fridge—the spices deepen and the sauce thickens beautifully. If your apples release a lot of juice during cooking, don’t worry; the cornstarch will thicken it into a luscious glaze. And for a bakery-style touch, try mixing in a splash of apple cider instead of water.
Watch Out for These Mistakes While Cooking
- Using soft apples: These tend to break down too much and result in a mushy filling.
- Skipping the cornstarch: This is key to getting that thick, glossy consistency—don’t substitute flour unless necessary.
- Overcooking the apples: Keep them slightly firm to hold their shape in baked goods.
- Not tasting as you go: Apples vary in sweetness; adjust sugar and spices accordingly.
- Adding vanilla too early: Heat can dull its flavor—always stir it in at the end.
Storage Instructions
Once cooled, store the apple pie filling in airtight glass jars or containers in the refrigerator for up to 7 days. For longer storage, place it in freezer-safe bags or containers, leaving some space for expansion, and freeze for up to 3 months. Thaw overnight in the fridge and give it a good stir before using. If it thickens too much upon chilling, reheat gently with a splash of water or apple juice.
Estimated Nutrition
Per 1/2 cup serving (approximate):
- Calories: 160
- Carbohydrates: 42g
- Sugars: 32g
- Fiber: 3g
- Fat: 1g
- Saturated Fat: 0.5g
- Sodium: 45mg
- Protein: 0.5g
- Cholesterol: 0mg
Frequently Asked Questions
Can I can this apple pie filling?
Yes, but you’ll need to use a tested canning-safe recipe with bottled lemon juice and follow proper water bath canning methods to ensure safety.
What apples work best?
Granny Smith, Honeycrisp, Fuji, and Braeburn are all great choices due to their firmness and balanced flavor.
Can I use this filling for more than pies?
Absolutely! It’s fantastic in turnovers, hand pies, crisps, on pancakes, or swirled into yogurt and oatmeal.
How long does it take to cool completely?
About 1–2 hours at room temperature, or speed it up by placing the pan in an ice bath and stirring gently.
Can I make it without cornstarch?
You can use arrowroot or tapioca starch as alternatives, but cornstarch provides the best texture and clarity.
Do I need to peel the apples?
Peeling is recommended for the smoothest texture, but you can leave the skins on for a more rustic feel.
How much filling do I need for one pie?
This recipe yields about 4–5 cups of filling, enough for one 9-inch double-crust pie.
Can I reduce the sugar?
Yes, especially if using sweet apples. Reduce to taste, but keep in mind it affects thickness and preservation.
Conclusion
The Best Apple Pie Filling isn’t just for pies—it’s a versatile, cozy, and flavorful staple every home cook should master. From ease of preparation to the depth of spiced apple goodness, it transforms everyday dishes into nostalgic bites of comfort. Whether you’re baking from scratch or need a shortcut for weekday desserts, this filling will be your go-to. Try it once, and you’ll want to keep a jar on hand all year round.
Best Apple Pie Filling
- Total Time: 30 minutes
- Yield: 4–5 cups
Description
Warm, cozy, and irresistibly spiced, this Best Apple Pie Filling is a quick and easy recipe that transforms any dessert into a comforting classic. With perfectly tender apple slices simmered in a cinnamon-brown sugar glaze, it’s ideal for pies, crisps, turnovers, or even a sweet topping for breakfast ideas like oatmeal or pancakes. Whether you’re prepping an easy dinner dessert or stocking up your freezer with a healthy snack component, this apple filling is a must-have in your homemade food ideas list. It’s freezer-friendly, make-ahead approved, and far more flavorful than anything from a can.
Ingredients
6 cups peeled, cored, and sliced apples
3/4 cup granulated sugar
1/4 cup brown sugar
1/4 cup cornstarch
1 1/2 teaspoons ground cinnamon
1/4 teaspoon ground nutmeg
1/8 teaspoon ground cloves
1/4 teaspoon salt
1 tablespoon lemon juice
2 cups water
1 teaspoon vanilla extract
1 tablespoon unsalted butter
Instructions
1. Wash, peel, core, and slice the apples into 1/4-inch slices. Toss them with lemon juice in a bowl.
2. In a separate bowl, mix together the granulated sugar, brown sugar, cornstarch, cinnamon, nutmeg, cloves, and salt.
3. In a large saucepan over medium heat, whisk the water and dry mixture together until smooth. Bring to a simmer.
4. Stir in the sliced apples. Reduce heat and cook for 10–12 minutes, stirring gently until the apples soften slightly.
5. Add the vanilla extract and optional butter. Cook for 1–2 more minutes and remove from heat.
6. Let the filling cool completely before using or storing in airtight containers.
Notes
Use tart apples like Granny Smith for the best texture and flavor balance.
Let the filling rest before use to allow flavors to develop further.
To freeze, store in freezer-safe containers and thaw overnight in the fridge.
- Prep Time: 15 minutes
- Cook Time: 15 minutes
- Category: Dessert Filling
- Method: Stovetop
- Cuisine: American
Nutrition
- Serving Size: 1/2 cup
- Calories: 160
- Sugar: 32g
- Sodium: 45mg
- Fat: 1g
- Saturated Fat: 0.5g
- Unsaturated Fat: 0.4g
- Trans Fat: 0g
- Carbohydrates: 42g
- Fiber: 3g
- Protein: 0.5g
- Cholesterol: 0mg
Keywords: apple pie filling, easy recipe, fall desserts, breakfast ideas, dinner ideas, healthy snack