

There’s something deeply nostalgic about making pie from scratch, and for me, it always starts with Grandma’s Pie Crust. I remember standing beside her in a warm kitchen, the smell of flour and butter in the air, while she effortlessly rolled out the most beautiful dough. Over time, I learned that this wasn’t just about baking—it was about preserving a family tradition that made every pie extra special.
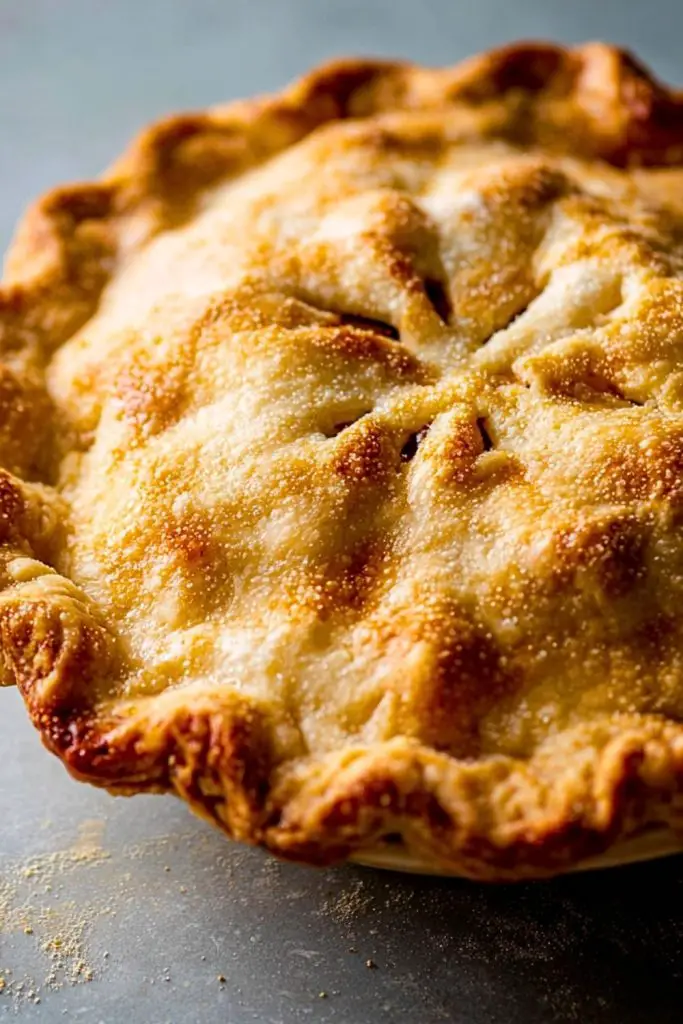
This pie crust has become my go-to for everything from sweet apple pies to savory quiches. It’s perfectly flaky, buttery, and holds its shape beautifully whether you’re doing a classic crimped edge or getting fancy with lattice work. What I love most is that it’s simple, made with just a few humble ingredients, and never fails. Trust me—once you master this crust, you’ll never go back to store-bought.
Why You’ll Love This Pie Crust
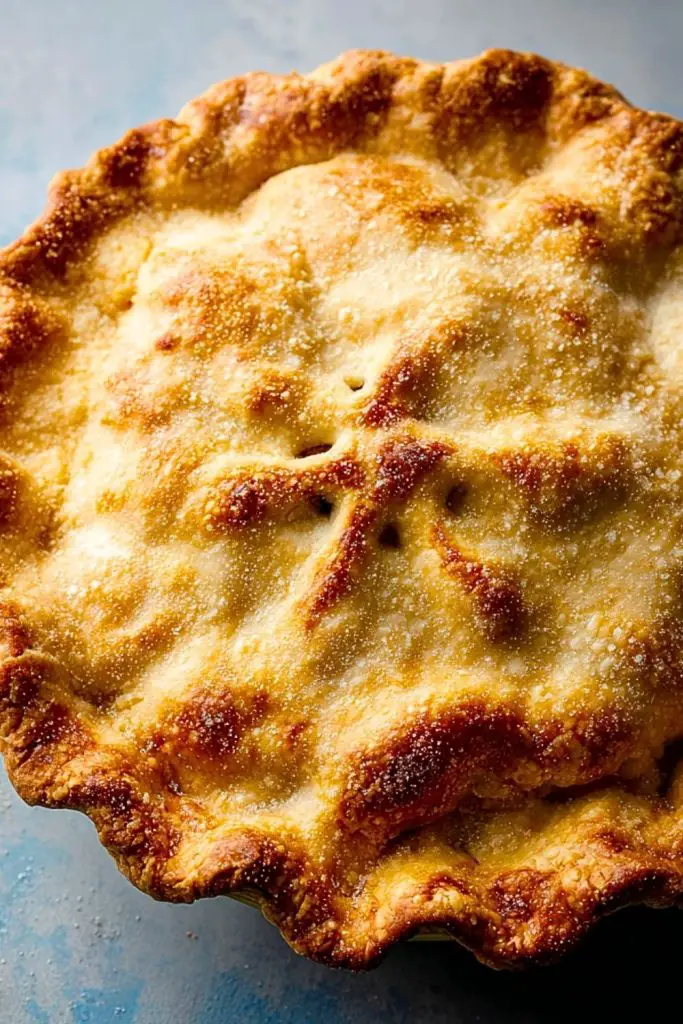
It’s flaky, it’s tender, and it’s packed with real buttery flavor. This pie crust isn’t just a vessel for fillings—it’s the co-star of your pie. Whether you’re baking for the holidays or whipping up a summer fruit pie, this dough is versatile and reliable. It’s easy enough for beginners and impressive enough for pros.
What Kind of Fat Should I Use for Pie Crust?
Butter gives the crust a rich flavor and beautiful layers, while shortening provides that ultra-flaky texture. Some bakers swear by lard for the flakiest result. I personally prefer an all-butter crust for its taste and golden color, but feel free to experiment to find your perfect balance.
Options for Substitutions
If you’re dairy-free, you can use vegan butter or a mix of coconut oil and shortening. For a gluten-free version, a good 1:1 gluten-free flour blend works well, though you may need to add a bit more moisture. If you’re aiming for a lower-fat version, substituting some of the butter with Greek yogurt can create a lighter but still tender crust.
Ingredients for Grandma’s Pie Crust
All-purpose flour – The foundation of the crust, providing structure and texture. Make sure to measure it correctly to avoid a tough dough.
Unsalted butter (cold) – Essential for that rich, buttery flavor and flaky layers. The colder the butter, the better the flake.
Salt – A small but crucial ingredient that enhances the overall flavor of the crust.
Ice water – Helps bring the dough together without melting the butter. Keeping everything cold is key.
Optional: Sugar – A teaspoon of sugar adds a touch of sweetness for dessert pies.
Step 1: Prep Your Ingredients
Cut your butter into small cubes and place them back in the fridge or freezer while you measure the flour and salt. Use ice water, not just cold tap water—this helps the dough stay cool and manageable.
Step 2: Mix the Dry Ingredients
In a large mixing bowl, whisk together the flour and salt. If you’re adding sugar, include it here as well. Ensure everything is evenly combined.
Step 3: Cut in the Butter
Add the cold butter cubes to the flour mixture. Using a pastry cutter, fork, or your fingers, work the butter into the flour until it resembles coarse crumbs with some pea-sized pieces. These little chunks are what make your crust flaky.
Step 4: Add the Ice Water
Slowly drizzle in the ice water, starting with about 4 tablespoons. Use a fork to mix the dough gently, adding more water a tablespoon at a time until the dough begins to clump together. Avoid overworking it.
Step 5: Form the Dough
Once the dough holds together when squeezed, turn it out onto a floured surface. Divide it in half and shape each half into a disc. Wrap tightly in plastic wrap and refrigerate for at least 1 hour, or overnight.
Step 6: Roll Out the Dough
When ready to use, let the dough sit at room temperature for 5-10 minutes to soften slightly. On a floured surface, roll the dough out from the center in all directions until it’s about 1/8 inch thick and 1 inch larger than your pie plate.
Step 7: Fit and Trim
Carefully transfer the dough to your pie plate. Gently press it in without stretching. Trim any overhang to about 1/2 inch, then tuck the edges under and crimp as desired. Chill again for 15-20 minutes before baking.
Step 8: Bake or Fill
For a fully baked crust, preheat the oven to 375°F. Line the crust with parchment and fill with pie weights. Bake for 15-16 minutes, remove weights, and bake another 10-12 minutes until golden. For a filled pie, follow your specific recipe’s instructions.
How Long to Prepare Grandma’s Pie Crust
Prep Time: Making the dough takes about 15–20 minutes, including cutting in the butter and adding water. Shaping the dough into discs and wrapping it up adds another 5 minutes. However, don’t skip the chilling—this is where the magic begins.
Chill Time: The dough needs to rest in the fridge for at least 1 hour to firm up. If you’re planning ahead, you can store it overnight or even freeze it for later use. If you’re blind-baking, factor in about 30 minutes for pre-baking and cooling.
Tips for Perfect Pie Crust
- Keep everything as cold as possible: flour, butter, and even your mixing bowl if you can.
- Don’t overwork the dough—mix until it just comes together.
- Rest the dough after rolling to prevent shrinking in the oven.
- Use a food processor for ease, but pulse—don’t blend—to avoid overmixing.
- Brush with an egg wash for that golden, glossy finish.
Watch Out for These Mistakes While Cooking
- Using warm butter: Soft butter melts too early and ruins the flakiness.
- Adding too much water: It’ll make the dough sticky and tough instead of tender.
- Over-kneading the dough: This activates gluten and makes the crust chewy.
- Skipping the chill: The dough needs time to relax and firm up.
- Stretching the dough to fit the pan: It will shrink while baking.
What to Serve With Grandma’s Pie Crust?
1. Classic Apple Pie
Warm cinnamon-sugar apples wrapped in flaky, buttery goodness. A forever favorite.
2. Chicken Pot Pie
This crust holds up beautifully to savory fillings and turns a cozy dinner into comfort heaven.
3. Quiche Lorraine
A perfect brunch centerpiece, and the crust stays crisp under the creamy custard.
4. Chocolate Silk Pie
The crisp, buttery texture is a dreamy contrast to a rich chocolate mousse filling.
5. Fresh Strawberry Pie
Cool, juicy strawberries with a glaze topping are perfect for a summer picnic or dessert.
Storage Instructions
Refrigerator: Once the dough is shaped into discs, wrap it tightly in plastic and store in the refrigerator for up to 3 days. If the crust is already in the pie dish, keep it covered in plastic or foil until you’re ready to fill and bake.
Freezer: The dough freezes beautifully. Wrap it tightly in plastic and then in foil or a zip-top bag. It will keep for up to 3 months. Thaw overnight in the fridge before using.
After Baking: A fully baked crust can be stored at room temperature, tightly covered, for up to 2 days. If filled, follow the storage guidelines for the filling type (refrigerate custards, fruit pies can often sit out).
Estimated Nutrition (per serving, based on 1/8 of a double crust recipe)
- Calories: 220
- Total Fat: 14g
- Saturated Fat: 9g
- Cholesterol: 35mg
- Sodium: 140mg
- Carbohydrates: 20g
- Fiber: 1g
- Sugar: 1g
- Protein: 2g
Frequently Asked Questions
How do I make the crust flakier?
Use very cold butter and don’t overmix. Leaving visible chunks of butter in the dough creates steam pockets while baking, resulting in flakes.
Can I make this crust ahead of time?
Yes! The dough can be made up to 3 days in advance and refrigerated, or frozen for longer storage.
Why is my pie crust tough?
You may have overworked the dough or added too much water. Mix just until the dough comes together and handle it as little as possible.
Should I pre-bake the crust?
If you’re making a custard or no-bake filling, pre-baking (blind baking) is necessary. Otherwise, it depends on the recipe.
Can I use a food processor to make the dough?
Absolutely. Pulse the ingredients—don’t blend—until pea-sized pieces of butter remain. Then add water slowly and pulse until it starts clumping.
Conclusion
Grandma’s Pie Crust is more than just a recipe—it’s a gateway to so many delicious moments. Whether you’re filling it with apples, savory fillings, or silky chocolate, this crust delivers every time. With its unbeatable flakiness and buttery taste, it’s a foundation worth mastering. Keep it cold, don’t overwork it, and you’ll be rewarded with the kind of crust people remember. Happy baking!
Grandma’s Pie Crust
- Total Time: 1 hour 50 minutes
- Yield: 2 crusts
- Diet: Vegetarian
Description
If there’s one recipe every baker should master, it’s Grandma’s Pie Crust. This classic all-butter pie crust is everything you want in a crust—flaky, tender, and full of rich, buttery flavor. Whether you’re baking a quick breakfast quiche, planning dinner ideas like a savory pot pie, or prepping for a sweet treat, this easy recipe is your foundation. It works for sweet and savory pies alike, perfect for holiday baking, family meals, or just sharpening your food ideas. Say goodbye to store-bought crusts—this one’s worth every minute.
Ingredients
2 1/2 cups all-purpose flour
1 teaspoon salt
1 cup unsalted butter, cold and cubed
6 tablespoons ice water (plus more as needed)
1 teaspoon sugar (optional)
Instructions
1. Cut the butter into small cubes and place it back in the fridge or freezer to keep it cold.
2. In a large bowl, whisk together flour, salt, and optional sugar.
3. Add the cold butter to the flour mixture. Cut it in using a pastry cutter or fork until you have coarse crumbs with some pea-sized bits.
4. Slowly drizzle in ice water, starting with 6 tablespoons. Mix gently with a fork, adding more water as needed until dough starts to clump.
5. Turn the dough out onto a floured surface and gently knead just until it holds together. Divide into two discs.
6. Wrap the discs in plastic wrap and refrigerate for at least 1 hour or up to overnight.
7. When ready to use, let dough sit at room temperature for 5–10 minutes. Roll out to about 1/8 inch thick.
8. Fit into pie plate, trim excess dough, fold edges under, and crimp. Chill again for 15–20 minutes.
9. For blind baking, preheat oven to 375°F, line with parchment, and use pie weights. Bake for 15–16 minutes, remove weights, and bake 10–12 minutes more.
10. Use as directed in your desired pie recipe.
Notes
Always use ice-cold water to keep the butter from melting and ensure flakiness.
You can freeze the dough discs for up to 3 months. Thaw overnight before using.
Don’t stretch the dough when fitting it into the pan—it will shrink when baked.
- Prep Time: 25 minutes
- Cook Time: 25 minutes
- Category: Baking
- Method: Hand-mixed
- Cuisine: American
Nutrition
- Serving Size: 1 slice (unfilled)
- Calories: 220
- Sugar: 1g
- Sodium: 140mg
- Fat: 14g
- Saturated Fat: 9g
- Unsaturated Fat: 4g
- Trans Fat: 0g
- Carbohydrates: 20g
- Fiber: 1g
- Protein: 2g
- Cholesterol: 35mg
Keywords: flaky pie crust, butter pie dough, homemade crust, holiday baking, easy recipe