

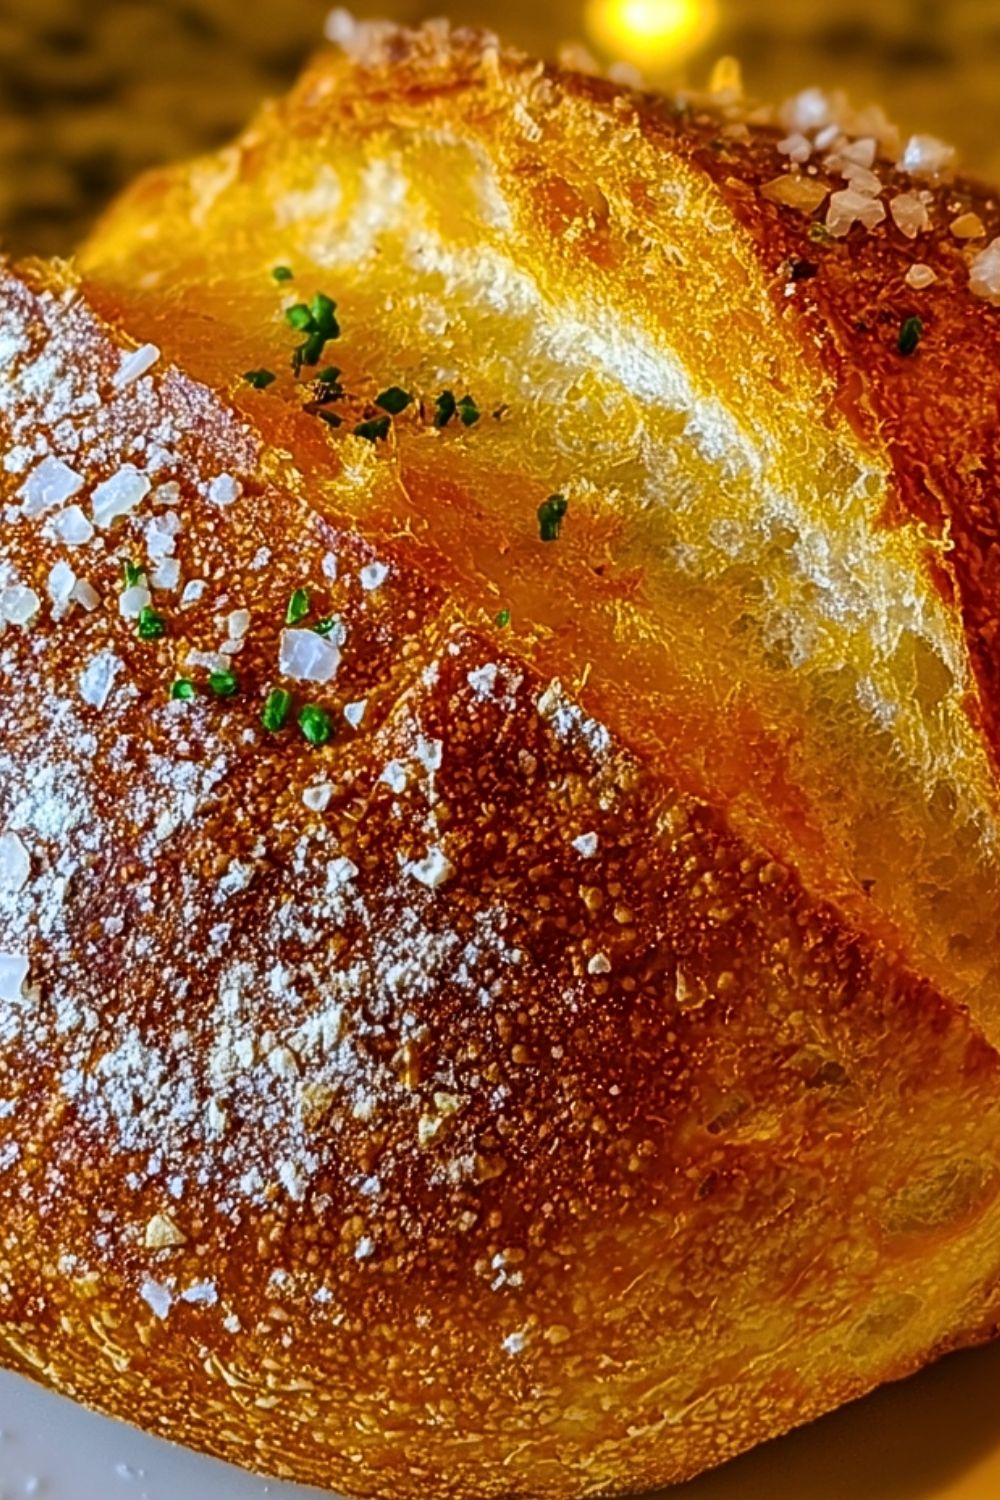
Few things compare to the irresistible aroma of freshly baked crusty Italian bread. With its golden, crackling exterior and soft, airy interior, this classic loaf delivers a perfect balance of texture and flavor. Whether paired with olive oil, used for sandwiches, or served alongside hearty soups, it’s a staple that never goes out of style.
WANT TO SAVE THIS RECIPE?
Just enter your email and get it sent to your inbox!
WANT TO SAVE THIS RECIPE?
What makes this bread truly special is its rustic simplicity. Made with basic ingredients yet crafted with care, each bite offers a delightful chew and a slightly tangy note. The crisp crust shatters gently as you slice into it, revealing a warm, pillowy crumb that’s perfect for soaking up sauces or enjoying on its own.
Why You’ll Love This Crusty Italian Bread
This bread stands out for its authentic bakery-style crust and soft interior, making it ideal for a wide range of meals. It requires only a handful of ingredients, making it both accessible and budget-friendly. The recipe is versatile, allowing you to shape it into loaves, rolls, or even baguettes. Plus, the rewarding process of baking your own bread brings a sense of accomplishment and fills your kitchen with an incredible aroma.
Preparation Phase & Tools to Use (Essential Tools and Equipment and Their Importance)
To achieve the perfect crusty Italian bread, having the right tools makes a noticeable difference. A large mixing bowl is essential for combining and fermenting the dough, giving it enough room to rise properly. A wooden spoon or dough scraper helps mix and handle sticky dough efficiently. A stand mixer with a dough hook can save time and effort, though hand-kneading works just as well.
A baking stone or heavy-duty baking sheet is crucial for even heat distribution, ensuring a crisp crust. A sharp bread lame or knife allows you to score the dough, which helps control expansion during baking. Additionally, a spray bottle or a small oven-safe dish for water is important to create steam inside the oven, contributing to that signature crusty exterior.
Preparation Tips
Working with bread dough requires a bit of patience and attention to detail. Always measure ingredients accurately, especially flour and water, to maintain the correct dough consistency. Allow enough time for the dough to rise fully, as this develops flavor and texture. When kneading, aim for a smooth and elastic dough that springs back when pressed. Avoid adding too much flour during kneading, as it can make the bread dense. Finally, don’t skip creating steam in the oven—this step is key to achieving that beautifully crisp crust.
Crusty Italian Bread
Ingredients for this Crusty Italian Bread
To achieve that signature crisp crust and soft, airy crumb, each ingredient plays an important role. Using high-quality, fresh ingredients will elevate the final result significantly.
- 4 cups (500g) bread flour (high protein content ensures structure and chewiness)
- 1 ½ cups (360ml) warm water (about 100–110°F / 38–43°C for proper yeast activation)
- 2 ¼ teaspoons (1 packet) active dry yeast or instant yeast
- 2 teaspoons salt (enhances flavor and controls fermentation)
- 1 tablespoon olive oil (optional, adds subtle richness and softness)
- 1 teaspoon sugar or honey (helps activate yeast and adds slight flavor depth)
- Cornmeal or flour (for dusting baking surface)
Optional Enhancements:
- Fresh herbs like rosemary or thyme for aromatic variation
- Garlic powder or roasted garlic for deeper flavor
- Sesame seeds or coarse salt for topping texture
Step 1: Activate the Yeast
In a small bowl, combine warm water, sugar (or honey), and yeast. Stir gently and let it sit for 5–10 minutes until it becomes foamy. This indicates that the yeast is alive and active. If no foam forms, the yeast may be expired or the water temperature may be off.
Step 2: Mix the Dough
In a large mixing bowl, add the bread flour and salt. Mix briefly to distribute the salt evenly. Pour in the activated yeast mixture and olive oil (if using). Stir with a wooden spoon or dough scraper until a shaggy dough forms and no dry flour remains.
Step 3: Knead the Dough
Transfer the dough onto a lightly floured surface. Knead for about 8–10 minutes until the dough becomes smooth, elastic, and slightly tacky. If using a stand mixer, knead with a dough hook on medium speed for 5–6 minutes. The dough should pass the “windowpane test,” meaning it stretches thin without tearing.
Step 4: First Rise (Bulk Fermentation)
Place the dough in a lightly oiled bowl, turning it once to coat all sides. Cover with a clean kitchen towel or plastic wrap. Let it rise in a warm, draft-free area for 1 to 2 hours, or until it doubles in size. This stage develops flavor and structure.
Step 5: Shape the Dough
Punch down the risen dough gently to release excess gas. Transfer it to a floured surface and shape it into a round boule or an oval loaf. Avoid overworking the dough to preserve air pockets. Place it on parchment paper or a cornmeal-dusted baking surface.
Step 6: Second Rise (Proofing)
Cover the shaped dough loosely and let it rise again for 30–45 minutes. During this time, it will puff up slightly. Meanwhile, preheat your oven to 450°F (230°C) and place a baking stone or tray inside to heat.
Step 7: Score the Dough
Using a sharp knife or bread lame, make 2–3 shallow slashes across the top of the dough. This allows controlled expansion during baking and gives the bread its classic artisan look.
Step 8: Create Steam in the Oven
Place a small oven-safe dish filled with hot water on the lower rack or spray water into the oven walls just before baking. Steam is essential for developing a crispy, golden crust.
Step 9: Bake the Bread
Transfer the dough onto the preheated baking surface. Bake for 20–25 minutes or until the crust is deep golden brown. The loaf should sound hollow when tapped on the bottom, indicating it is fully baked.
Step 10: Cool Before Slicing
Remove the bread from the oven and place it on a wire rack. Allow it to cool for at least 20–30 minutes before slicing. This step ensures the interior finishes setting and prevents a gummy texture.
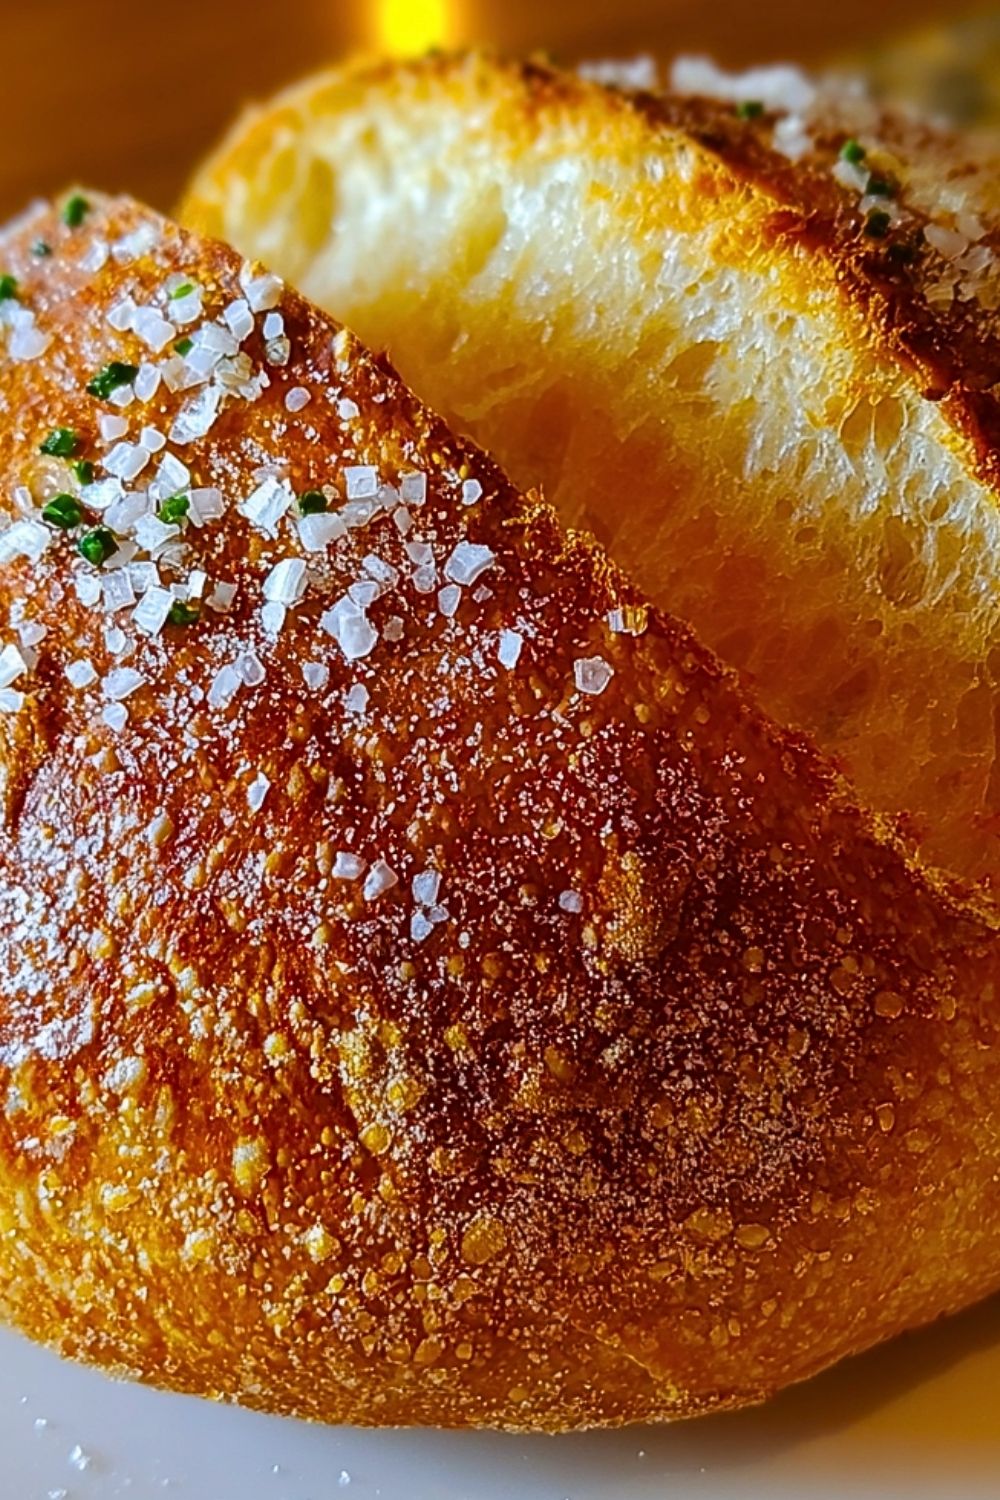
Step 11: Optional Finishing Touch
For added flavor, brush the crust lightly with olive oil or melted butter and sprinkle with coarse salt or fresh herbs immediately after baking.
Crusty Italian Bread
Notes
Crusty Italian bread relies heavily on technique rather than complex ingredients. Hydration levels in the dough influence how airy the crumb becomes, so slightly wetter doughs tend to produce better internal texture. Temperature also plays a critical role—both room temperature during proofing and oven temperature during baking must be well controlled. If you have time, allowing a slower, longer rise (even overnight in the refrigerator) will deepen the flavor significantly. The use of steam in the oven is what separates a good loaf from a truly bakery-quality one, as it delays crust formation and allows maximum expansion.
Watch Out for These Mistakes While Cooking
One common mistake is using water that is too hot when activating yeast, which can kill it instantly. Another frequent issue is adding too much flour during kneading, resulting in a dense and dry loaf. Skipping or shortening the proofing time can lead to underdeveloped flavor and poor texture. Not preheating the oven or baking surface properly often prevents the bread from achieving a crisp crust. Additionally, failing to create steam in the oven will produce a dull, thick crust instead of a light and crackly one. Cutting the bread too early is another pitfall, as it can make the inside gummy and undercooked.
Storage Instructions
Once completely cooled, store the bread at room temperature in a paper bag or wrapped loosely in a clean kitchen towel to maintain its crust. Avoid sealing it in plastic bags unless you want a softer crust, as trapped moisture will make it lose its crispness. For longer storage, slice the bread and freeze it in an airtight container or freezer bag for up to 2 months. When ready to use, reheat slices in the oven at 350°F (175°C) for a few minutes to restore texture and flavor.
Estimated Nutrition
Per serving (based on 1 slice, approximate values):
- Calories: 160–180 kcal
- Carbohydrates: 32g
- Protein: 5g
- Fat: 1–2g
- Fiber: 1–2g
- Sodium: 300–400mg
Frequently Asked Questions
Can I use all-purpose flour instead of bread flour?
Yes, you can substitute all-purpose flour, but the bread may have a slightly softer texture and less chew due to the lower protein content.
How do I get a crispier crust?
Creating steam in the oven and baking at a high temperature are key factors in achieving a crisp crust.
Can I make this dough ahead of time?
Absolutely. You can refrigerate the dough after the first rise for up to 24 hours to enhance flavor.
Why didn’t my bread rise properly?
This could be due to inactive yeast, cold room temperature, or insufficient proofing time.
How do I know when the bread is fully baked?
Tap the bottom of the loaf—if it sounds hollow, it’s done. You can also check for an internal temperature of about 200–210°F (93–99°C).
Can I add flavors like herbs or cheese?
Yes, you can incorporate herbs, garlic, or cheese into the dough for variations.
Is kneading by hand effective?
Yes, hand kneading works perfectly; it just requires a bit more time and effort.
Why is my crust too hard?
Overbaking or excessive flour on the surface can lead to an overly thick crust.
Conclusion
Crusty Italian bread is a timeless staple that brings warmth and authenticity to any table. With its crisp golden crust and soft, airy interior, it’s a rewarding recipe that combines simple ingredients with thoughtful technique. Once mastered, this bread becomes a versatile addition to countless meals, from casual dinners to special gatherings. With practice and attention to detail, you can consistently create bakery-quality loaves right in your own kitchen.
Crusty Italian Bread
- Total Time: 2 hours 10 minutes
- Yield: 1 loaf (8 servings)
- Diet: Vegetarian
Description
Bring the bakery experience home with this crusty Italian bread that features a golden, crispy exterior and a soft, airy interior. Perfect for a quick breakfast, easy dinner, or as a healthy snack, this easy recipe fits effortlessly into your list of food ideas.
Ingredients
4 cups bread flour
1 1/2 cups warm water
2 1/4 teaspoons active dry yeast
2 teaspoons salt
1 tablespoon olive oil
1 teaspoon sugar
Extra flour or cornmeal for dusting
Instructions
1. In a bowl, combine warm water, sugar, and yeast. Let sit until foamy.
2. Mix flour and salt in a large bowl, then add yeast mixture and olive oil.
3. Stir until a shaggy dough forms.
4. Knead the dough until smooth and elastic.
5. Place dough in an oiled bowl, cover, and let rise until doubled.
6. Shape into a round loaf and place on a prepared surface.
7. Let the dough rise again until slightly puffy.
8. Preheat oven and score the top of the dough.
9. Add steam to the oven and bake until golden brown.
10. Cool completely before slicing.
Notes
Use warm—not hot—water to properly activate yeast.
Allow enough rising time for better flavor and texture.
Steam in the oven is essential for achieving a crispy crust.
- Prep Time: 15 minutes
- Cook Time: 25 minutes
- Category: Bread
- Method: Baking
- Cuisine: Italian
Nutrition
- Serving Size: 1 slice
- Calories: 170
- Sugar: 1g
- Sodium: 320mg
- Fat: 1.5g
- Saturated Fat: 0.3g
- Unsaturated Fat: 1.0g
- Trans Fat: 0g
- Carbohydrates: 32g
- Fiber: 1.5g
- Protein: 5g
- Cholesterol: 0mg
Keywords: quick breakfast, easy dinner, healthy snack, bread recipe, homemade bread