
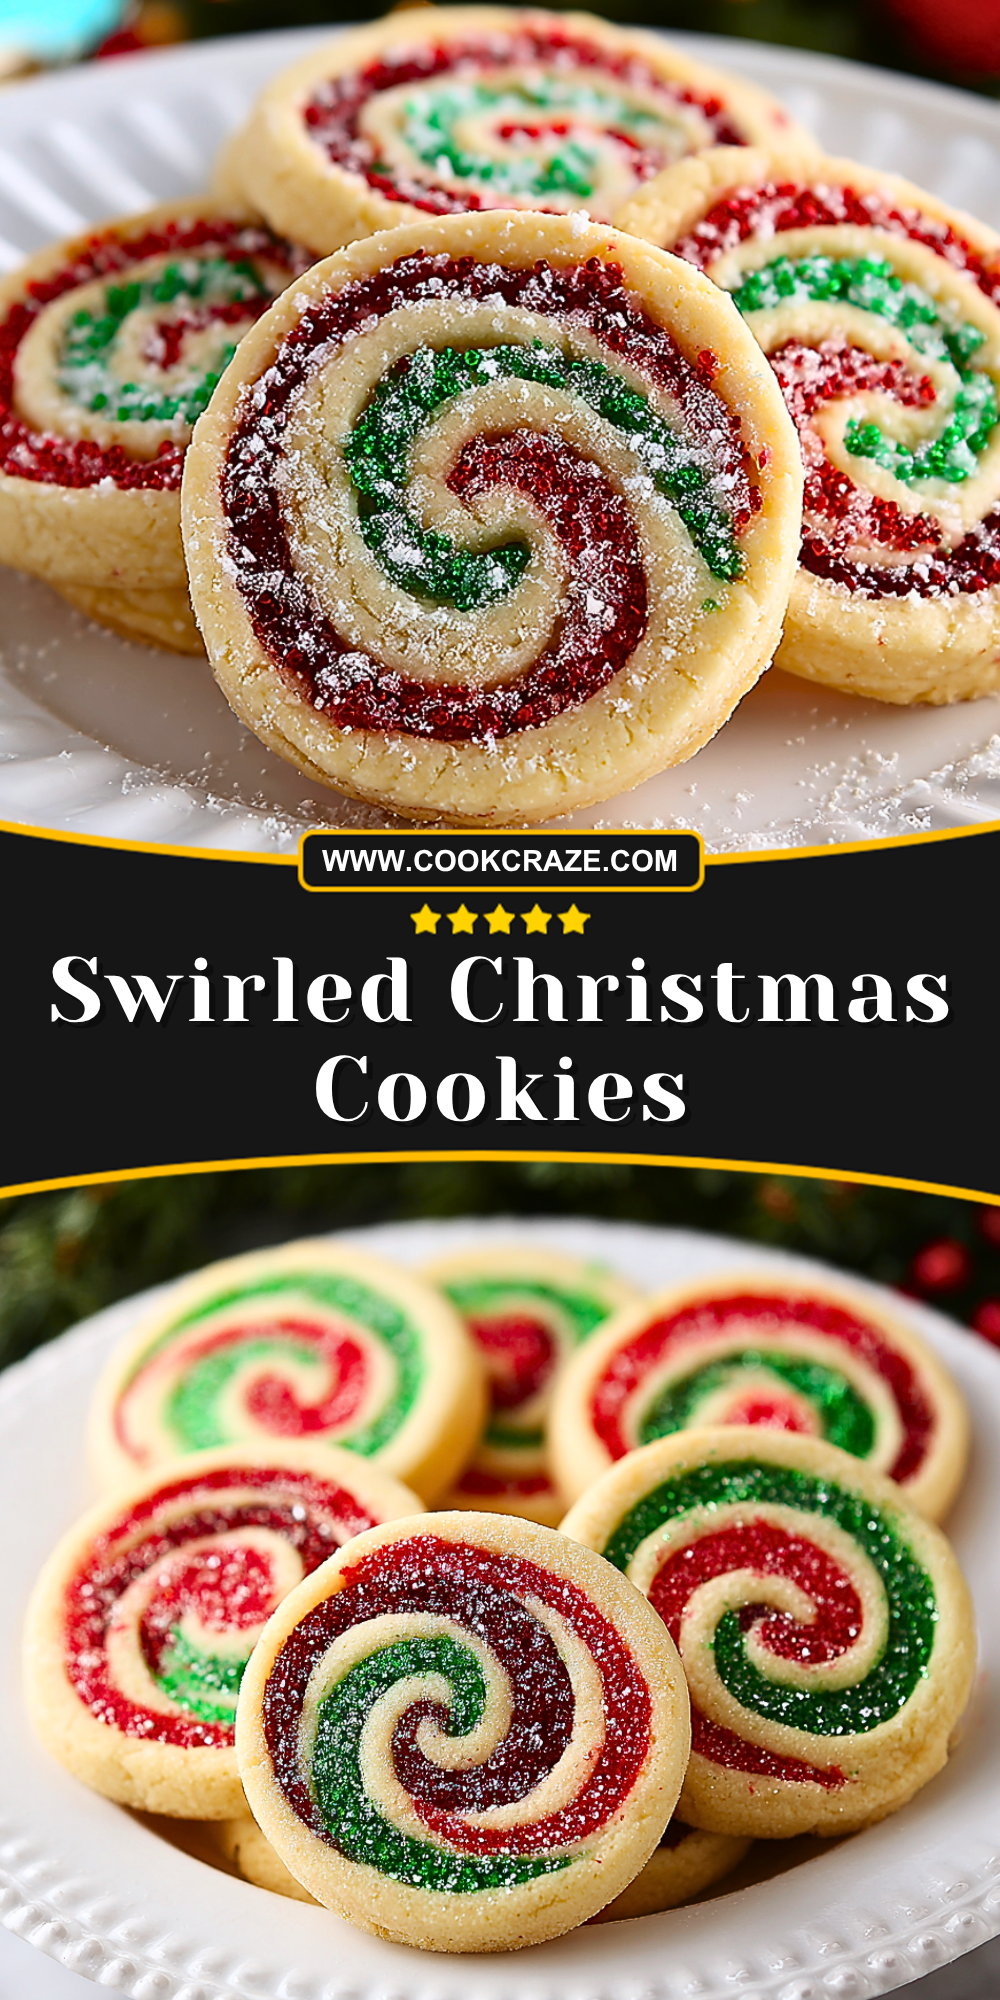
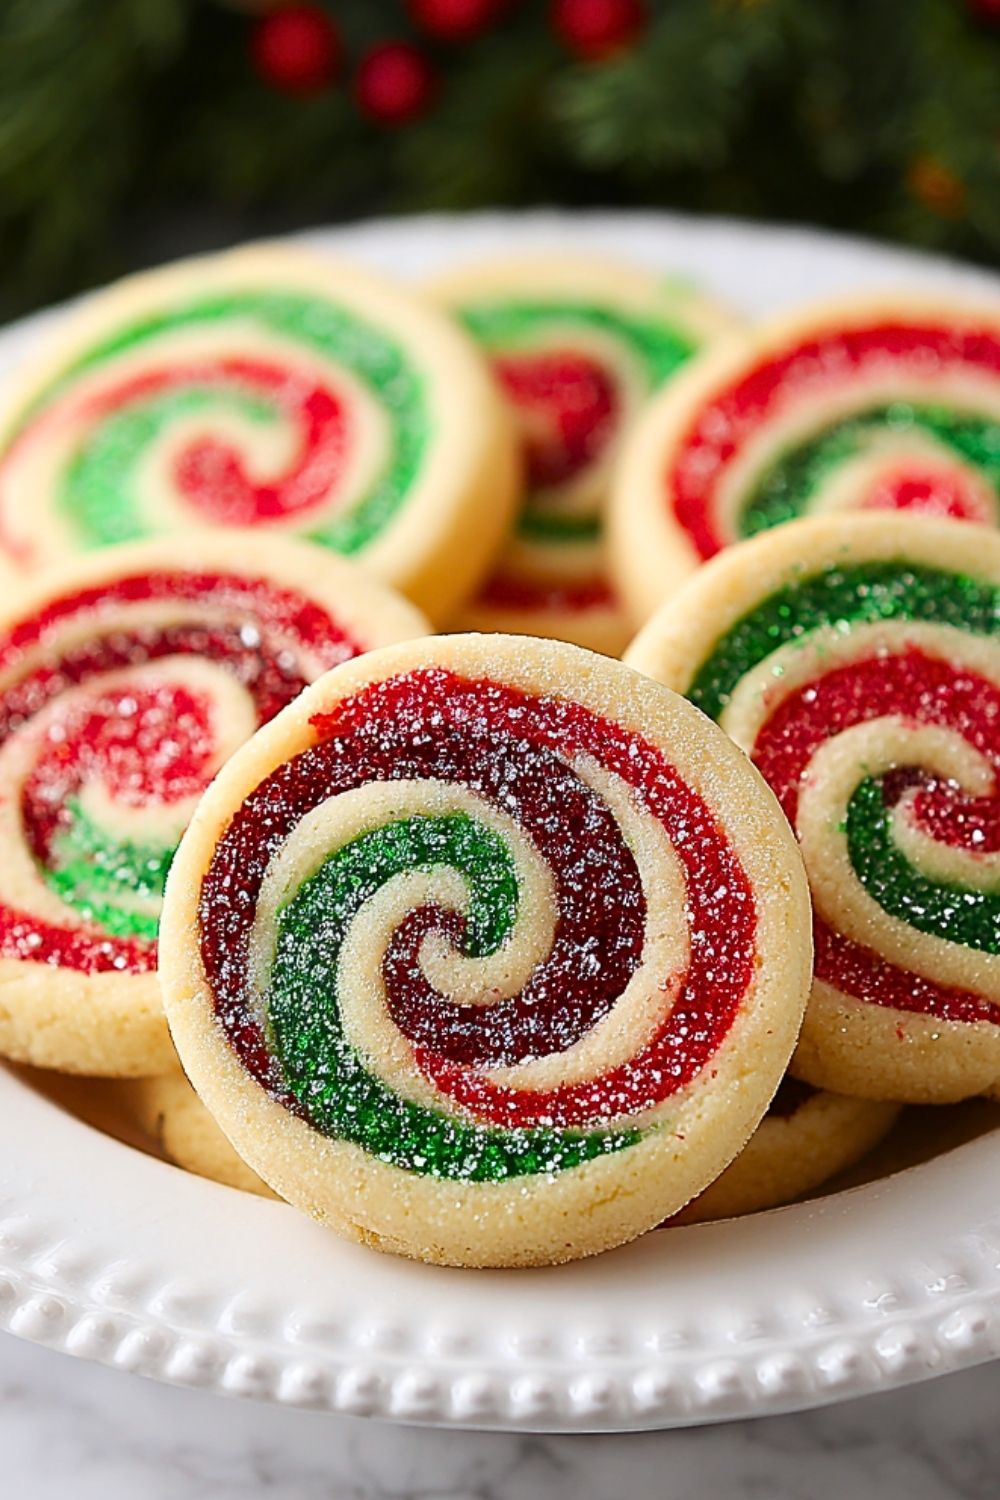
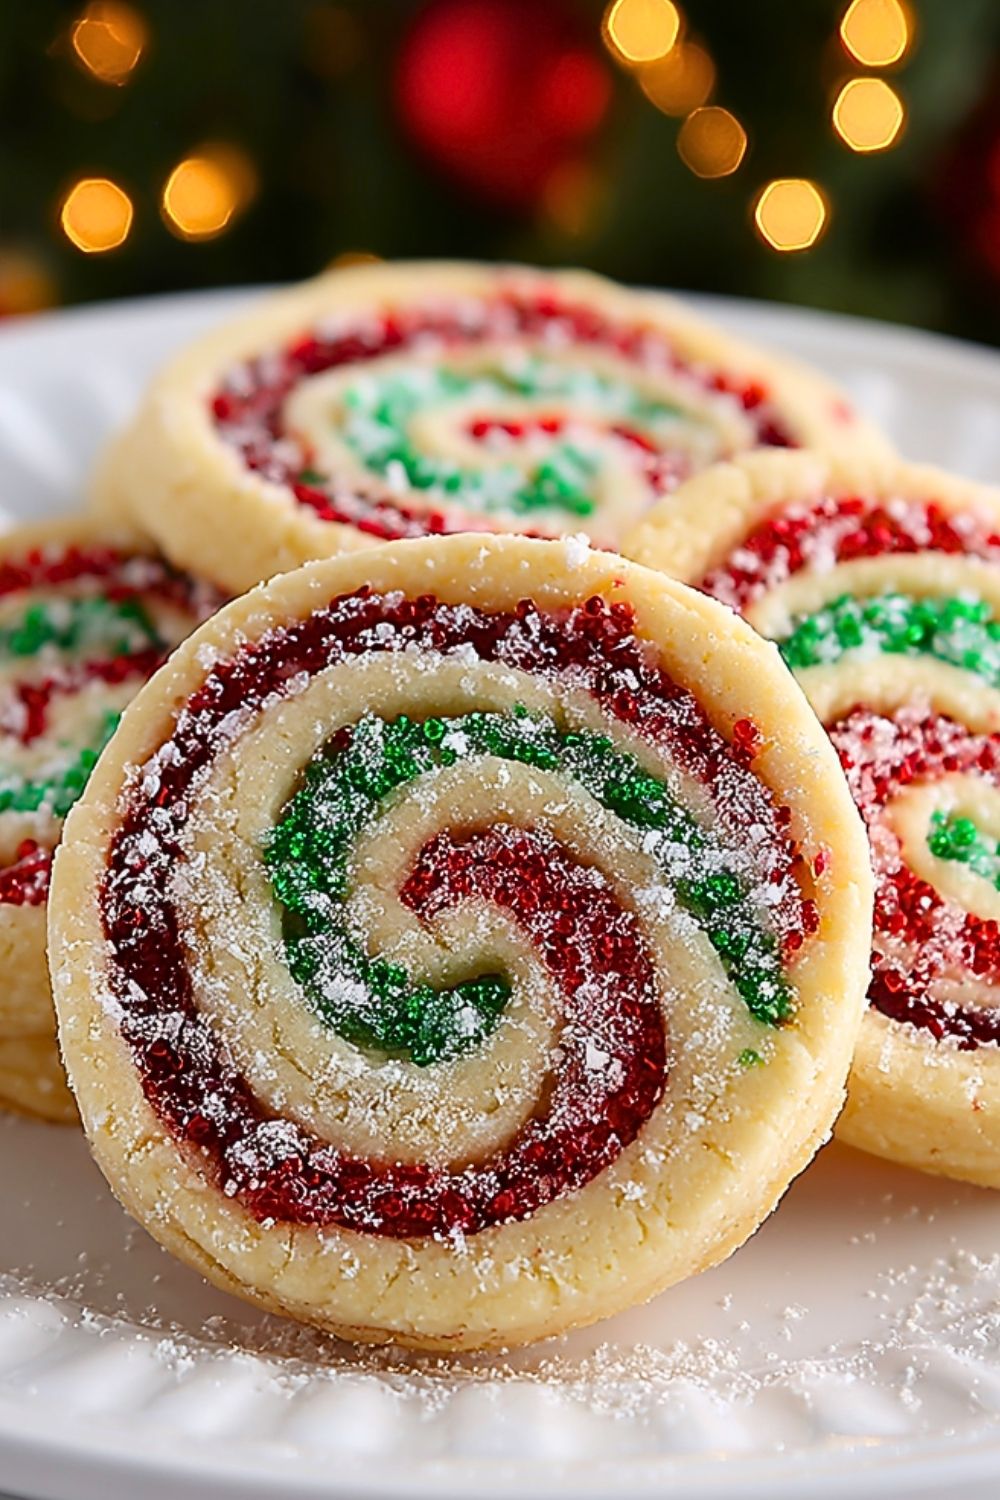
I still remember the first time I made these swirled Christmas cookies—the kitchen smelled like warm vanilla and butter, and the vibrant red and green spirals felt like edible holiday magic. There’s something incredibly satisfying about slicing into the chilled dough and revealing those perfect festive swirls. It instantly sets the tone for the season.
Whenever I bake these, it feels less like a task and more like a tradition. They’re the kind of cookies that bring people together, whether you’re baking with family or preparing a tray for a holiday gathering. And honestly, they taste just as good as they look.
Why You’ll Love This Swirled Christmas Cookies
These cookies are as delightful to make as they are to eat. The buttery, soft texture melts in your mouth, while the subtle sweetness makes them perfect for pairing with coffee or hot cocoa. Their eye-catching design makes them stand out on any holiday table.
Another reason I keep coming back to this recipe is how customizable it is. You can play with colors, add flavor extracts, or even sprinkle a little sugar on top for extra sparkle. They’re simple enough for beginners but impressive enough to wow guests.
What Kind of Food Coloring Should I Use?
When it comes to achieving those vibrant holiday swirls, the type of food coloring you use really matters. Gel food coloring is my go-to because it provides rich, bold colors without altering the dough’s consistency.
Liquid food coloring can work in a pinch, but you may need to use more of it, which can slightly soften the dough. If you want crisp, defined swirls, sticking with gel or paste coloring is the best choice.
Options for Substitutions
If you need to tweak the recipe, there are a few easy substitutions that still deliver great results. For a dairy-free version, you can swap butter with a plant-based alternative that’s designed for baking.
For those looking to reduce sugar, a granulated sugar substitute can be used, though it may slightly change the texture. You can also experiment with gluten-free flour blends if needed—just make sure they’re suitable for baking cookies to maintain the structure of those beautiful swirls.
Ingredients for this Swirled Christmas Cookies
Butter
The foundation of these cookies, butter brings richness, flavor, and that soft, melt-in-your-mouth texture. Using unsalted butter gives you better control over the overall taste.
Granulated Sugar
This adds sweetness and helps create a tender crumb. It also plays a role in the slight crispness around the edges.
Egg
Eggs bind the dough together and add moisture, ensuring the cookies hold their shape while remaining soft inside.
Vanilla Extract
A key flavor enhancer that adds warmth and depth, balancing the sweetness and complementing the buttery base.
All-Purpose Flour
This provides structure to the dough. It’s essential for achieving cookies that are sturdy enough to hold the swirl shape but still tender.
Baking Powder
A small amount helps the cookies rise slightly and prevents them from becoming too dense.
Salt
Enhances all the flavors and balances the sweetness.
Red and Green Gel Food Coloring
These create the festive swirl pattern. Gel coloring is preferred for vibrant hues without affecting dough consistency.
Decorating Sugar (Optional)
Adds a subtle crunch and a sparkling finish that makes the cookies even more visually appealing.
Step 1: Prepare the Dough
In a large mixing bowl, cream together the softened butter and granulated sugar until the mixture becomes light, fluffy, and pale in color. This step is crucial because it incorporates air into the dough, giving the cookies a soft texture.
Add the egg and vanilla extract, then mix until fully combined. Scrape down the sides of the bowl to ensure everything is evenly incorporated.
Step 2: Combine Dry Ingredients
In a separate bowl, whisk together the all-purpose flour, baking powder, and salt. This ensures even distribution of the leavening agent and seasoning throughout the dough.
Gradually add the dry mixture to the wet ingredients, mixing on low speed until a soft dough forms. Avoid overmixing, as this can make the cookies tough.
Step 3: Divide and Color the Dough
Divide the dough evenly into three portions. Leave one portion plain, then color the other two with red and green gel food coloring.
Knead each portion gently until the color is evenly distributed. If the dough becomes too soft, chill it briefly before proceeding.
Step 4: Roll Out the Dough Layers
Place each portion of dough between sheets of parchment paper and roll them into rectangles of equal size and thickness. Consistency here is key to achieving uniform swirls.
Carefully stack the layers, placing one colored sheet on top of another, finishing with the plain dough layer.
Step 5: Form the Swirl Log
Starting from one edge, tightly roll the stacked dough into a log, creating the signature spiral pattern. Apply gentle pressure as you roll to avoid gaps between layers.
Wrap the log in plastic wrap and refrigerate for at least 1–2 hours, or until firm enough to slice cleanly.
Step 6: Slice the Cookies
Once chilled, remove the dough log from the refrigerator and unwrap it. Using a sharp knife, slice the log into even rounds, about 1/4 inch thick.
For an extra festive touch, roll the edges of each slice in decorating sugar before baking.
Step 7: Bake to Perfection
Preheat your oven to 350°F (175°C) and line a baking sheet with parchment paper.
Place the cookies on the prepared baking sheet, leaving space between each one. Bake for 10–12 minutes, or until the edges are just beginning to turn lightly golden.
Allow the cookies to cool on the baking sheet for a few minutes before transferring them to a wire rack to cool completely.
Step 8: Final Touches
Once cooled, the cookies are ready to serve. Their vibrant swirls and delicate texture make them perfect for gifting, holiday platters, or simply enjoying with a warm drink.
How Long to Prepare the Swirled Christmas Cookies
Preparing these swirled Christmas cookies is a process that rewards patience. The active prep time—mixing the dough, dividing, coloring, and rolling—usually takes about 25 to 30 minutes. This part is hands-on and creative, especially when forming those signature spiral layers.
The most important time investment comes from chilling the dough. Allowing the rolled log to rest in the refrigerator for at least 1 to 2 hours ensures clean, sharp slices and well-defined swirls. Baking itself is quick, typically 10–12 minutes per batch, making the total time manageable when planned ahead.
Tips for Perfect Swirled Christmas Cookies
To get those picture-perfect spirals, always roll your dough evenly and keep the thickness consistent across all layers. Uneven rolling can lead to distorted patterns.
Chilling the dough thoroughly is non-negotiable. If the dough is too soft, the colors may blend and lose their definition during slicing.
Use a very sharp knife or even unflavored dental floss to slice the cookies cleanly without squishing the log.
Work on parchment paper to prevent sticking and make transferring layers easier.
If the dough becomes too soft at any stage, pop it back into the fridge for a few minutes.
Watch Out for These Mistakes While Cooking
Overmixing the dough can make the cookies tough instead of tender, so mix just until combined.
Using too much food coloring—especially liquid—can alter the texture of the dough and make it sticky.
Skipping the chilling step often results in misshapen cookies with blurred swirls.
Baking too long can dry out the cookies and dull their vibrant colors. Keep an eye on the edges—they should be just lightly golden.
Placing cookies too close together on the baking sheet can cause them to spread into each other.
What to Serve With Swirled Christmas Cookies?
Hot Chocolate
A warm mug of hot chocolate pairs beautifully with the buttery sweetness of these cookies, creating a cozy holiday experience.
Coffee
The slight bitterness of coffee balances the sweetness, making it a perfect companion for an afternoon treat.
Spiced Tea
Cinnamon or chai tea enhances the festive flavors and adds a comforting aroma to your snack time.
Milk
A classic choice, especially for kids, milk complements the soft texture and sweetness perfectly.
Ice Cream
Serve these cookies alongside vanilla or peppermint ice cream for a fun and indulgent dessert combination.
Storage Instructions
These cookies store exceptionally well, making them ideal for preparing ahead of time. Once fully cooled, place them in an airtight container at room temperature. They will stay fresh for up to 5 days while maintaining their texture and flavor.
For longer storage, you can refrigerate the cookies for up to 10 days. Just make sure they are sealed היט to prevent them from drying out or absorbing other odors.
If you’d like to freeze them, arrange the baked cookies in a single layer, then transfer them to a freezer-safe container. They can be frozen for up to 2 months. Thaw at room temperature before serving.
You can also freeze the dough log before slicing, which makes it easy to bake fresh cookies whenever you want.
Estimated Nutrition
Each cookie is relatively small, but still a delightful treat. On average, one cookie contains approximately 90–120 calories depending on size and added decorations.
They typically include small amounts of fat from butter, carbohydrates from flour and sugar, and minimal protein. While not intended as a health food, they can absolutely be enjoyed in moderation as part of a balanced diet.
Frequently Asked Questions
Can I make the dough ahead of time?
Yes, the dough can be prepared up to 2 days in advance and stored in the refrigerator. This actually helps improve the texture and makes slicing easier.
Why are my swirls not defined?
This usually happens if the dough wasn’t chilled enough or if the layers weren’t rolled evenly. Make sure to chill thoroughly and handle the dough gently.
Can I use different colors?
Absolutely. You can customize the colors for any occasion—pastels for spring or bold tones for themed events.
Can I freeze the cookies after baking?
Yes, baked cookies freeze very well. Just store them in an airtight container and thaw at room temperature before serving.
Do I have to use vanilla flavor?
Not at all. You can substitute almond, peppermint, or even citrus extracts to create different flavor profiles.
Conclusion
Swirled Christmas cookies are more than just a festive dessert—they’re a joyful baking experience that brings creativity and flavor together. From the vibrant colors to the buttery texture, every bite feels like a celebration.
With a little patience and attention to detail, you’ll end up with cookies that not only taste amazing but also look stunning on any holiday table. Whether you’re baking for loved ones or simply treating yourself, this recipe is sure to become a seasonal favorite.
Swirled Christmas Cookies
- Total Time: 1 hour 45 minutes
- Yield: 24 cookies
- Diet: Vegetarian
Description
These swirled Christmas cookies are a festive, eye-catching treat perfect for holiday baking. With their buttery texture and vibrant red and green spirals, they make an ideal easy dessert, holiday snack, or fun baking project with family. Whether you’re looking for quick dessert ideas, Christmas cookie recipes, or creative food ideas, this easy recipe delivers both beauty and flavor in every bite.
Ingredients
1 cup unsalted butter softened
1 cup granulated sugar
1 large egg
1 teaspoon vanilla extract
2 1/2 cups all-purpose flour
1/2 teaspoon baking powder
1/4 teaspoon salt
red gel food coloring
green gel food coloring
2 tablespoons decorating sugar optional
Instructions
1. Cream together butter and sugar until light and fluffy.
2. Add egg and vanilla extract, mixing until fully combined.
3. In a separate bowl, whisk flour, baking powder, and salt.
4. Gradually mix dry ingredients into wet ingredients until a soft dough forms.
5. Divide dough into three portions; leave one plain and color the others red and green.
6. Roll each portion into equal rectangles between parchment paper.
7. Stack layers and roll tightly into a log to form a swirl.
8. Wrap and chill the dough for 1–2 hours until firm.
9. Slice into 1/4-inch rounds and roll edges in sugar if desired.
10. Bake at 350°F (175°C) for 10–12 minutes until edges are lightly golden.
11. Cool on a rack before serving.
Notes
Chill the dough thoroughly to maintain clean, defined swirls.
Use gel food coloring for vibrant colors without altering dough texture.
Slice with a sharp knife or floss to avoid flattening the cookies.
- Prep Time: 30 minutes
- Cook Time: 12 minutes
- Category: Dessert
- Method: Baking
- Cuisine: American
Nutrition
- Serving Size: 1 cookie
- Calories: 110
- Sugar: 8g
- Sodium: 45mg
- Fat: 5g
- Saturated Fat: 3g
- Unsaturated Fat: 2g
- Trans Fat: 0g
- Carbohydrates: 14g
- Fiber: 0g
- Protein: 1g
- Cholesterol: 20mg
Keywords: Christmas cookies, holiday dessert, easy recipe, baking ideas, festive treats