
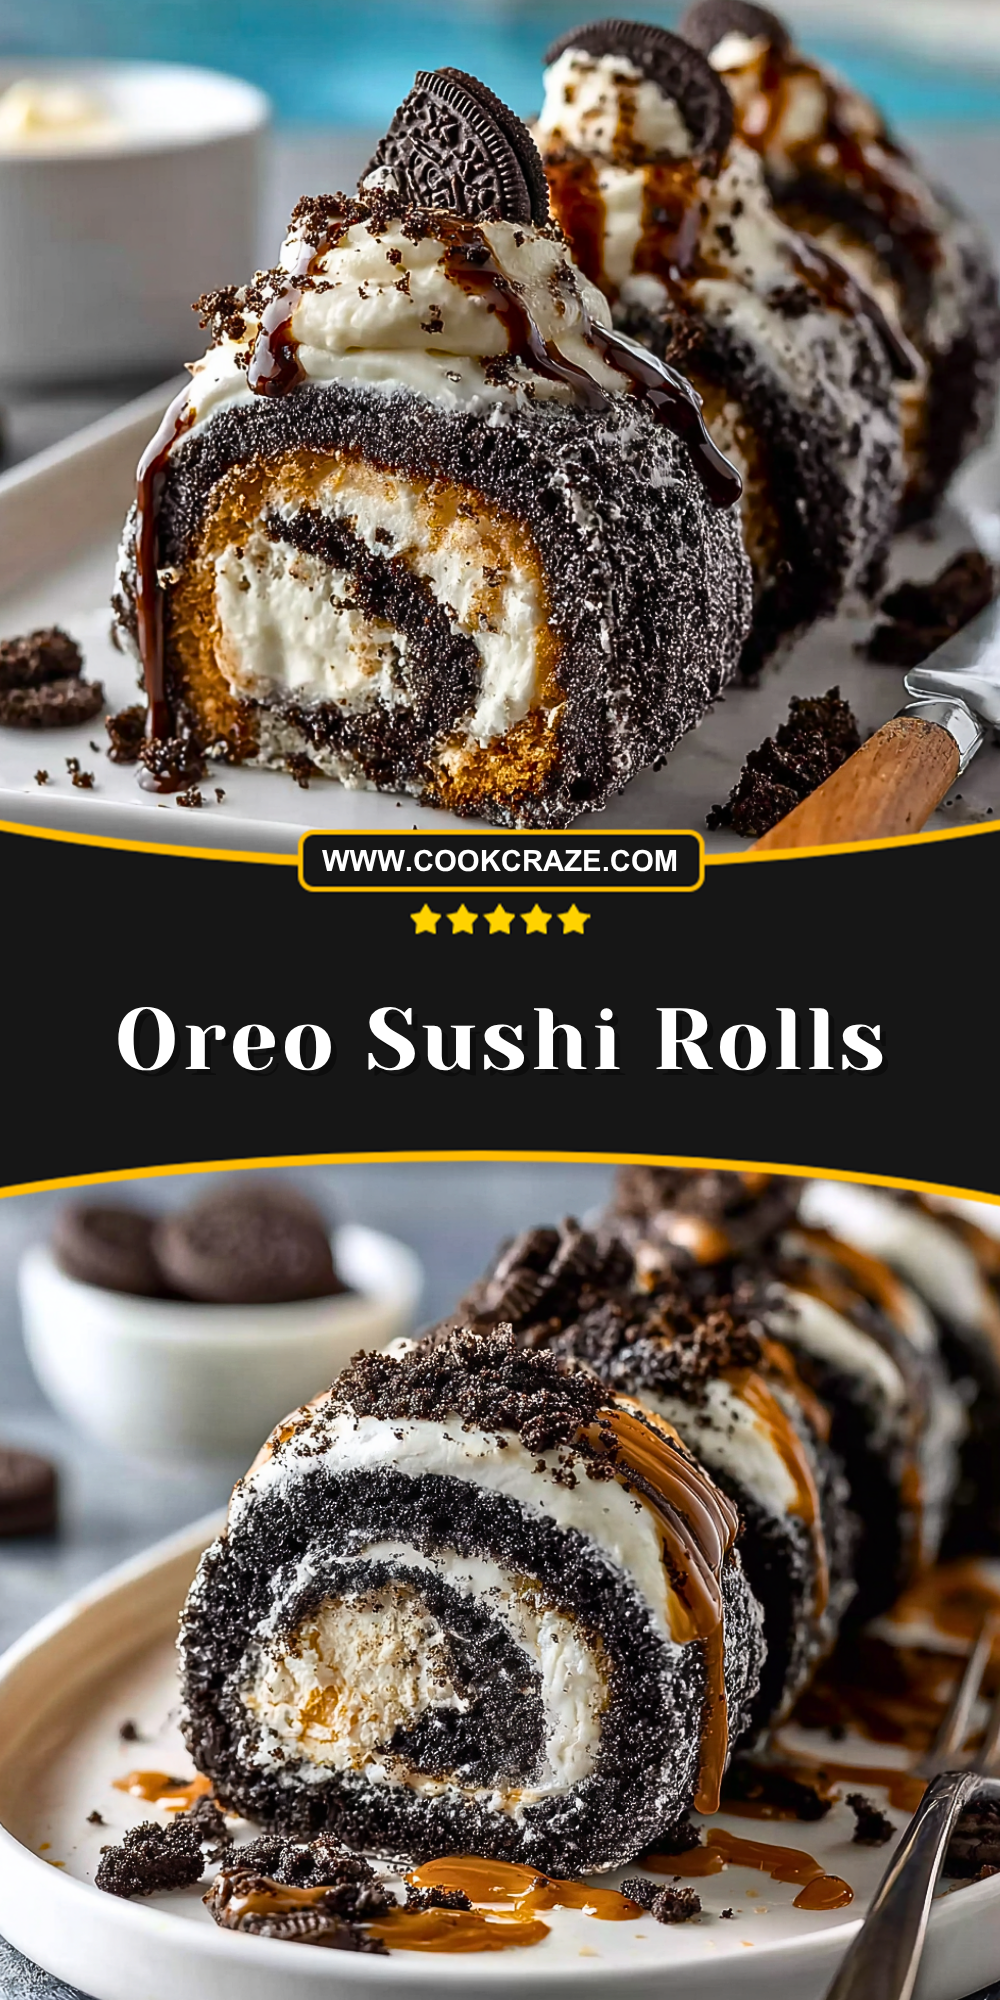
I’m always on the hunt for playful dessert ideas that surprise people with both presentation and flavor, and these Oreo Sushi Rolls never fail to deliver. They look incredibly fancy—like something you’d spot at a trendy dessert bar—but they’re actually super easy to make at home. The best part? They’re no-bake, fuss-free, and dangerously delicious.
This sweet treat brings together the creamy filling and chocolatey crunch we all love in Oreos, but in a completely new form. Rolled up with a whipped filling and topped with extra drizzle and cookie crumble, each bite is a dreamy combination of texture and taste. It’s a fun dessert to serve at parties or as a cute afternoon snack for kids (and adults, let’s be honest).
Why You’ll Love This Oreo Sushi Rolls Recipe
This recipe is the perfect fusion of creativity and convenience. If you love Oreos, this takes them to a whole new level. It’s incredibly simple, requires no baking, and turns a classic cookie into an eye-catching, shareable dessert. Plus, it’s super fun to make with kids or friends, and totally Instagram-worthy.
What Type of Oreos Work Best for Oreo Sushi Rolls?
You can use classic Oreos, Double Stuf, or even flavored varieties like Mint or Golden depending on your taste. For the most “sushi-like” presentation, I find that regular Oreos work best due to their uniform consistency and flavor balance. If you’re planning to switch it up, just make sure the filling-to-cookie ratio stays smooth enough to roll.
Options for Substitutions
If you’re looking to adjust this recipe, you’ve got options! Instead of the traditional cream cheese filling, you can use mascarpone or whipped ricotta for a lighter taste. Want to go dairy-free? Swap in coconut cream or vegan cream cheese. Graham cracker crumbs or chocolate wafers can also replace Oreos if needed, though the signature flavor will shift slightly. And for toppings, feel free to use white chocolate, sprinkles, or even freeze-dried fruit for an added twist.
Ingredients for Oreo Sushi Rolls
Ingredients for this Oreo Sushi Rolls
Oreo Cookies
These form the base of the roll, providing that iconic chocolate crunch and creamy center flavor that defines the dessert.
Cream Cheese
Adds a smooth, slightly tangy richness that balances the sweetness of the cookies and helps bind the filling.
Powdered Sugar
Sweetens the filling while keeping it silky and smooth without any graininess.
Heavy Whipping Cream
Whipped into the filling to create a light, airy texture that contrasts beautifully with the dense Oreo layer.
Vanilla Extract
Enhances the overall flavor and adds a warm, bakery-style aroma.
Chocolate Syrup or Melted Chocolate
Used for drizzling on top, adding extra indulgence and visual appeal.
Crushed Oreo Crumbs
Sprinkled on top for added texture and to reinforce the Oreo flavor throughout the dish.
Mini Oreos (optional)
Used as garnish to mimic the look of sushi and make the presentation more playful.
Instructions for Oreo Sushi Rolls
Step 1: Prepare the Oreo Base
Start by separating or crushing whole Oreo cookies (filling included) in a food processor until you achieve fine, moist crumbs. The mixture should stick together when pressed. If it feels too dry, you can add a small amount of milk to help bind it.
Step 2: Form the Dough
Transfer the crushed Oreo mixture to a bowl and knead it gently until it forms a dough-like consistency. This step is important because it ensures the base will roll smoothly without cracking.
Step 3: Roll Out the Oreo Layer
Place the Oreo dough between two sheets of parchment paper and roll it out evenly into a rectangular shape, about 1/4 inch thick. Try to keep the edges straight for a cleaner final roll.
Step 4: Make the Cream Filling
In a mixing bowl, beat the cream cheese until smooth and lump-free. Add powdered sugar and vanilla extract, then mix until fully combined. In a separate bowl, whip the heavy cream until soft peaks form, then gently fold it into the cream cheese mixture to keep the filling light and fluffy.
Step 5: Spread the Filling
Carefully remove the top parchment sheet and spread an even layer of the cream filling over the Oreo base, leaving a small border around the edges to prevent overflow when rolling.
Step 6: Roll into a Log
Using the bottom parchment paper to assist, slowly roll the Oreo layer into a tight log, similar to making a sushi roll or jelly roll. Take your time to keep it compact and even.
Step 7: Chill the Roll
Wrap the roll tightly in plastic wrap and refrigerate for at least 1–2 hours. This helps the roll firm up and makes slicing much easier.
Step 8: Slice into Pieces
Once chilled, remove the wrap and slice the roll into even pieces using a sharp knife. Wipe the blade between cuts for cleaner slices.
Step 9: Add Toppings
Drizzle chocolate syrup or melted chocolate over each piece, then sprinkle with crushed Oreo crumbs. Top with mini Oreos for that signature sushi-inspired finish.
Step 10: Serve and Enjoy
Arrange the Oreo sushi rolls on a plate and serve immediately, or keep them chilled until ready to enjoy. They pair wonderfully with coffee, milk, or even a scoop of vanilla ice cream.
How Long to Prepare the Oreo Sushi Rolls
Preparing Oreo Sushi Rolls is pleasantly quick, especially since there’s no baking involved. The hands-on time mainly includes crushing the cookies, whipping the filling, and assembling the roll. On average, you’ll spend about 20–30 minutes actively working through the steps, making this an ideal dessert when you want something impressive without investing hours in the kitchen.
The chilling time is just as important as the preparation itself. Allowing the roll to rest in the refrigerator for at least 1–2 hours helps it firm up, making slicing cleaner and easier. If you have extra time, letting it chill longer will enhance both the texture and flavor, giving you perfectly defined “sushi” slices.
Tips for Perfect Oreo Sushi Rolls
Getting that perfect swirl and clean slice is easier with a few smart techniques. Always roll the Oreo base evenly to avoid thick or thin spots that can crack. Using parchment paper is a game-changer—it prevents sticking and helps guide a tight roll.
Make sure your cream cheese is softened before mixing; this ensures a smooth, lump-free filling. When folding in whipped cream, do it gently to keep the mixture light and airy. Lastly, chilling is not optional—rushing this step can result in messy slices and a soft structure.
Watch Out for These Mistakes While Cooking
One common mistake is over-processing the Oreos into a paste that’s too wet, which makes rolling difficult. Aim for a dough-like consistency instead. Another issue is overfilling—too much cream can cause the roll to burst or lose its shape.
Skipping the chill time or cutting too early can ruin the presentation, as the roll won’t hold together properly. Also, using a dull knife can squash the roll instead of slicing it cleanly, so always use a sharp blade and clean it between cuts.
What to Serve With Oreo Sushi Rolls?
Fresh Berries
The natural tartness of strawberries, raspberries, or blueberries balances the sweetness beautifully.
Vanilla Ice Cream
A creamy scoop alongside the rolls enhances the dessert experience and adds a temperature contrast.
Hot Coffee or Espresso
The bitterness of coffee complements the rich chocolate flavor perfectly.
Cold Milk
A classic pairing that never fails, especially for kids and Oreo lovers.
Chocolate or Caramel Sauce
Extra drizzle on the side for dipping takes indulgence to the next level.
Storage Instructions
To keep your Oreo Sushi Rolls fresh, store them in an airtight container in the refrigerator. They will stay delicious for up to 3–4 days without losing their texture or flavor. Make sure they are well covered to prevent them from absorbing any fridge odors.
If you want to prepare them in advance, you can make the roll a day ahead and slice just before serving for the best presentation. Freezing is also an option—wrap the roll tightly in plastic wrap and store it in a freezer-safe container for up to one month. Thaw in the refrigerator before slicing and serving.
Estimated Nutrition
Each serving of Oreo Sushi Rolls is an indulgent treat, so it’s best enjoyed in moderation. On average, one slice contains approximately 180–250 calories, depending on portion size and toppings.
They also include sugar, fats, and carbohydrates from the cookies and cream filling, making them more of a dessert than a daily snack. Adjusting ingredients like using low-fat cream cheese or reducing sugar can slightly lighten the nutritional profile.
Frequently Asked Questions
Can I make Oreo Sushi Rolls ahead of time?
Yes, you can prepare the roll a day in advance and keep it refrigerated. Slice it just before serving for the best texture and appearance.
Can I use different cookies instead of Oreos?
Absolutely! Chocolate wafers, graham crackers, or even flavored sandwich cookies can work, though the taste will vary.
Why is my roll cracking while rolling?
This usually happens if the Oreo layer is too dry. Add a small amount of milk to improve flexibility.
Can I freeze Oreo Sushi Rolls?
Yes, they freeze well. Just wrap tightly and thaw in the fridge before serving.
How do I get clean slices?
Use a sharp knife and wipe it clean after each cut to maintain neat, defined edges.
Conclusion
Oreo Sushi Rolls are one of those desserts that combine creativity, simplicity, and pure indulgence in every bite. They’re easy enough for beginners yet impressive enough to wow guests at any gathering.
With the right techniques and a little patience during chilling, you’ll end up with a dessert that looks as good as it tastes. Once you try them, they might just become your go-to no-bake treat.
Oreo Sushi Rolls
- Total Time: 1 hour 30 minutes
- Yield: 8 servings
- Diet: Vegetarian
Description
If you’re looking for a fun, eye-catching dessert that’s as delicious as it is easy to make, these Oreo Sushi Rolls are the perfect choice. This no-bake treat combines crushed Oreo cookies with a creamy, fluffy filling, rolled into a beautiful swirl and topped with chocolate drizzle. Perfect for a quick dessert, easy snack, or creative party treat.
Ingredients
24 Oreo cookies
8 oz cream cheese
1/2 cup powdered sugar
1 cup heavy whipping cream
1 tsp vanilla extract
1/4 cup chocolate syrup or melted chocolate
1/4 cup crushed Oreo crumbs
6 mini Oreos
Instructions
1. Crush the Oreo cookies (including filling) into fine crumbs using a food processor
2. Knead the crumbs into a dough-like consistency, adding a splash of milk if needed
3. Roll the Oreo dough between parchment paper into a rectangle about 1/4 inch thick
4. Beat the cream cheese until smooth, then mix in powdered sugar and vanilla extract
5. Whip the heavy cream to soft peaks and gently fold it into the cream cheese mixture
6. Spread the filling evenly over the Oreo layer, leaving a small border
7. Carefully roll the layer into a tight log using parchment paper
8. Wrap and chill in the refrigerator for 1–2 hours until firm
9. Slice into even pieces with a sharp knife
10. Drizzle with chocolate and top with crushed Oreos and mini Oreos
Notes
Make sure the Oreo dough is not too dry to prevent cracking while rolling
Always chill the roll before slicing for clean and neat pieces
Use a sharp knife and wipe it between cuts for the best presentation
- Prep Time: 30 minutes
- Cook Time: 0 minutes
- Category: Dessert
- Method: No-Bake
- Cuisine: American
Nutrition
- Serving Size: 1 slice
- Calories: 220
- Sugar: 18g
- Sodium: 120mg
- Fat: 12g
- Saturated Fat: 7g
- Unsaturated Fat: 4g
- Trans Fat: 0g
- Carbohydrates: 26g
- Fiber: 1g
- Protein: 3g
- Cholesterol: 25mg
Keywords: Oreo dessert, easy recipe, no bake dessert, sweet rolls, dessert ideas