
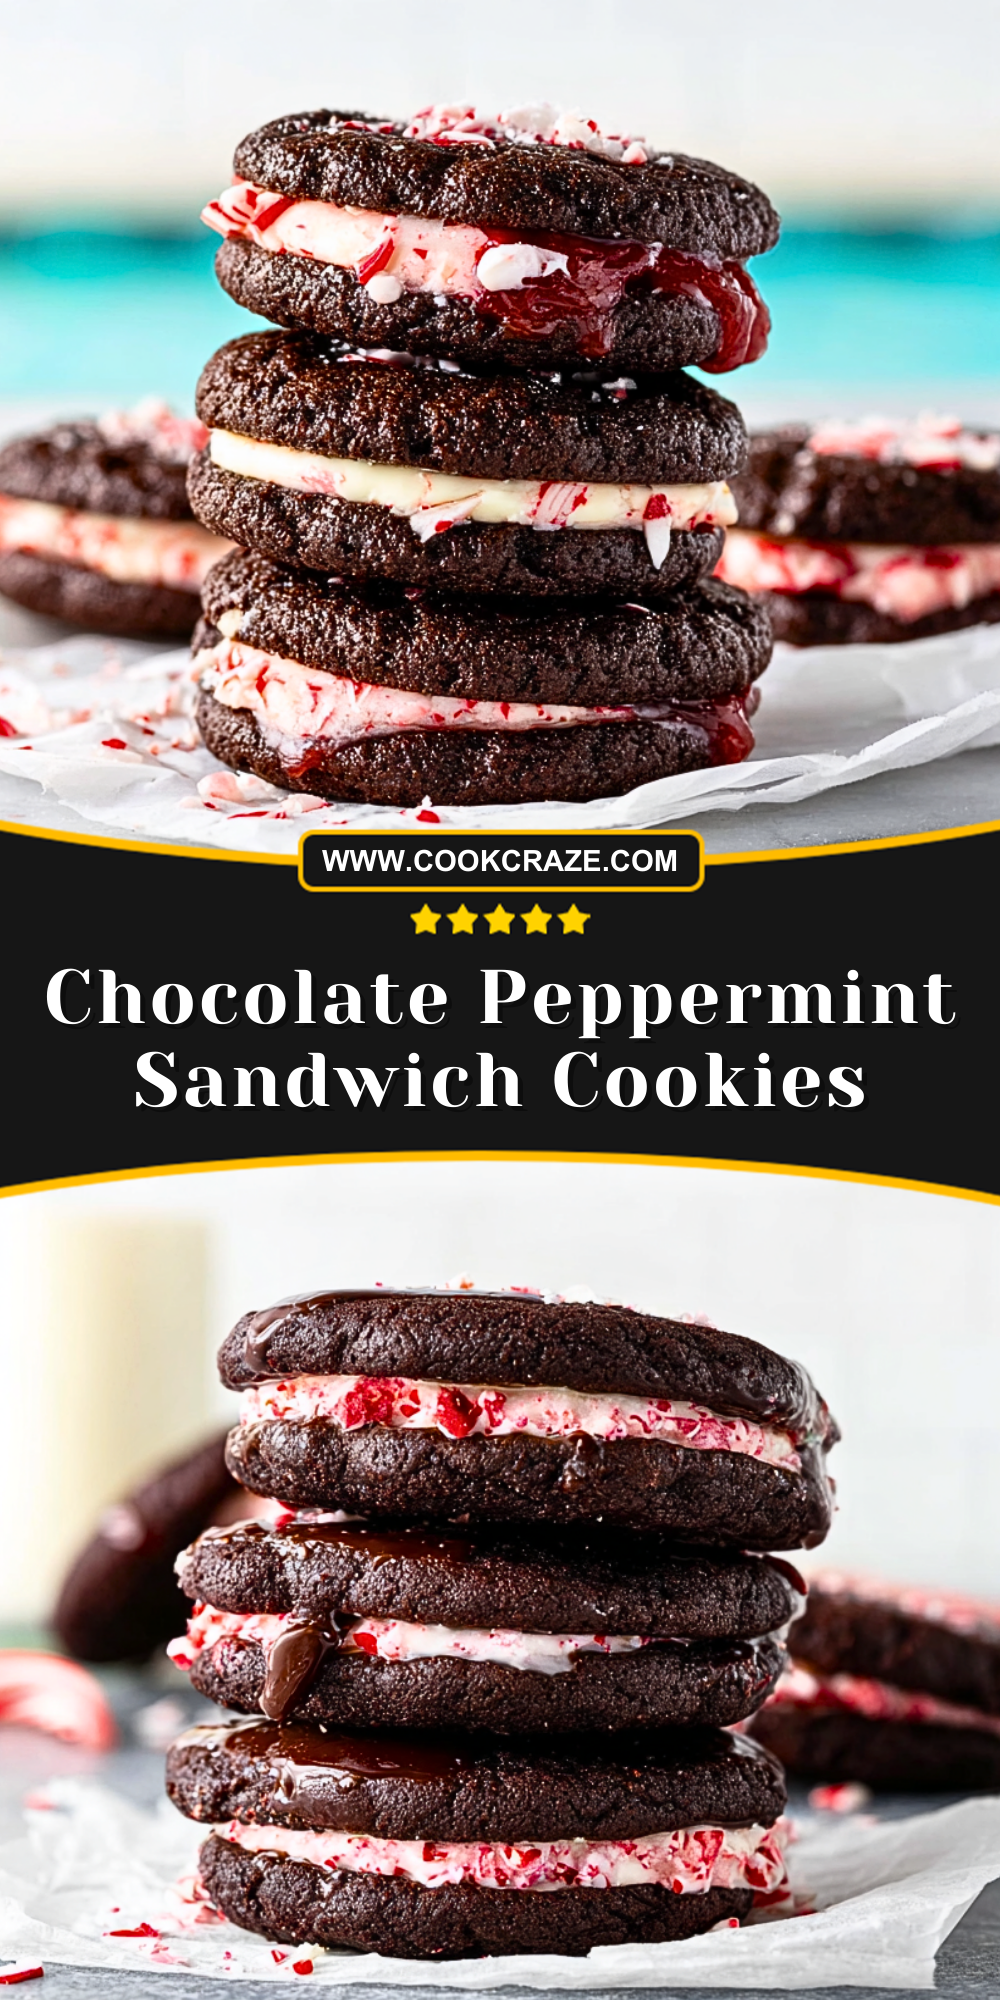
Fudgy, rich, and perfectly festive, these Chocolate Peppermint Sandwich Cookies are a dreamy treat you won’t want to miss. Imagine two soft and chewy chocolate cookies hugging a swirl of creamy peppermint frosting, rolled in crushed candy canes for that extra holiday sparkle. They’re as gorgeous to look at as they are delicious to eat, making them a perfect dessert for holiday gatherings, cookie exchanges, or simply indulging at home with a cozy cup of milk.

The contrast between the deep cocoa flavor of the cookies and the refreshing burst of peppermint cream is pure magic. These cookies have a bakery-style look but are simple enough for any home baker to master. Whether you’re looking for a standout dessert or a sweet edible gift, these sandwich cookies hit the mark with bold flavor and beautiful presentation.
Why You’ll Love This Chocolate Peppermint Sandwich Cookies Recipe
- Combines rich chocolate and fresh peppermint in every bite.
- Perfect for the holidays or winter-themed events.
- Easy to make yet looks like it came from a professional bakery.
- Can be made ahead and frozen for future treats.
- Kid-friendly and fun to assemble with crushed candy cane edges.
Preparation Phase & Tools to Use
To make Chocolate Peppermint Sandwich Cookies, a few kitchen essentials will ensure success:
- Electric Mixer: A stand or hand mixer helps to properly cream butter and sugar for fluffy cookies and smooth frosting.
- Mixing Bowls: Separate bowls are needed for dry ingredients, wet ingredients, and frosting.
- Baking Sheets: Use heavy-duty sheets for even baking and to avoid over-browning.
- Parchment Paper or Silicone Baking Mats: Prevents sticking and promotes even cooking.
- Cookie Scoop: Ensures uniform cookie sizes, which is important for sandwiching.
- Cooling Rack: Speeds up the cooling process and prevents sogginess.
- Spatula or Piping Bag: Useful for neatly applying peppermint filling.
Each tool plays a vital role in achieving the perfect texture, structure, and presentation.
Preparation Tips
Start by letting your butter soften at room temperature for easier creaming. Use high-quality cocoa powder for a richer chocolate flavor, and don’t overmix the dough after adding the flour to keep the cookies tender. Once baked, let the cookies cool completely before sandwiching—this keeps the filling from melting. For the frosting, crush candy canes finely for a smoother edge or coarsely if you prefer a crunch. Assemble the cookies gently to avoid cracking, and refrigerate briefly to set the filling if needed.
Ingredients for this Chocolate Peppermint Sandwich Cookies Recipe
For the Chocolate Cookies:
- 1 cup (2 sticks) unsalted butter, softened
- 1 cup granulated sugar
- 1/2 cup packed light brown sugar
- 2 large eggs
- 2 teaspoons vanilla extract
- 1 3/4 cups all-purpose flour
- 3/4 cup unsweetened cocoa powder (preferably Dutch-processed)
- 1 teaspoon baking soda
- 1/2 teaspoon baking powder
- 1/2 teaspoon salt
- 1 cup semi-sweet or dark chocolate chips
For the Peppermint Frosting:
- 1/2 cup unsalted butter, softened
- 2 cups powdered sugar
- 2 tablespoons heavy cream or milk
- 1/2 teaspoon peppermint extract (adjust to taste)
- Red food coloring (optional, for festive color)
- Crushed candy canes (for rolling the edges)
Step 1: Cream Butter and Sugars
In a large mixing bowl, beat the softened butter, granulated sugar, and brown sugar using an electric mixer on medium speed until the mixture is light and fluffy, about 2-3 minutes.
Step 2: Add Eggs and Vanilla
Beat in the eggs, one at a time, mixing well after each addition. Stir in the vanilla extract. Scrape down the sides of the bowl to ensure everything is fully incorporated.
Step 3: Mix Dry Ingredients
In a separate bowl, whisk together the flour, cocoa powder, baking soda, baking powder, and salt. This ensures even distribution and prevents clumps in the dough.
Step 4: Combine Wet and Dry
Gradually add the dry ingredients to the wet mixture, mixing on low speed until just combined. Be careful not to overmix. Stir in the chocolate chips until evenly distributed.
Step 5: Chill the Dough
Cover the dough and refrigerate for at least 30–60 minutes. Chilling helps the cookies hold their shape and enhances flavor.
Step 6: Bake the Cookies
Preheat your oven to 350°F (175°C). Line baking sheets with parchment paper or silicone baking mats. Use a cookie scoop to portion the dough onto the sheets, spacing them about 2 inches apart. Bake for 9–11 minutes, or until the edges are set but centers look slightly underbaked.
Step 7: Cool Completely
Allow the cookies to cool on the baking sheet for 5 minutes before transferring to a wire rack. Let them cool completely before assembling.
Step 8: Make the Peppermint Frosting
In a medium bowl, beat the softened butter until creamy. Gradually add powdered sugar, then mix in the heavy cream and peppermint extract. Beat until fluffy. Add a drop or two of red food coloring and mix until the frosting is evenly tinted.
Step 9: Assemble the Sandwich Cookies
Spread or pipe a layer of peppermint frosting onto the flat side of one cookie. Top with another cookie, gently pressing together to form a sandwich. Roll the exposed frosting edges in crushed candy canes for a festive finish.
Step 10: Set and Serve
Place assembled cookies in the refrigerator for 15–20 minutes to help the filling set. Serve at room temperature for best texture and flavor.
Notes
These cookies are incredibly versatile. You can make the chocolate cookies ahead of time and freeze them until you’re ready to fill. The peppermint frosting can also be customized in intensity—start with less peppermint extract and increase to taste. For a stronger mint-chocolate contrast, use dark chocolate chips. The crushed candy canes add a satisfying crunch and a burst of color, but can be swapped with peppermint sprinkles for a smoother bite. To make these cookies extra special, try adding a drop of peppermint oil for a stronger flavor (but be careful—it’s much more potent than extract).
Watch Out for These Mistakes While Cooking
- Skipping the chill time: This will lead to cookies that spread too much and lose their shape.
- Overbaking: The cookies should look slightly underbaked in the center when removed from the oven. They will firm up as they cool.
- Using too much peppermint extract: It’s very strong—too much can overpower the chocolate.
- Applying frosting on warm cookies: Always wait until the cookies are fully cooled or the frosting will melt and slide off.
- Uneven cookie sizes: If your cookies aren’t uniform, sandwiching becomes messy. Use a scoop to portion the dough evenly.
Storage Instructions
Once assembled, store the sandwich cookies in an airtight container in the refrigerator for up to 5 days. To enjoy the best texture, bring them to room temperature before serving. The cookies (without filling) can be frozen for up to 2 months—just thaw and fill when ready to serve. Avoid freezing fully assembled cookies with candy cane edges, as the moisture may cause them to become sticky.
Estimated Nutrition
Per sandwich cookie (approximate):
- Calories: 320 kcal
- Fat: 16g
- Saturated Fat: 9g
- Cholesterol: 40mg
- Sodium: 120mg
- Carbohydrates: 42g
- Sugar: 30g
- Fiber: 2g
- Protein: 3g
Frequently Asked Questions
How do I keep the cookies soft?
Store them in an airtight container and avoid overbaking. Chilling the dough helps retain moisture too.
Can I make these cookies gluten-free?
Yes! Use a 1:1 gluten-free baking flour blend. The texture may change slightly, but it still works well.
What can I use instead of candy canes?
You can use peppermint sprinkles, crushed mint candies, or even omit them for a smoother finish.
Can I freeze the frosting?
You can! Store it in an airtight container and freeze for up to 1 month. Thaw and rewhip before using.
How long do these cookies last?
Unfilled cookies can last 2 months in the freezer. Filled cookies stay fresh for about 5 days in the fridge.
Can I make the cookies ahead of time?
Yes, bake the cookies in advance and store them in the freezer until you’re ready to fill and serve.
Is it necessary to use food coloring?
Not at all. It just adds a festive touch, but the cookies taste just as delicious without it.
Can I use store-bought frosting?
Yes, although homemade peppermint frosting adds a fresher, creamier taste. You can enhance store-bought frosting with peppermint extract.
Conclusion
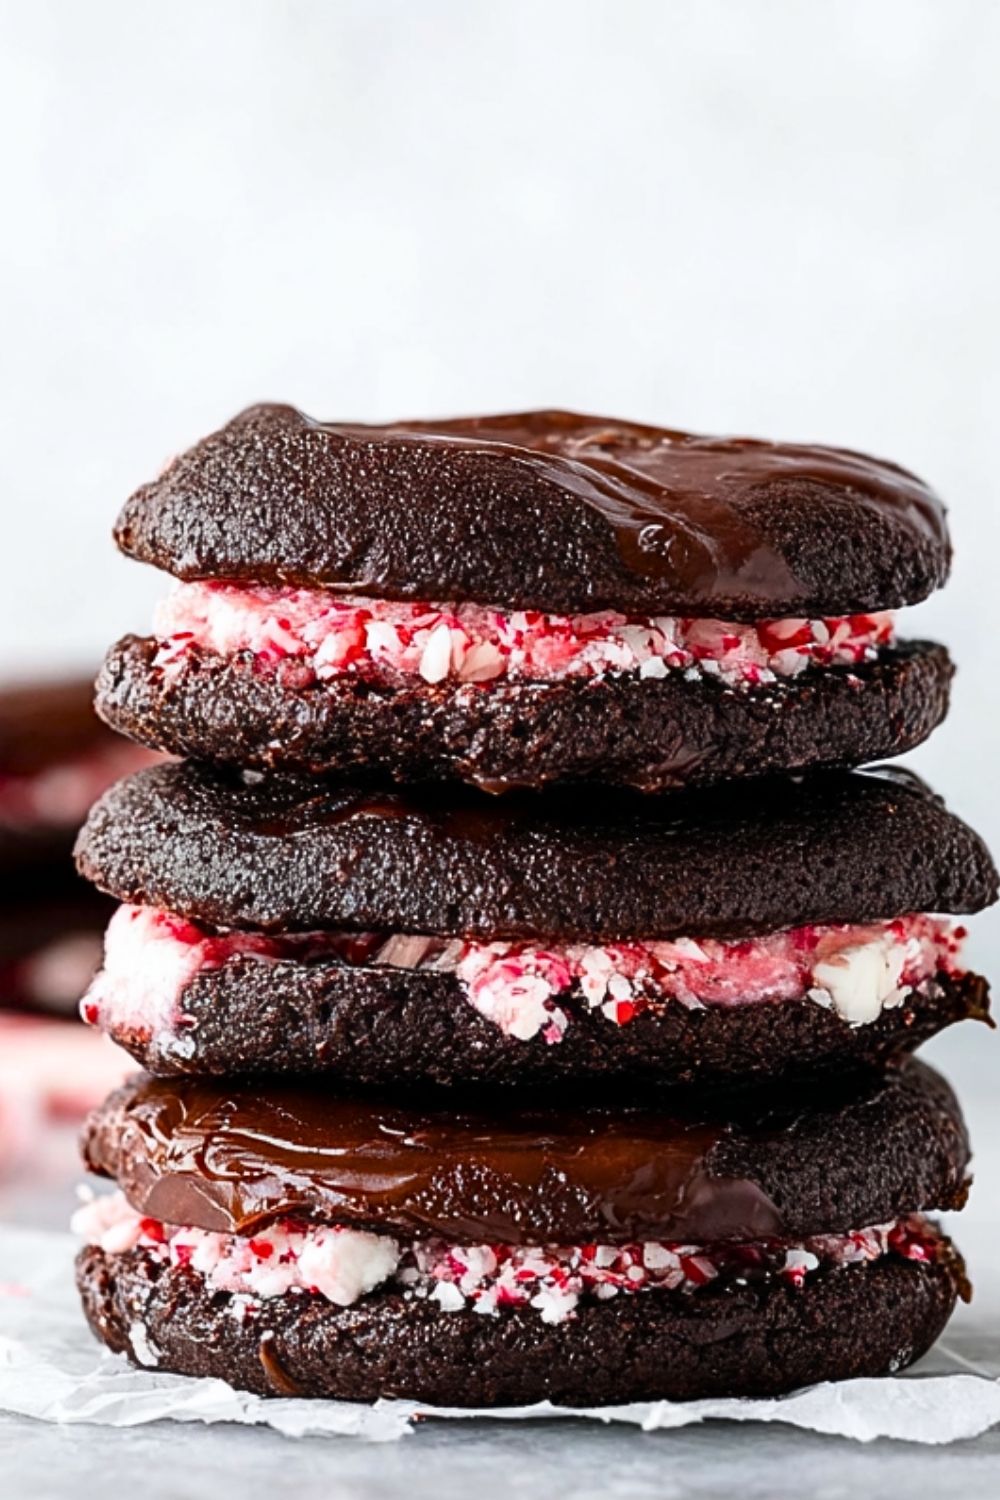
Chocolate Peppermint Sandwich Cookies are a delightful winter indulgence that blend deep cocoa richness with a cool minty twist. They look impressive, taste even better, and are surprisingly simple to make at home. Whether you’re baking for a party, a gift box, or just your own enjoyment, these cookies deliver that perfect balance of festive flavor and comforting texture. Add them to your holiday baking list—you’ll be glad you did!
Chocolate Peppermint Sandwich Cookies
- Total Time: 1 hour 15 minutes
- Yield: 12 sandwich cookies
Description
Rich, chewy, and infused with cool peppermint cream, these Chocolate Peppermint Sandwich Cookies are the ultimate holiday treat. Perfect for cookie swaps, festive dessert tables, or cozy nights in, this easy recipe pairs deep chocolate flavor with refreshing mint and a satisfying candy cane crunch. Whether you’re looking for easy cookie recipes, holiday dessert ideas, or homemade edible gifts, these stunning cookies check every box for appearance, flavor, and texture.
Ingredients
1 cup unsalted butter, softened
1 cup granulated sugar
0.5 cup packed light brown sugar
2 large eggs
2 teaspoons vanilla extract
1.75 cups all-purpose flour
0.75 cup unsweetened cocoa powder
1 teaspoon baking soda
0.5 teaspoon baking powder
0.5 teaspoon salt
1 cup semi-sweet or dark chocolate chips
0.5 cup unsalted butter, softened
2 cups powdered sugar
2 tablespoons heavy cream or milk
0.5 teaspoon peppermint extract
Red food coloring (optional)
Crushed candy canes (for rolling edges)
Instructions
1. Cream the butter, granulated sugar, and brown sugar until light and fluffy.
2. Beat in the eggs one at a time, then add the vanilla extract.
3. In a separate bowl, whisk together the flour, cocoa powder, baking soda, baking powder, and salt.
4. Gradually add dry ingredients to the wet mixture until just combined. Stir in chocolate chips.
5. Chill the dough for 30–60 minutes.
6. Preheat oven to 350°F (175°C) and line baking sheets. Scoop dough and place on sheets 2 inches apart.
7. Bake for 9–11 minutes until edges are set. Cool completely on wire racks.
8. For the frosting, beat the butter until creamy, then add powdered sugar, cream, and peppermint extract. Tint with red food coloring if desired.
9. Spread or pipe frosting on the flat side of a cookie, sandwich with another, and roll edges in crushed candy canes.
10. Refrigerate for 15–20 minutes to set, then serve at room temperature.
Notes
Chill the dough to prevent the cookies from spreading too much.
Don’t overbake; they should look slightly underdone when removed.
Assemble only when cookies are fully cooled to prevent frosting from melting.
- Prep Time: 30 minutes
- Cook Time: 11 minutes
- Category: Dessert
- Method: Baking
- Cuisine: American
Nutrition
- Serving Size: 1 sandwich cookie
- Calories: 320
- Sugar: 30g
- Sodium: 120mg
- Fat: 16g
- Saturated Fat: 9g
- Unsaturated Fat: 5g
- Trans Fat: 0g
- Carbohydrates: 42g
- Fiber: 2g
- Protein: 3g
- Cholesterol: 40mg
Keywords: chocolate peppermint cookies, holiday cookie recipe, festive desserts, sandwich cookies, easy Christmas cookies